A while ago, I posted a tutorial for making a pincushion from a mayonaise jar lid. I alluded to being able to use a bottle cap, but I thought I would finish that thought and show you how to make one from a smaller bottle cap. I love these bottle cap pincushions a lot. I keep one in my embroidery basket and one in my hand sewing basket. They’re really nice for baskets that go with you places because the needles won’t fall through the pin cushion and get lost! They’re also a great way to showcase your embroidery skills with a little canvas on top to decorate.
Supplies Needed:
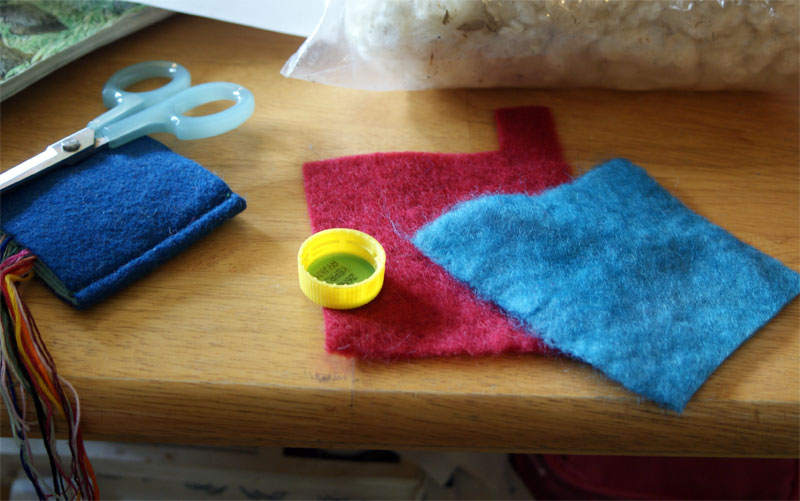
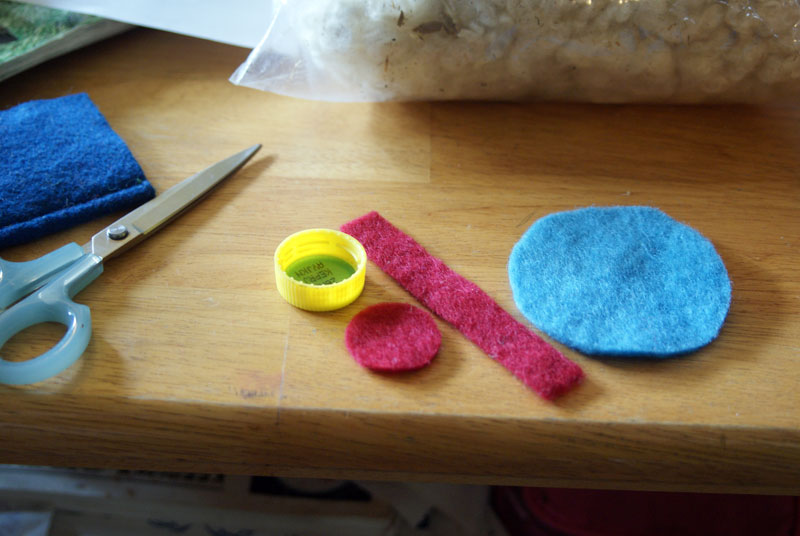
So for this pin cushion, you will need:
– wool felt for the sides and bottom- about 4 square inches
– and wool felt for the top- about 2 square inches
– embroidery floss in matching colors
– a bit of wool or polyester stuffing or batting
– a lid from a 2 soda bottle – 2 liter, 20oz, whichever you prefer. Even the lid from a bottle of lemon juice will work!
Let’s Get Started:
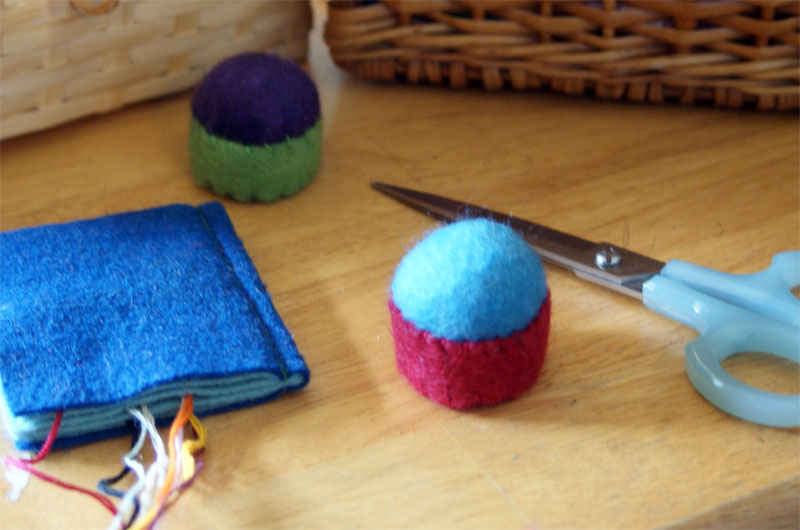
Now let’s cut the felt to the right size. The part that wraps around the bottle cap should be long enough to wrap around the bottle cap + about 1/8 inch overlap. The height should be the height of the bottle cap + about 1/8 inch. This gives enough room for stitching it all together. For a bottle cap from a soda bottle, this should be approximately 4 inches x 5/8 inch.
The bottom part is a circle cut just a teensy bit larger than the bottle cap. I just cut right around the bottle cap. (Please ignore my dirty thumbnail – sometimes dyes stick around in certain parts for longer than others!)
The cushion part is a little trickier. Cut a circle for it that is about 5/8inch larger than the bottle cap on each side. It’s about 2.5inches in diameter.
Now all the pieces are cut out. Time to sew this baby together!
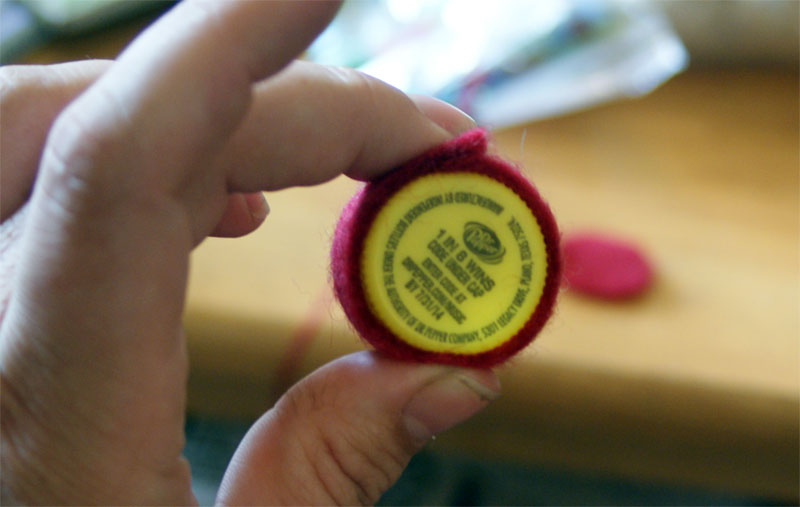
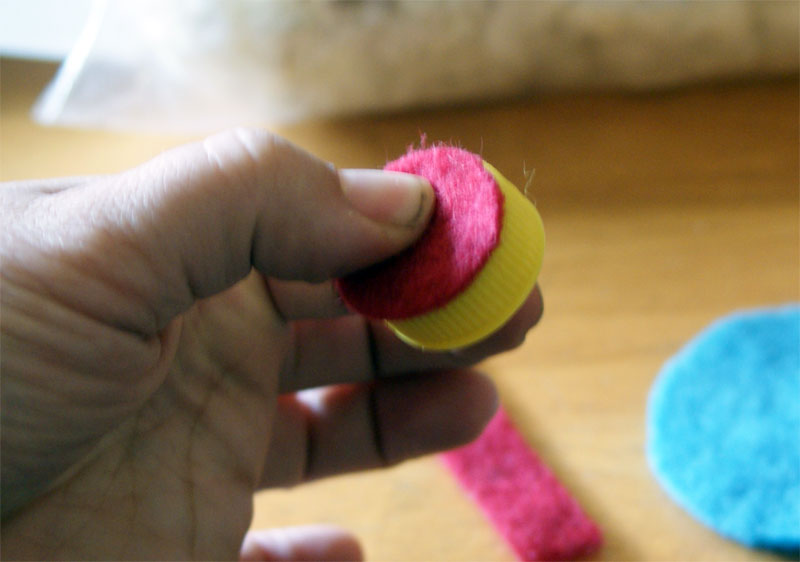
Wrap the strip around the bottle cap and overlap the ends. Start at the open end of the bottle cap and whip stitch the overlapped area securely. Don’t cut the thread, you’ll keep using it for the next part.
Hold the bottom in place over the closed end of the bottle cap and stitch the side and the bottom together with a whip stitch all the way around. Set the bottom aside.
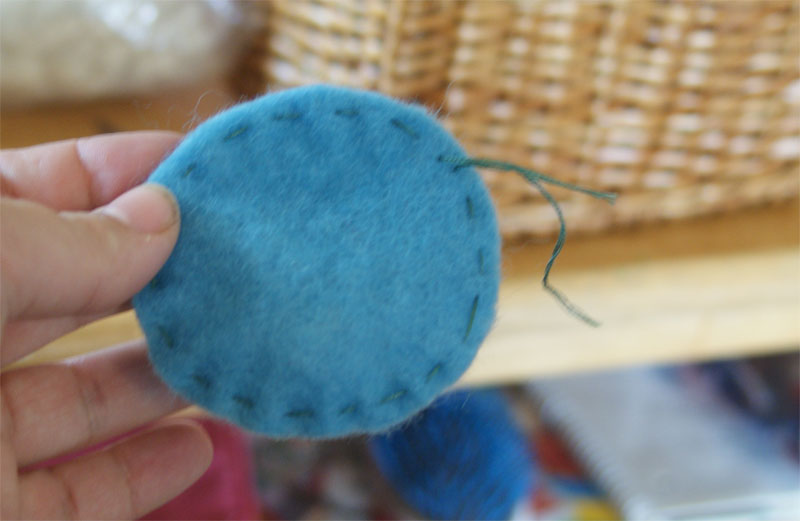
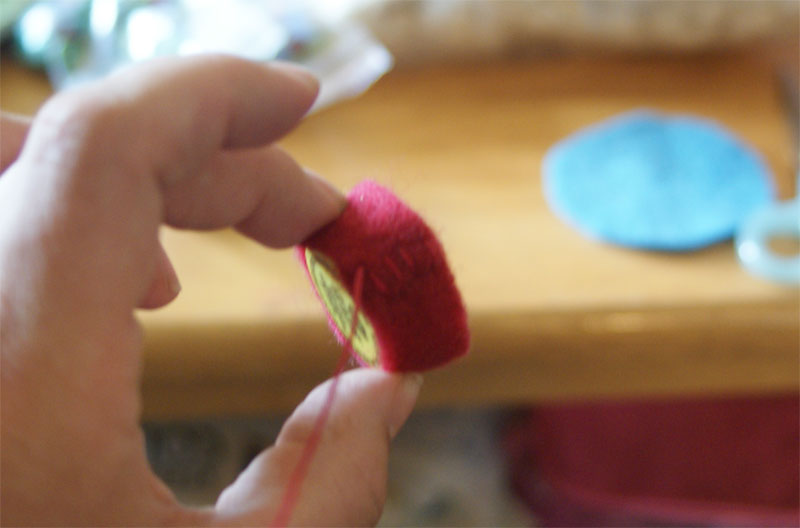
Take the top part and sew a running stitch all around the outside of the circle, near the edge. Leave long tails on the thread.
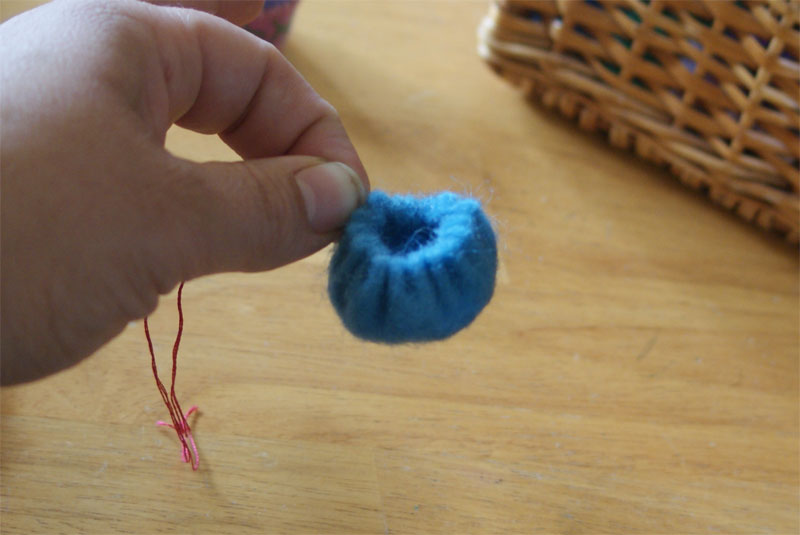
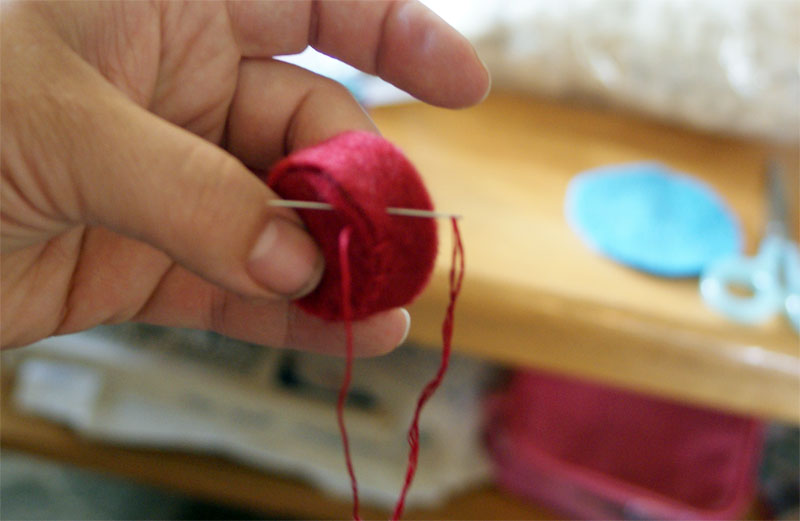
Pull the tails to gather the circle tightly but leave a small opening- maybe as wide around as your pinky finger. Tie it off.
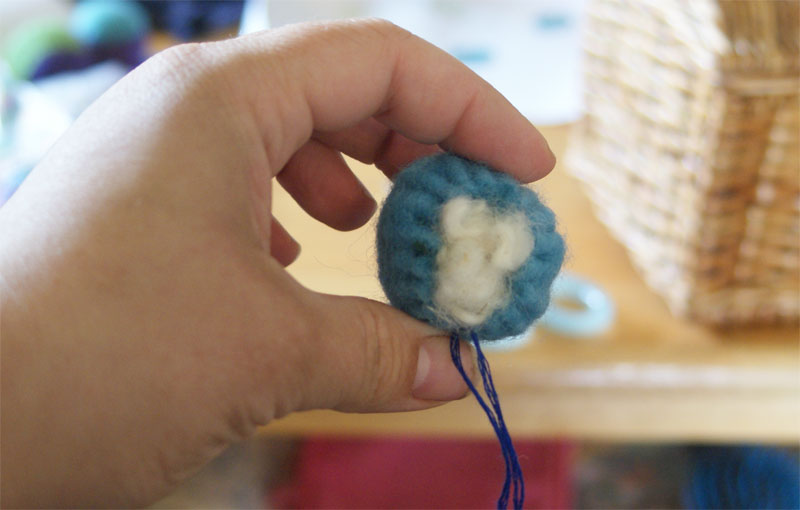
Stuff the ball as tightly as you can will some wool stuffing or batting. You want it to be really really full and tight so pins will stick in it nicely.
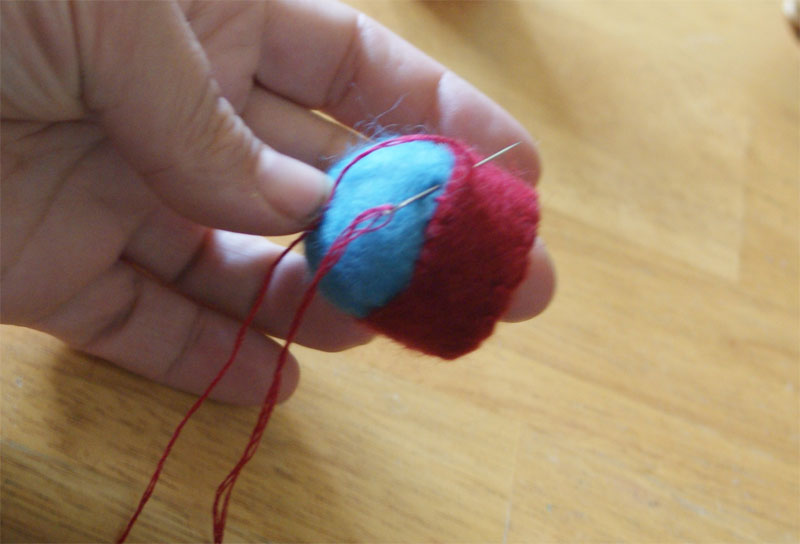
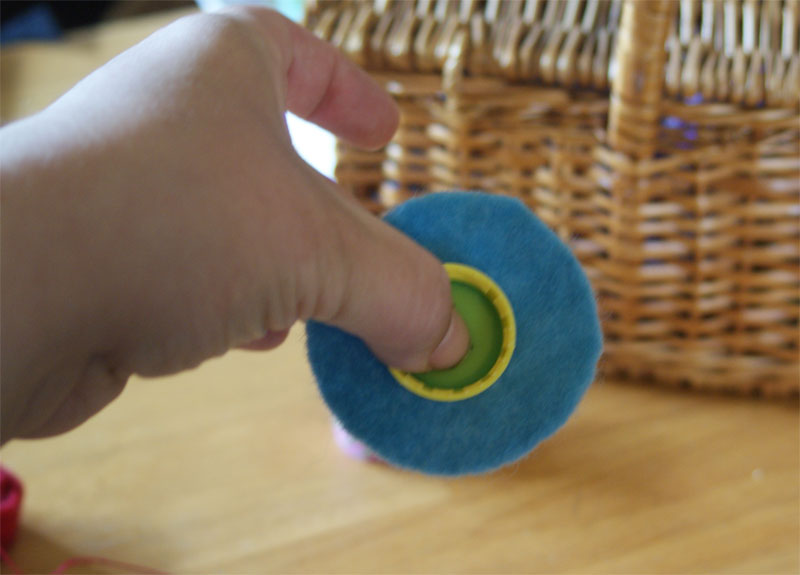
Put the open end of the ball into the open end of the bottle cap. Whip stitch the bottom part to the ball, keeping the ball tucked into the bottle cap.
Tie off your thread. That’s the basics of making the pin cushion! Now you have a perfect canvas to show off your embroidery skills!!
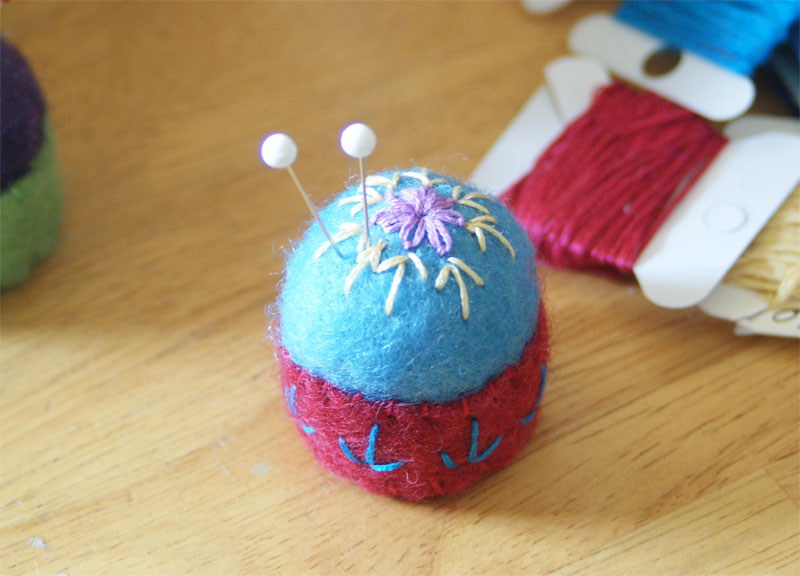
I made a daisy stitch in the center, by making a bunch of isolated chain stitches. Then I just made some pretty arrow-like stitches all around it. It turned out pretty, but I was just winging it. Along the bottom, I made the same stitch all around. I think the colors are what really make this pincushion work!
You can find a bunch of simple stitch instructions in my very own printable book of hand embroidery stitches. Mix and match stitches to make something beautiful!
What embroidery designs will you use on your pin cushion?
This post was published on Muse of the Morning.com


Love this idea I will have a go at making one thankyou for showing how to make them