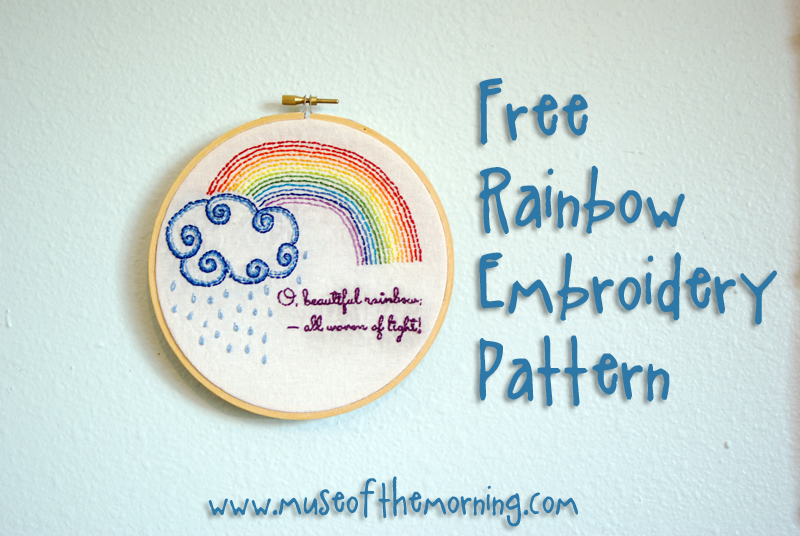
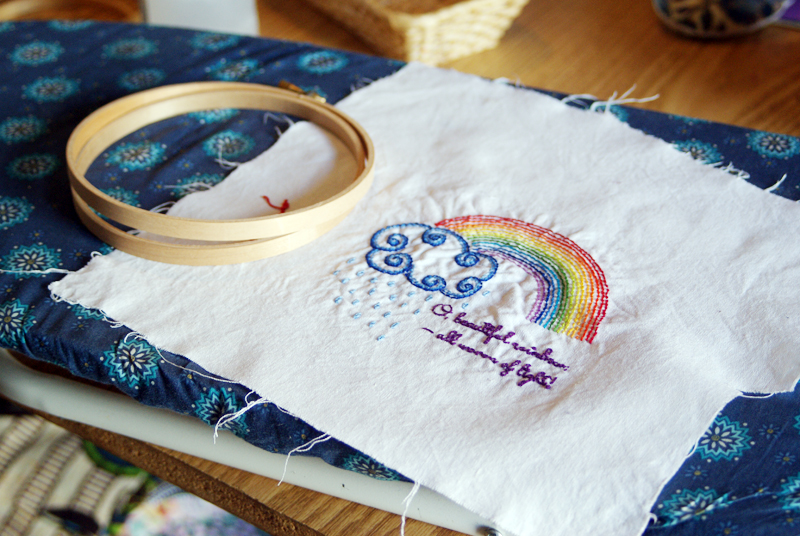
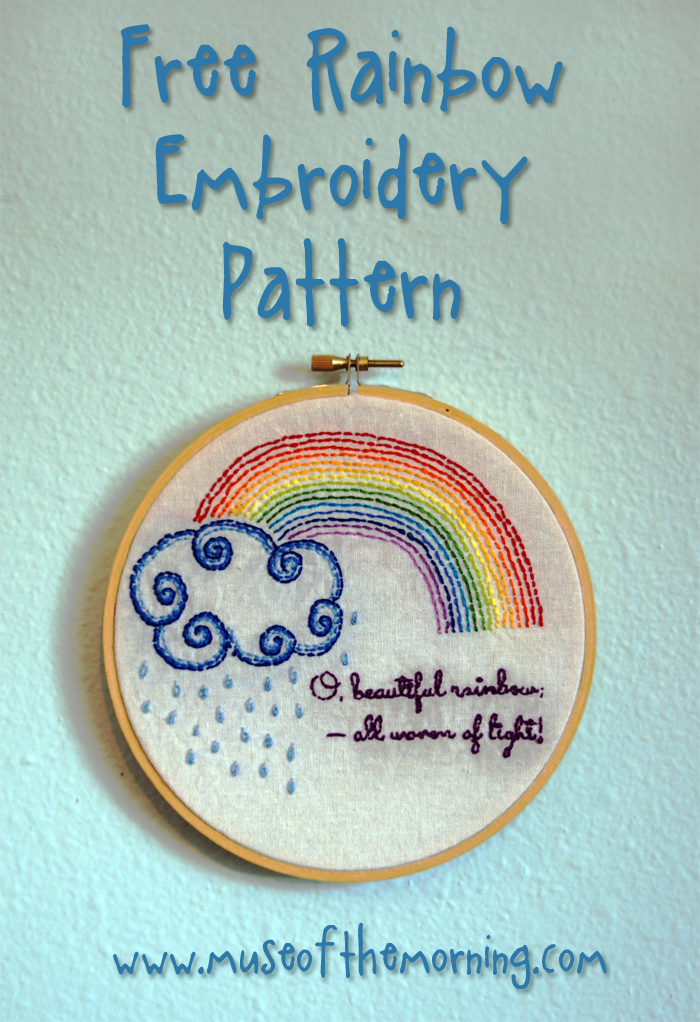
I’m so excited to tell you about the very first embroidery pattern that I have designed. I’m so excited about it that I am going to give it to you for free!! It’s so perfect for spring too!
Colors & Stitches:
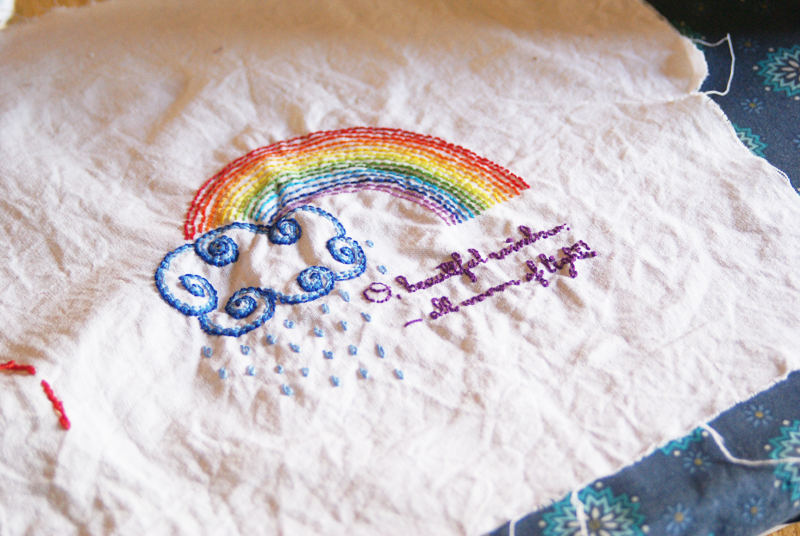
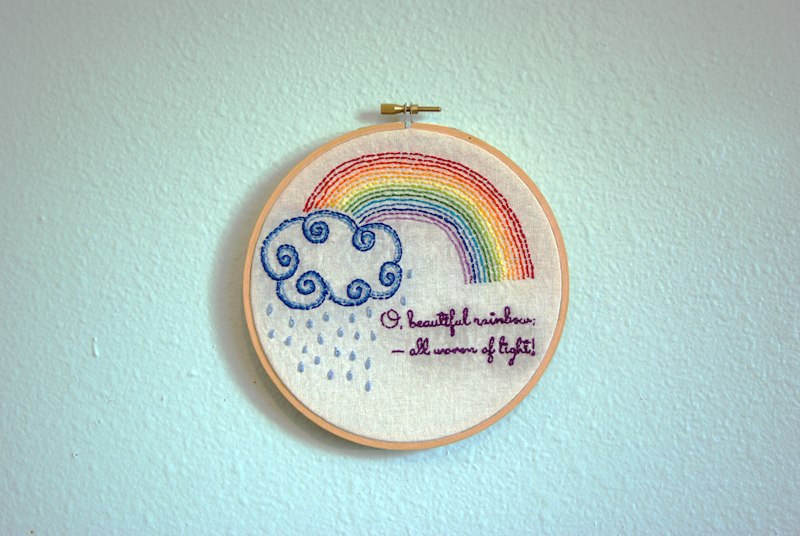
For this pattern you will need some basic rainbow colors of 6 stranded cotton embroidery floss. Red, Orange, Yellow, Green, Blue and Purple. You will also need two other colors of blue- one a shade darker than the blue for the rainbow, and one lighter. Lastly, you will need a color for the words. I used a deep purple, but black would look ok too.
For each of the rainbow stripes, I recommend using 3 strands and a back stitch. OR I recommend 2 strands and a chain stitch.
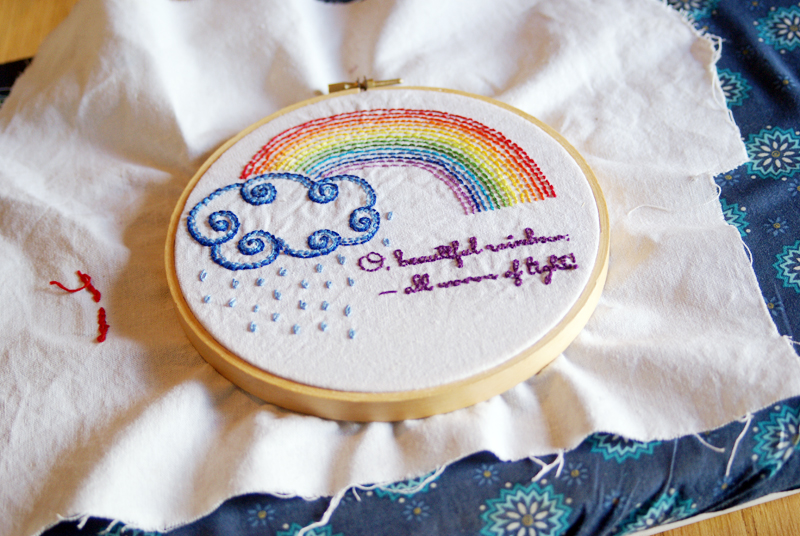
For the cloud, please use 2 strands of floss and a back stitch. The floss color on the outside is darkest blue, then the middle blue used in the rainbow, and then the lightest color on the inside.
The raindrops are made with isolated chain stitches in the lightest color of blue with 2 strands of floss.
For the words, use 2 strands of floss and back stitch. The photo shows it done with 3 strands, but I highly recommend using only two.
Fabric:
For fabric, I recommend using linen or a linen-cotton blend.
Click HERE to download the pattern.
Instructions:
Print the pattern onto Sulky Interfacing.
Cut about an inch around the pattern, peel off the backing and adhere to your fabric.
Use whichever size hoop you prefer to hold the fabric and Sulky taut. I usually use a 5 or 6 inch hoop. A small hoop will cover part of the design, but it’s ok. You move it around as you’re working on it and all the folds will wash out later.
You can find instructions for all these stitches and more in my free printable book of embroidery stitches.
Once you’re finished stitching, hand wash the embroidery to wash the Sulky away. Let it dry by hanging.
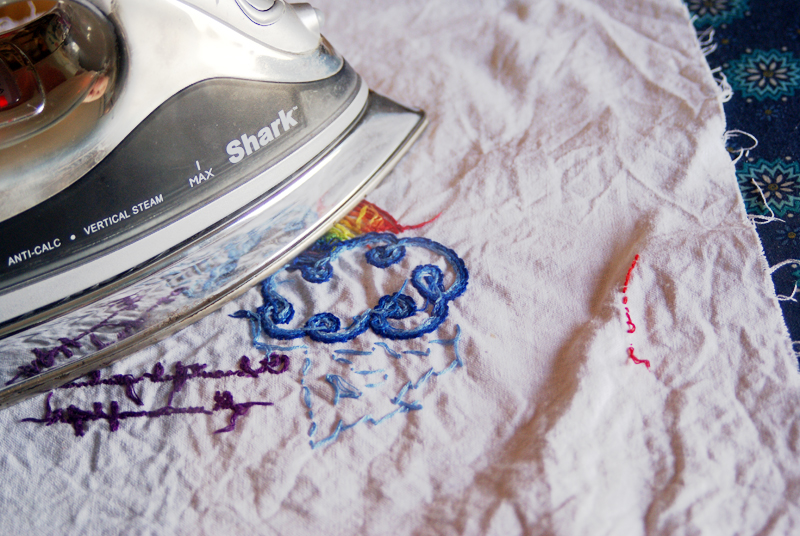
With a med-high iron (or whatever your fabric can handle), iron the finished item from the back. You might want to give it a little spritz of water if it doesn’t seem to be ironing out. Some wrinkles with stretch out if you’re going to display the design in a hoop.
If you’d like to display the design in a hoop, you’ll need an 8 inch embroidery hoop.
Carefully align the pattern over the inner hoop with the design facing up. Place the outer hoop over the top and twist the screw until it’s tight enough and holds the fabric in place.
Adjust the fabric by pulling it toward the backside. When you’ve got it all adjusted correctly, tighten the screw as much as it will go.
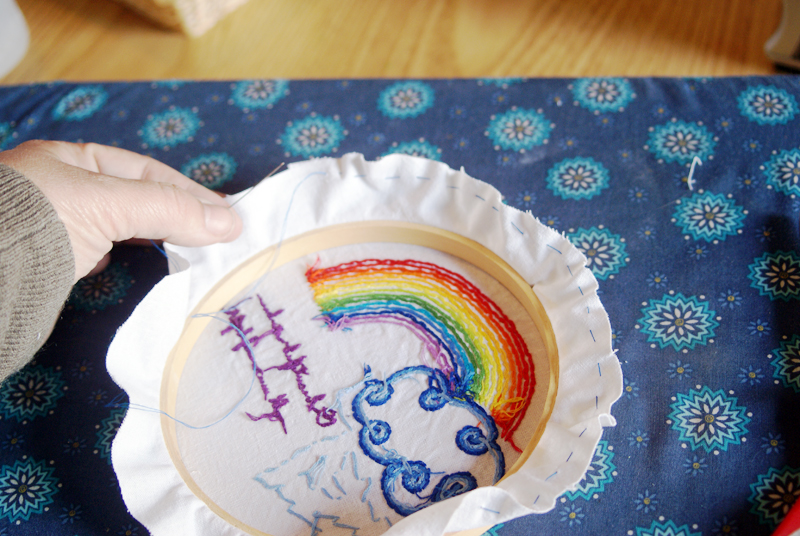
Flip the hoop over. Cut the fabric about 1 inch all around the hoop. Sew a running stitch about 1/4 inch away from the edge all the way around.
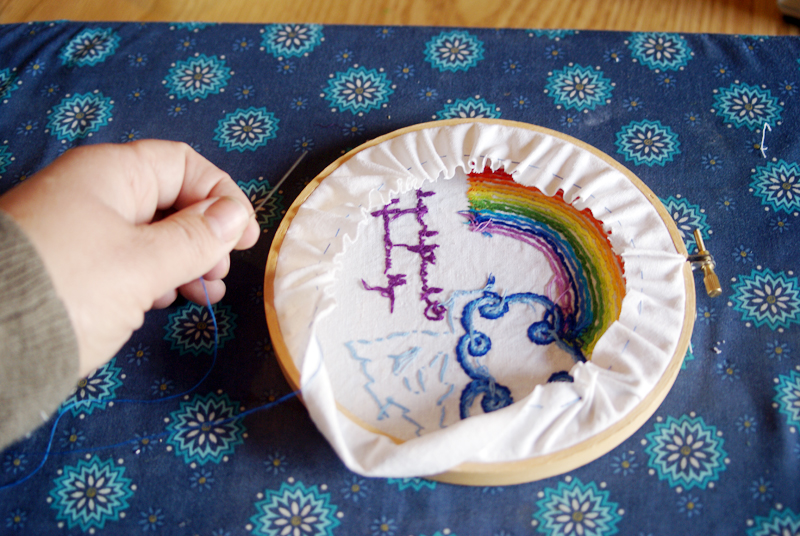
Gently pull the thread as you go, to gather the fabric all toward the center. When you get to the end, knot it.
Click HERE to download the pattern.
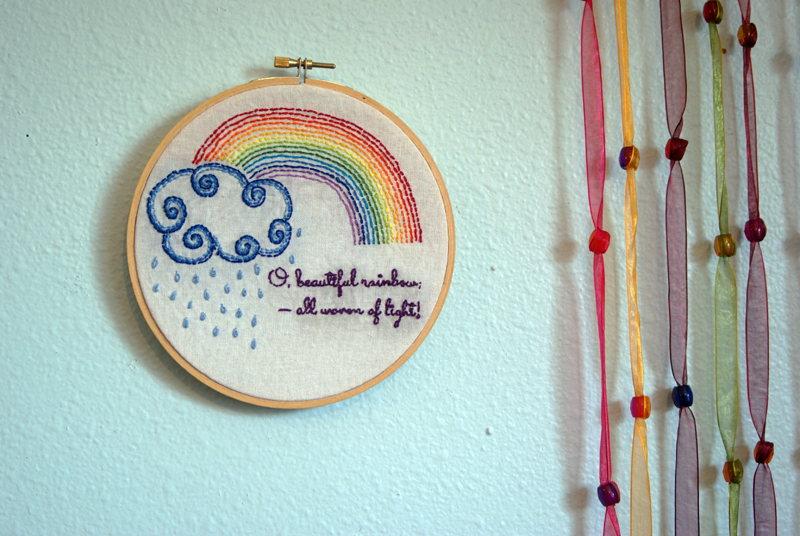
And there you go- a lovely design to hang up. I took pictures of it in my daughter’s room because it has the best light, and whattayaknow, she decided it must be hers. I guess she approves!! Where are you going to hang your embroidery?
Enjoy!
This post was published on Muse of the Morning.com
Click HERE to download the pattern.

What a beautiful pattern and sentiment! thank you for the freebie 🙂
Hi Caroline! Thank you for visiting!
I hope you like the pattern!
Chrissy
Pingback: Tutorial: How to Finish Your Embroidery Hoop Art | Muse of the Morning ~ PDF Sewing Patterns for Free-Spirited Children &Adults
this is adorable, thank you for sharing xx