Everyone’s going green these days. And it’s no wonder, with global climate change on the rise, everyone is trying to figure out ways to be more ecologically friendly. Where we live, the whole town has outlawed plastic bags, so I’ve switched over to cloth for general grocery shopping. And there are lots of tutorials for produce
So let’s make some!
You’ll need some rip stop nylon yardage. I used white, but you can make them any color so they’ll be bright and colorful in your cart!
You’ll also need your sewing machine, thread, scissors and all that good stuff. I used a serger for one part, but that can easily be done on a sewing machine.
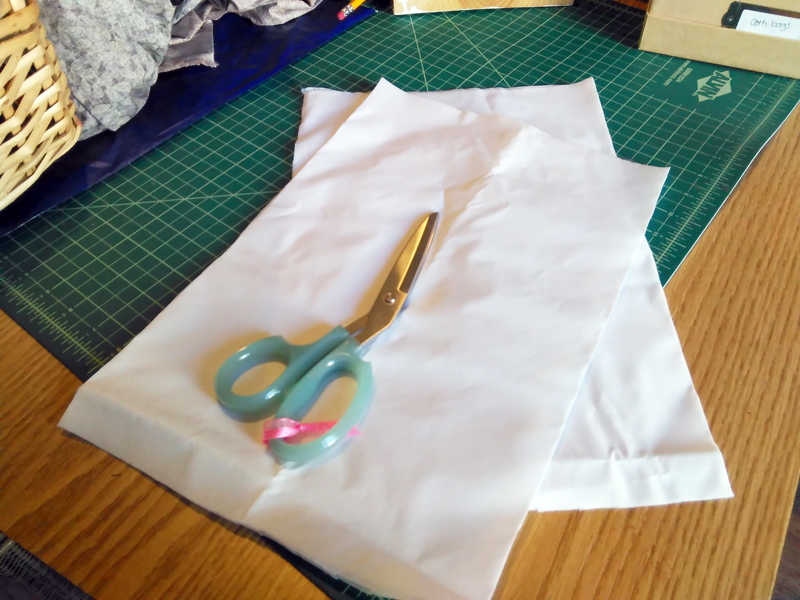
You can choose a size of bag that makes the most sense for the items you purchase. I wanted to make the best use of my fabric, so I cut it at 10.5ins. x 15ins., which allowed for three bags going across half the width of the fabric X the length that I wanted.
(Note: The rip stop I got is 64 inches wide. When folded in half, that makes 32 inches wide. So I did each bag as 1/3 the folded width, which also makes it so I’m cutting out two at a time! This makes it super easy to get three at a time.)
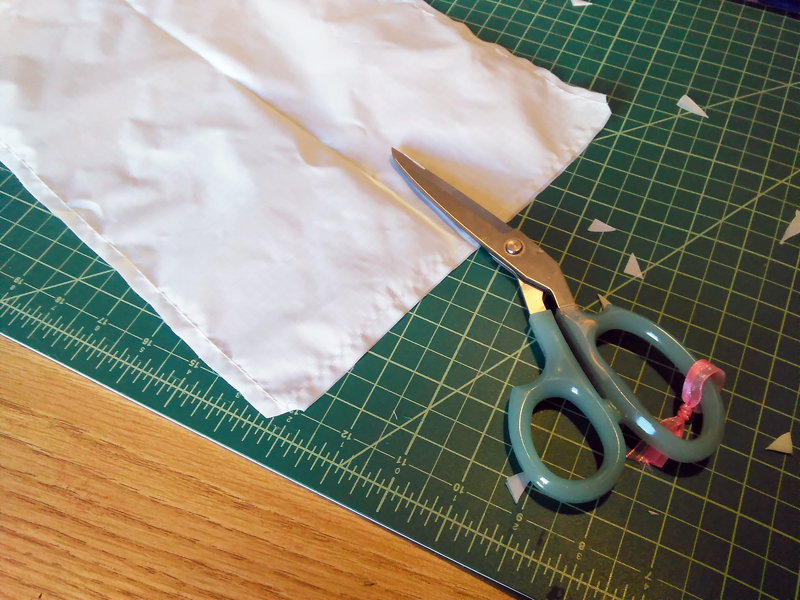
For each bag, cut two pieces the same size.
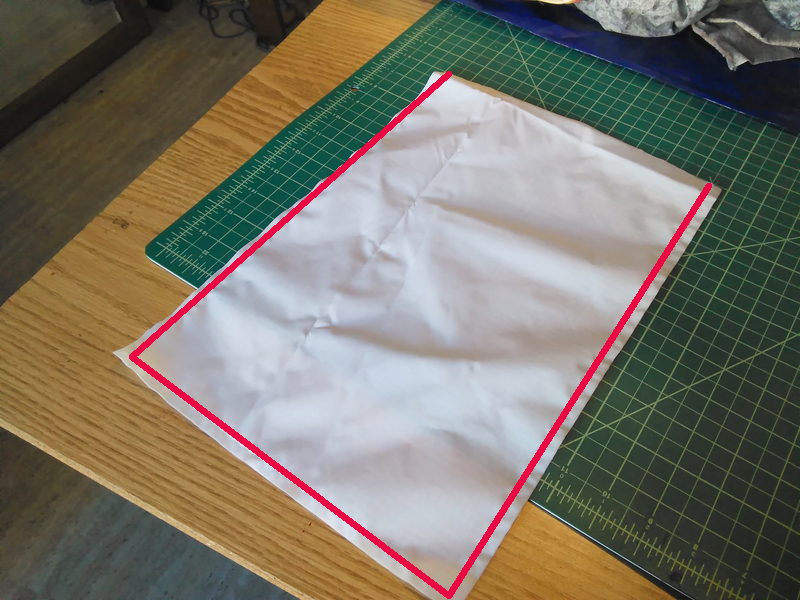
There’s not really a right side and wrong side with rip stop nylon, so just match your two pieces up and sew with a 1/4 inch seam allowance on 3 sides. I outlined where I sewed on this photo with pink so it would be really clear.
1/4 inch seam allowance. Rip stop nylon is a little slippery, but I didn’t find it to be too much trouble to sew on.
Now clip the corners of the bag. Don’t clip through the stitching!
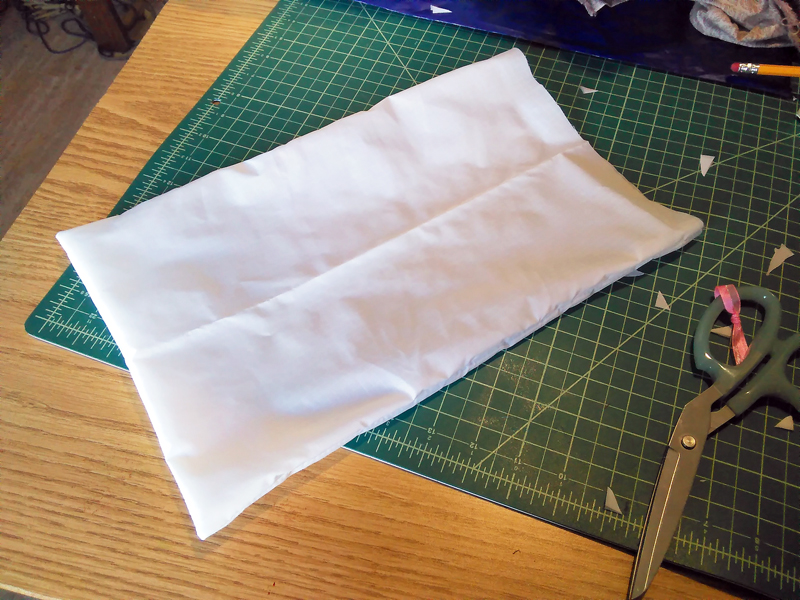
Turn the bag right side out. Trust me here! It will all make sense in a second.
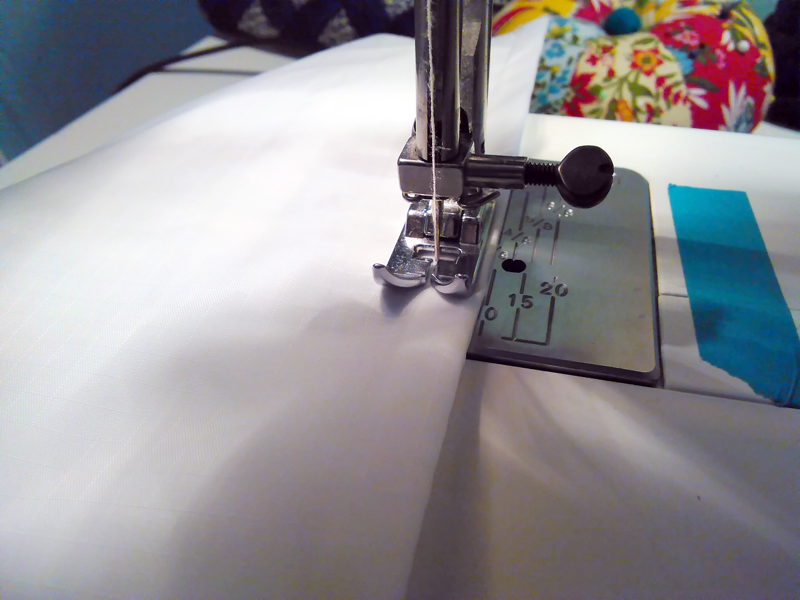
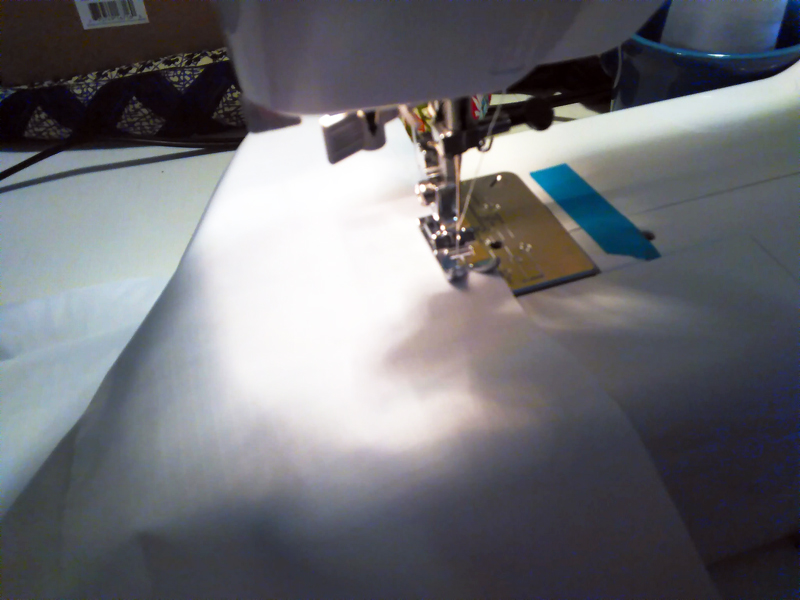
Now, we’re going to sew on those same three sides, with the raw edges being caught inside the stitching. So we’re using a little more than 1/4 inch seam allowance.
See how I’m stitching with just a little more than a 1/4 inch allowance? Not quite 3/8 inch still, but just enough to make sure the raw edges are caught inside.
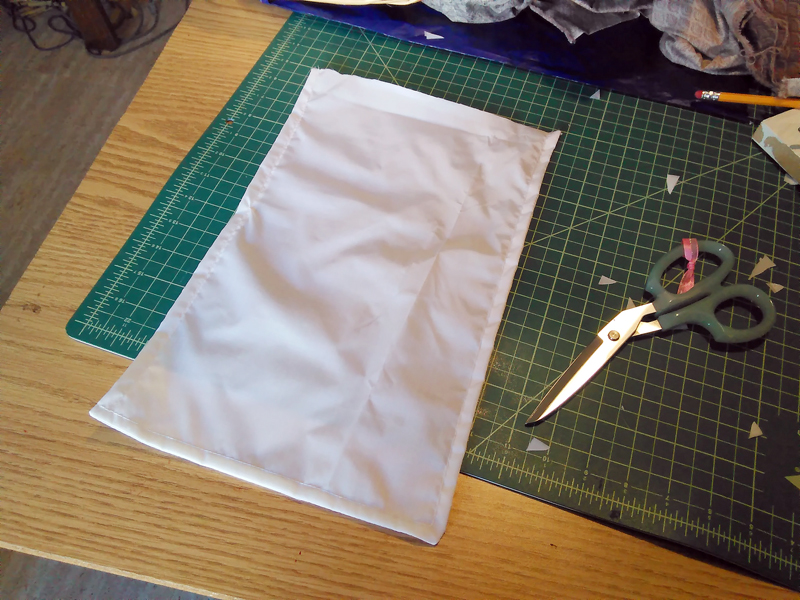
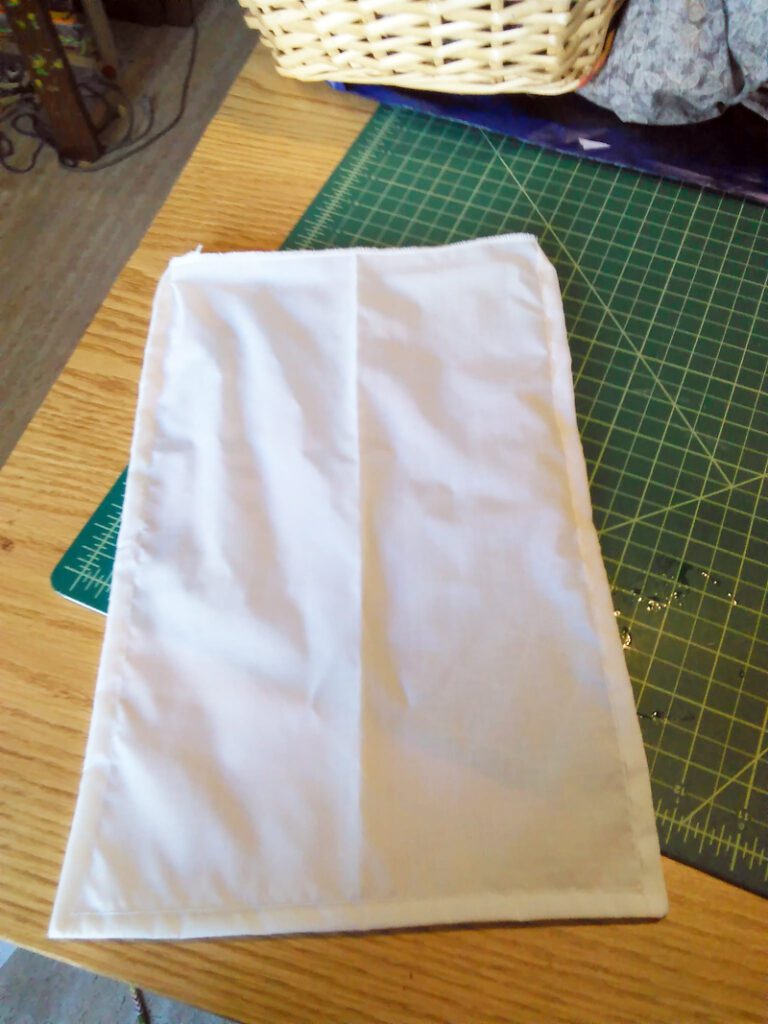
Here’s the bag, almost finished!! Lastly, we have to deal with that top raw edge. Raw edges of rip stop nylon fray in super stringy bits, so we definitely want to get those encased.
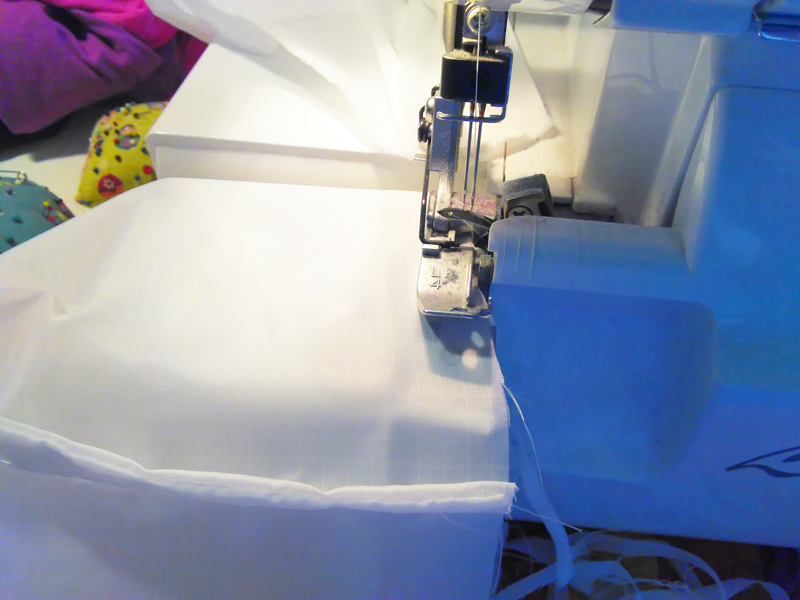
I serged around the top. That works really well and is super fast to whip it through the serger.
If you don’t have a serger, you can fold the edge over twice and stitch it down.
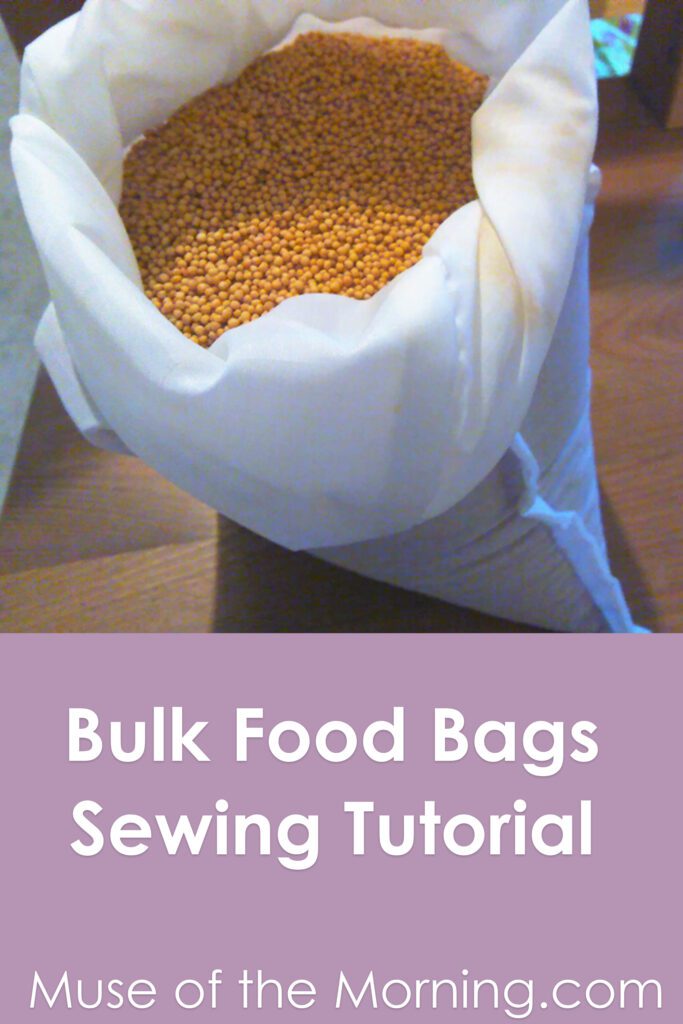
And there you go. I found it easiest to sew up a bunch at one time. I think I did like 6 of them assembly line style. They whip up pretty darn fast!
What bulk foods can you imagine filling these bags up with?

This post was published on Muse of the Morning.com