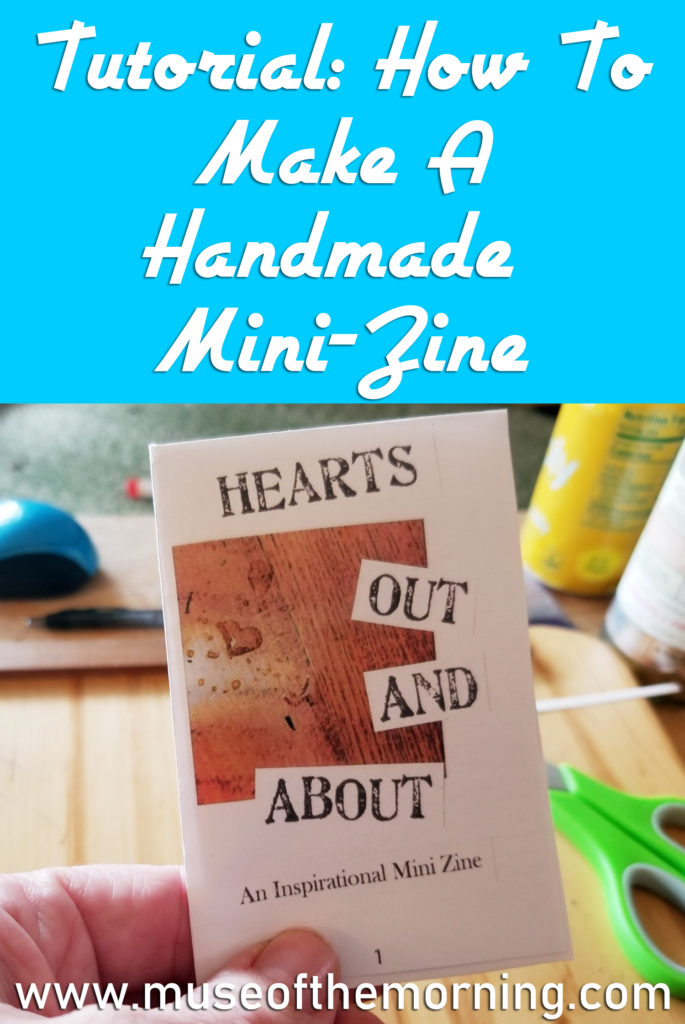
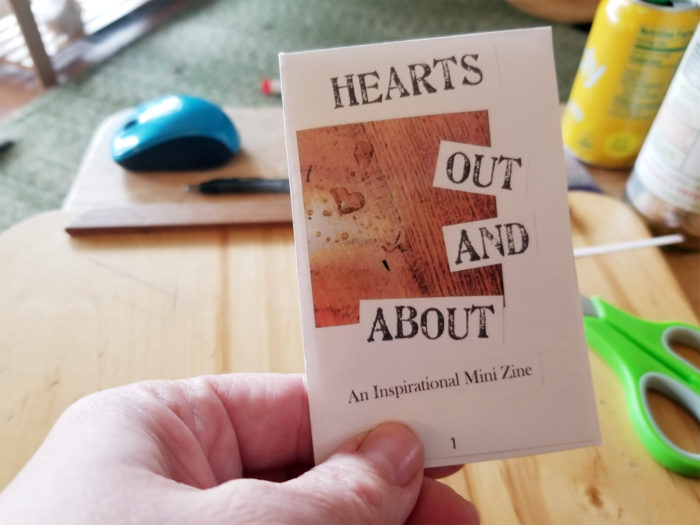
I love making Zines! Zines are self-published magazines or booklets. They can be on any subject, and there are lots of different formats. They generally have a small circulation- you might make one copy, or you might make a bunch. In the olden days before computers, zines were created all by hand, with typewriters or found text and images, or drawing and painting and then reproduced on xerox machines. Nowadays, a zine can be completely created on the computer and printed out if you wish- or it can still be done by hand. They can be in full color or black and white. My zines tend to be a mix. I’ll scan images to use or I’ll print them out from things I find online. There’s so many options.
A really easy zine to make for first-timers is the one page zine. It’s made from a single sheet of paper, and has 8 pages. Follow along as I make a zine by hand!
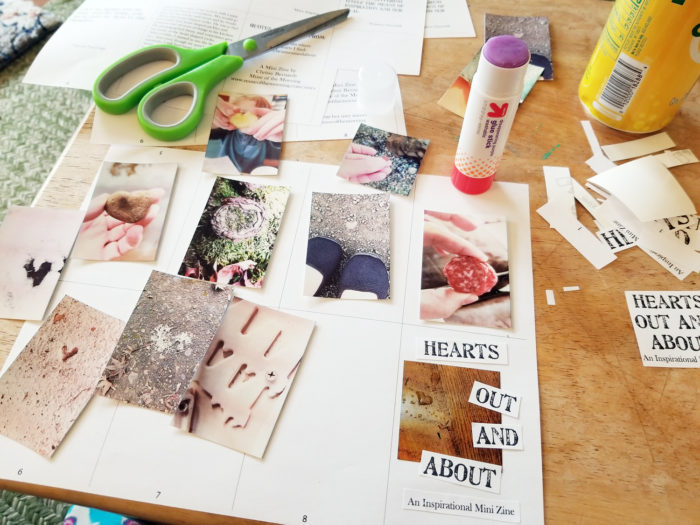
First, materials: Here are the materials I used
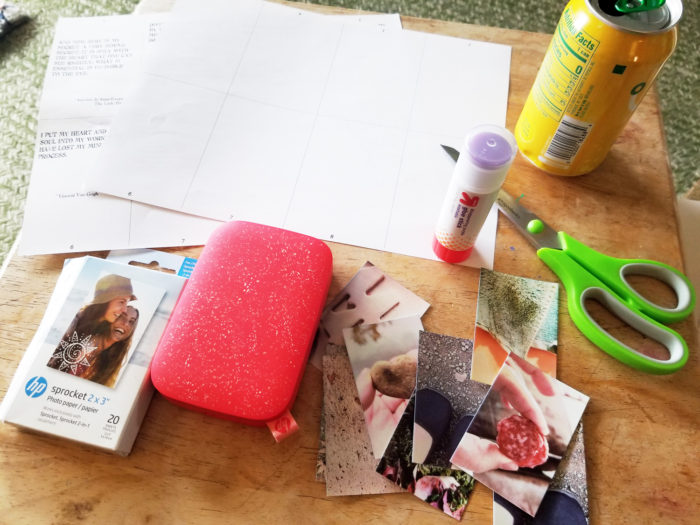
You’ll definitely want a copy of the mini zine template that I created. You can download it here.
You’ll also likely need scissors and a glue stick. You might also want pens, markers, colored pencils, maybe magazines to cut out of or pictures you printed off the internet. There are a ton of options!
I am making a zine using photos I printed on my Sprocket photo printer. I love this thing! I love printing tiny photos on demand. I printed out a bunch of photos of heart shaped things that I’ve found out and about. You can learn more about the Sprocket mini printer here.
I also printed out some words – quotes and titles that I printed off the computer. You can do that part in google docs or MS Word. Just make sure to use a small enough font that it will fit in your zine!
You’ll also need a scanner or access to a photocopier to make your copies!
Now it’s time to get started. Use your template that you printed out and arrange your words and photographs or images how you’d like them. Draw pictures, write words, whatever you like.
Remember that page 1 is the front cover and page 8 is the back cover. And the numbers on the template should guide you in which way is right side up on the paper. Basically, if you were to fold the paper in half lengthwise, the center fold would be the top of the pages.
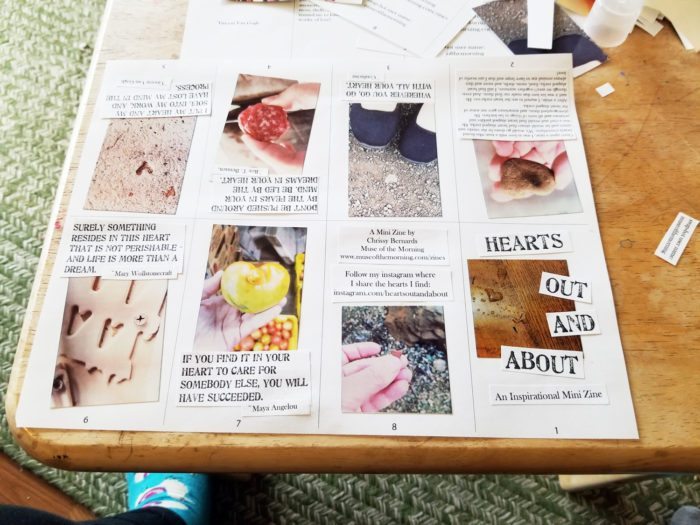
Here’s my zine all laid out and glued down! Now take it into your printer and scan it!
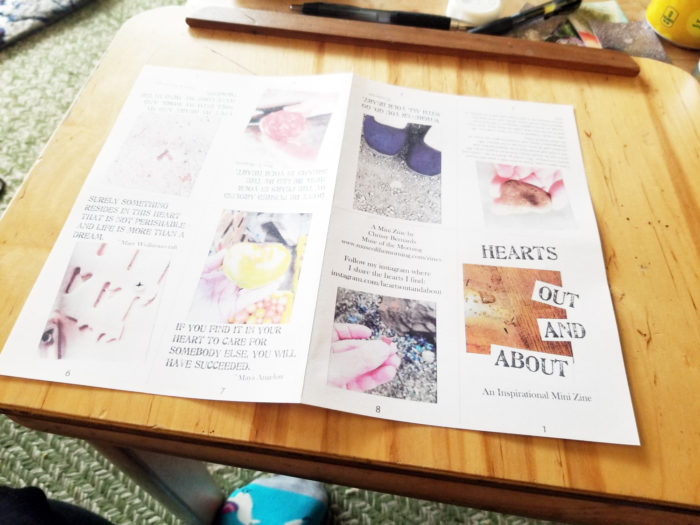
Here’s my zine all printed out. Now it’s folding time!

First, fold the paper in half width-wise.
Now fold the edge pieces in. Basically, we’re folding on the grey lines on the template here.
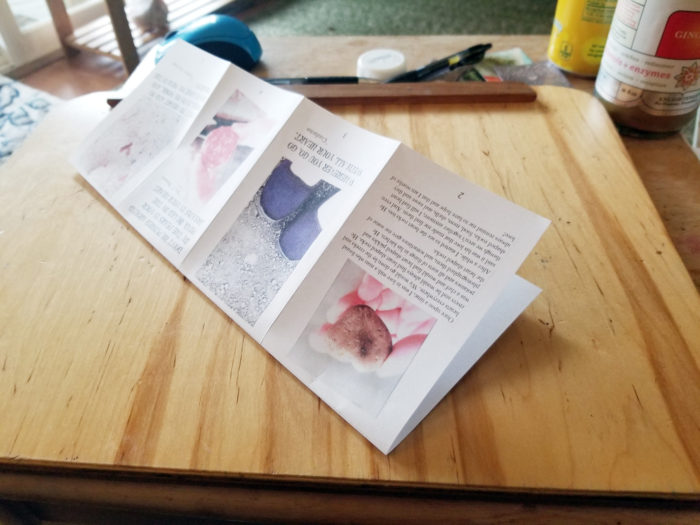
Now, fold it lengthwise!
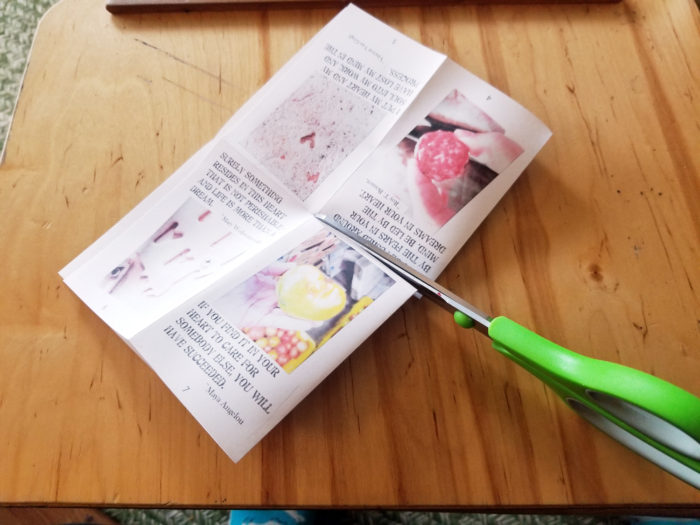
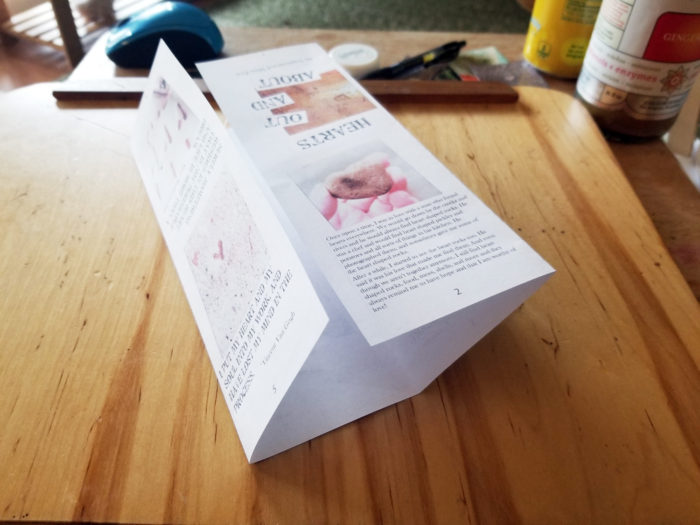
Now, fold the zine in half width-wise again, and cut on the line between the center two pages.
In this picture, I’m trying to show how the cut works. Can you tell?
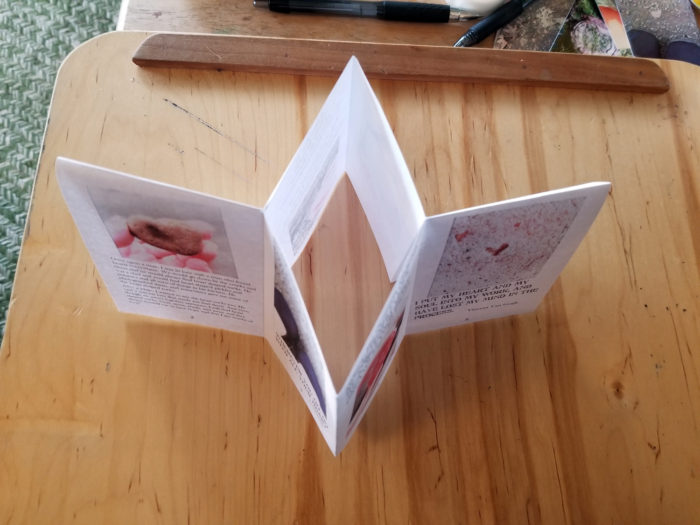
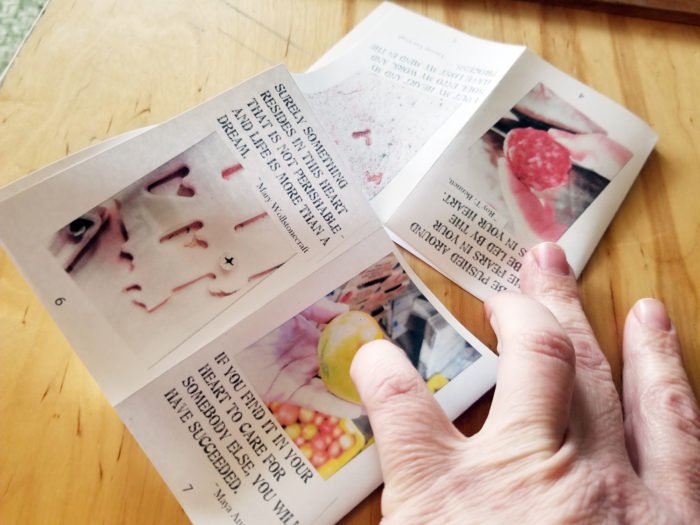
This will really get to be second nature if you make a bunch of them, I promise! Anyway, fold the zine back lengthwise, and spread the cut sections apart. Viola! You have your booklet. Now just fold it so that page 1 is the cover and page 8 is the back cover.
Look at that sweet little thing!! You might have a little trimming to do, depending on the margins of your printer, but other than that, you are golden!
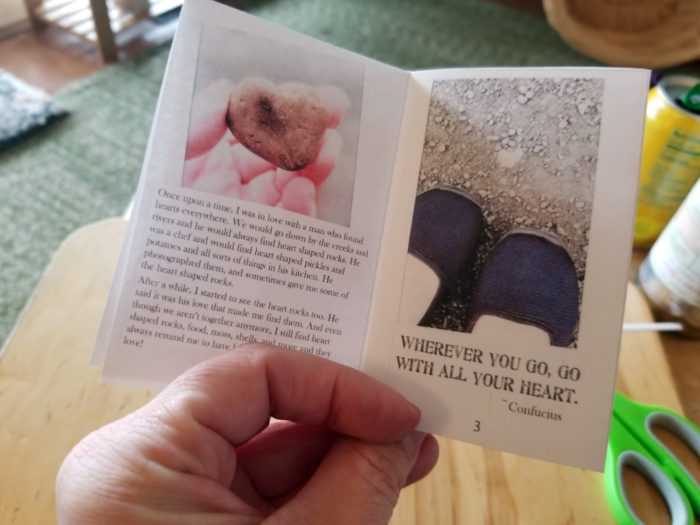
Flip to an inside page and give your little zine a read. This one is such a great format for when you just have a little information you want to get across. And it’s super easy to print out a whole bunch! I hope you enjoy the zines you make with this tutorial!
This article was published on Muse of the Morning.com