Hand carved stamps can come in really handy in fiber arts and crafty businesses. You can use them for printed labels or packages inserts, wrapping paper, not to mention printing your own fabric designs!
I fell in love with block carving way way back in my collage and assemblage days. That was before Lil’ Miss was born… so yeah, that was a long time ago. I’ve worked with rubber blocks and with linoleum. I love linoleum for more serious block printing. Most of the time now though, I work with rubber because it’s easier and faster.
Today I want to teach you how to carve a basic stamp. In the future, I want to show you more things that you can do with different types of stamps.

Here are the materials that you will need for carving your own stamps:
~ tracing paper
~ a stamp pad
~ a pencil
~ a sharpie – this one is optional
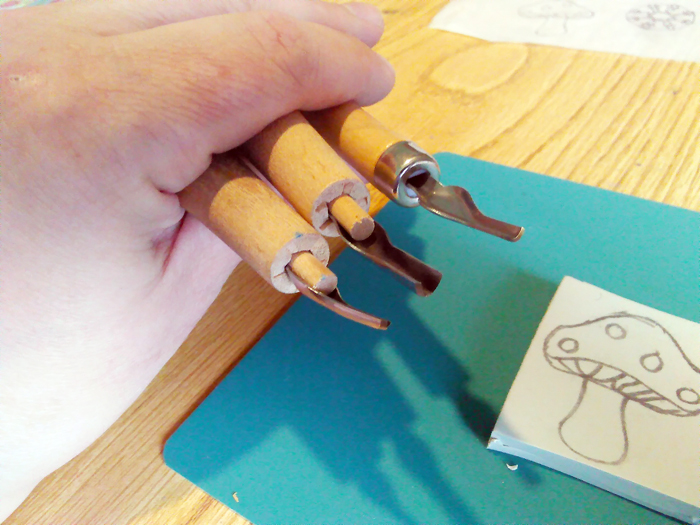
There’s also a couple of special tools that you’ll need. One is a carving tool.
Here is a set of two handles with an assortment of blades. This is a pretty good set. The Speedball cutters are really great for beginners.
If your set of blades does not have a straight blade (like a knife), you will need an exacto knife or sharp paring knife.
This is my collection of cutters. I have some speedball cutters (mine are wooden though) and a bunch of other ones that I’ve found that work really well also. The ones where you can’t remove the blades have to be sharpened from time to time.

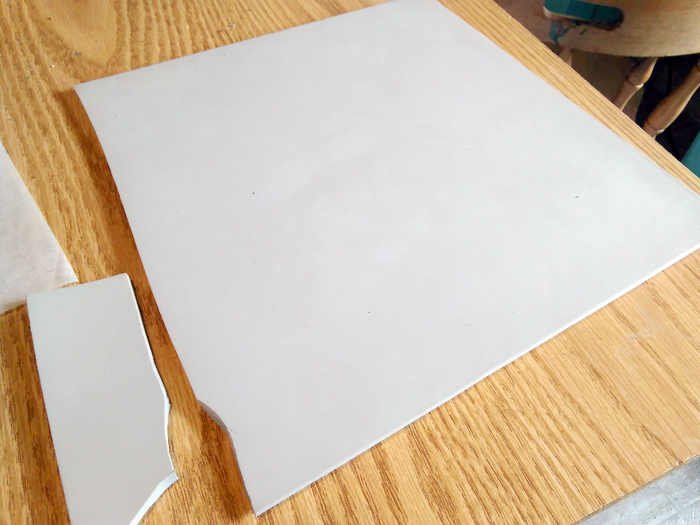
The other thing that you’ll need is some carving rubber. I found these sheets of carving rubber on Amazon, which is super handy (two day shipping and all), but I really like these carving blocks from Dick Blick.
Here’s a picture below. You simply cut off the size of the piece that you need.
Alternatively, here is a kit with one cutter, a couple blades and some carving rubber all in one. You’ll be able to make a couple stamps and you can use the cutter over and over again.
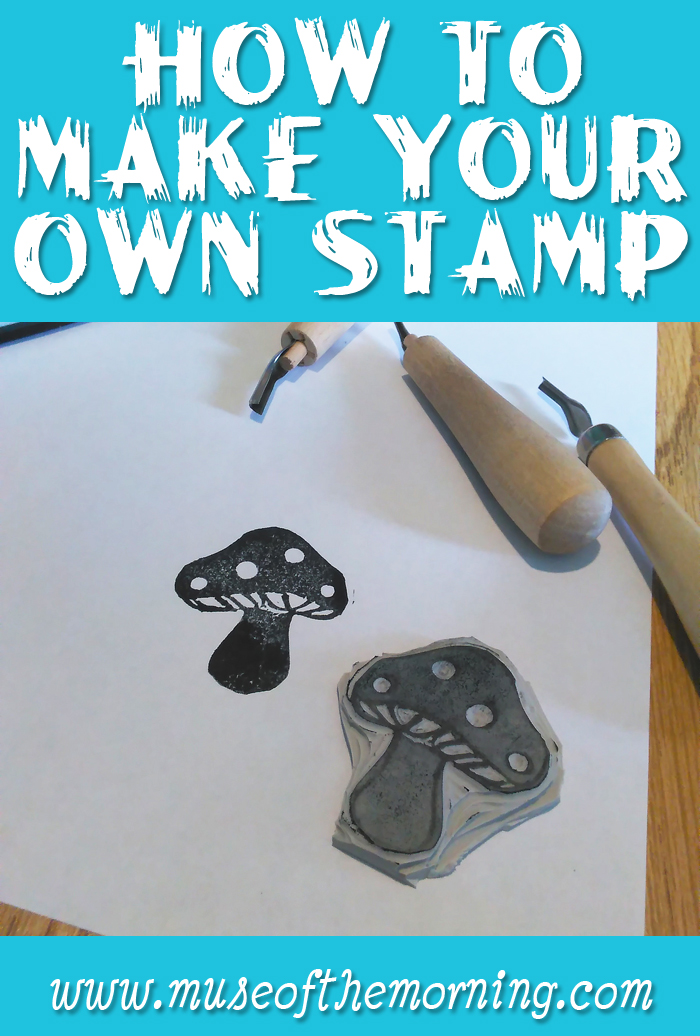
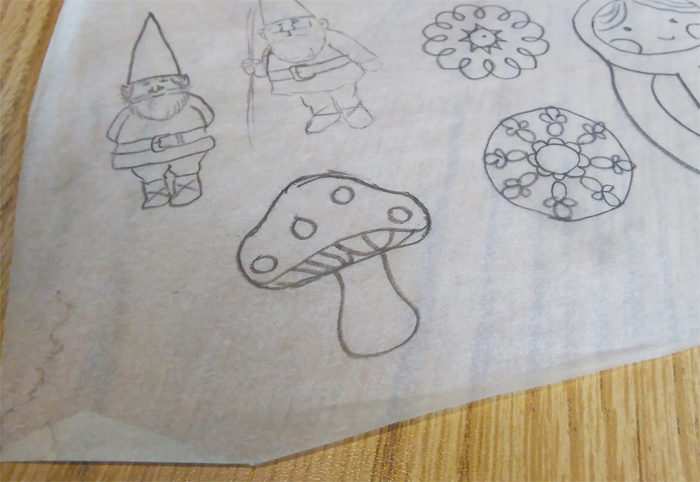
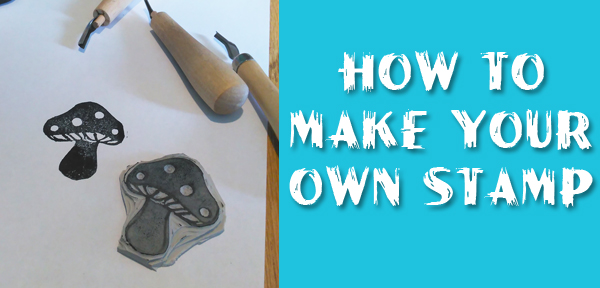
The last thing that you’ll need is a design to carve. I recommend something pretty simple for your first few tries. I used this mushroom design for the tutorial. I made a copy for you to use too. Click here to download the mushroom design. Once you’ve done simple designs for a while, you can move on to more complex designs.
Ok, do you have all your materials together? Let’s get started!
First, trace or draw your design onto the tracing paper with a pencil. Technically you don’t have to use tracing paper, but I really really prefer it because it’s vaguely see through and makes it easier to position. Trace the design just a little heavily with the pencil.
The method I use for getting the design on the rubber makes it so what you draw on the tracing paper is the same as what will be printed. I mean, you don’t have to worry about anything printing backwards!
With the knife blade or an exacto knife, cut a piece of the carving block just a tiny bit larger that the design you’re carving. Place the design with the pencil side down onto the carving block.
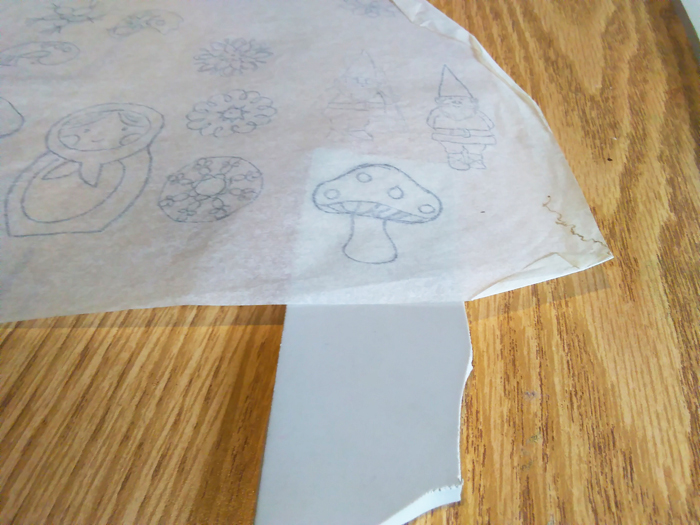
Use something firm to rub over the design to get it onto the carving block. I’m using the edge of the stamp pad here. If you have a burnisher for vinyl letters, you could use that. You can also scribble with the pencil over the lines and that will transfer the design as well.
Don’t move the paper while you’re transferring or you’ll get blurry lines.

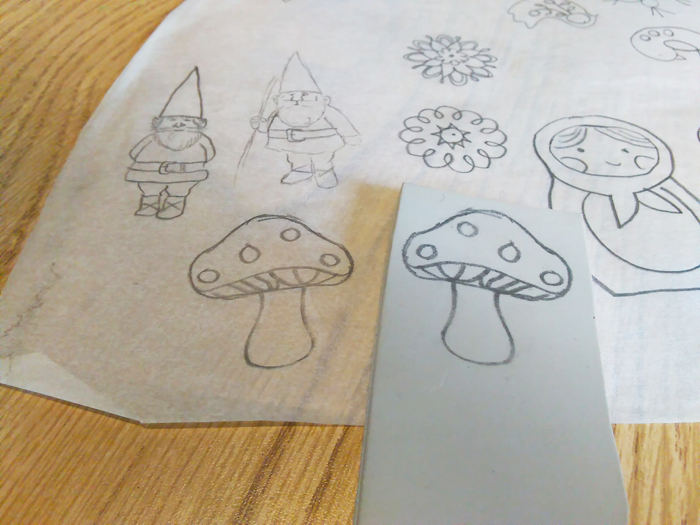
There you go. You get a reverse image of your design, onto the block!
Now, if you like, trace over the lines with a sharpie. This will make it so the design won’t rub off while you’re carving. I recommend you do it until you’ve carved a few times.
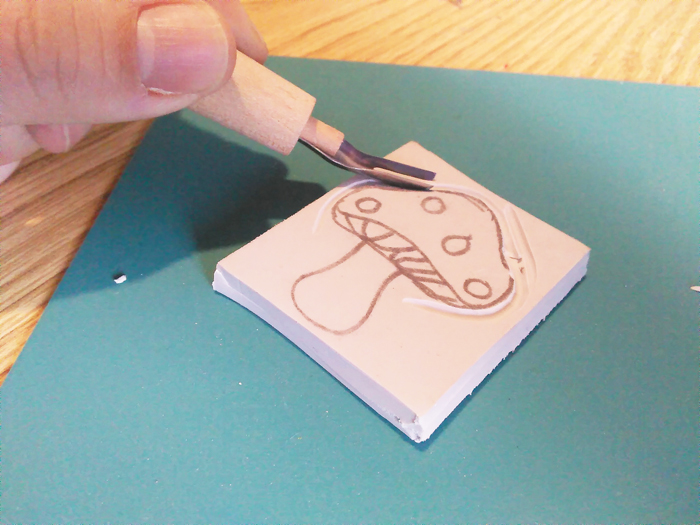
Ok! Now comes the fun part! Take a look at your carving blades. See how they have different shapes? You likely have a big V, a little V, a big U and a little U. Can you tell the difference?
Those are the four cutters I use the most. They all have different purposes. I know that I have a sort of process that I go through to carve, but yours may end up being different. Here’s how mine sort of goes.
Big V – first I use this to get a large deep outline around the design.
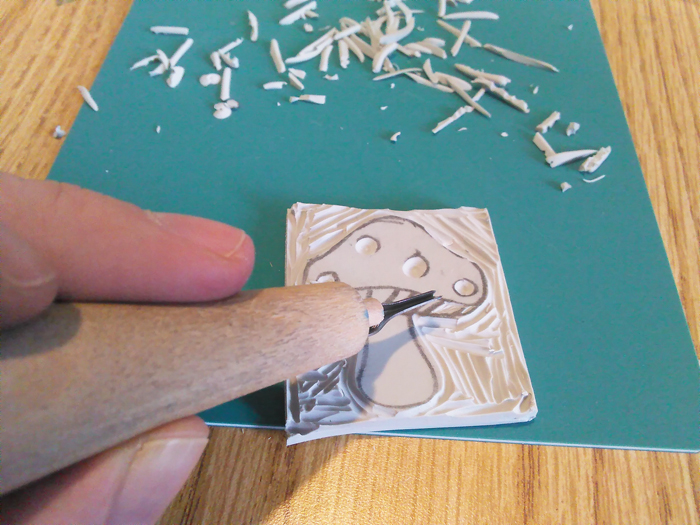
Little V – this is for the detail work and getting into tiny areas. I probably use this the very most, especially because I love to work on small detailed work.
Big and Little U – Then I use these to clear out the areas around and inside the design that I don’t want to be stamped.
*** SAFETY NOTE!!! *** These cutting blades are sharp! Hold the handle in your palm and cut away from yourself. And keep your hands out of the way!
For this design, I mainly used the big V blade. Use it to cut around the outline of the mushroom shape.
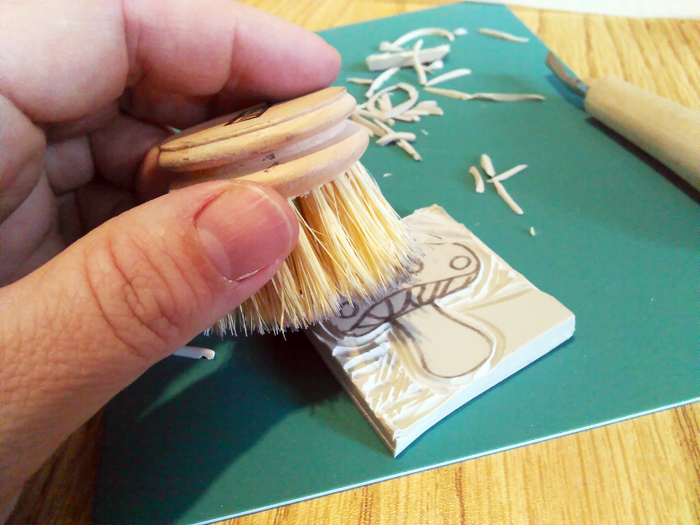
Brush away the scraps from time to time so you can see what’s carved and what’s not. This is a little brush I found somewhere, but you can use your finger to brush the scraps away.
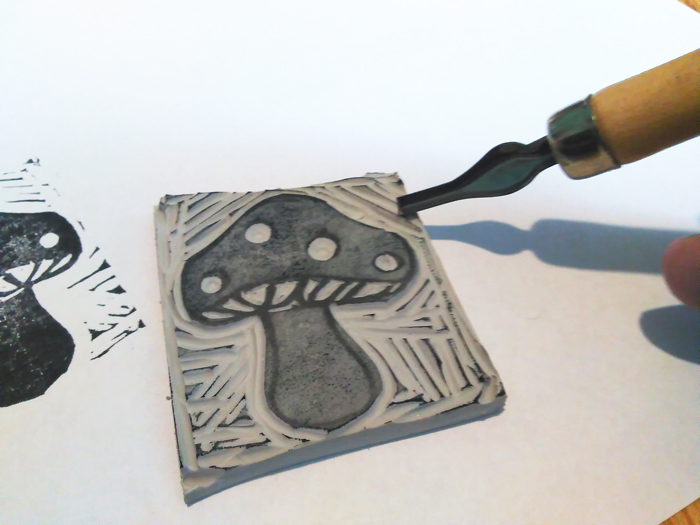
Now you might want to use the little V to do more detail work. You will definitely want to use the little V for the gills. It’s ok if the lines are pretty thick- that’s kind of the beauty of block carving if you ask me!
For the perfect circle dots on the mushroom, I stuck the little V blade in a little bit and then I twisted it in a circle to get the perfect circle. But maybe you don’t want perfect circles. Practice different ideas on some scrap pieces.
At some point, you will want to test your stamp out. Press it into the stamp pad and stamp on some paper.
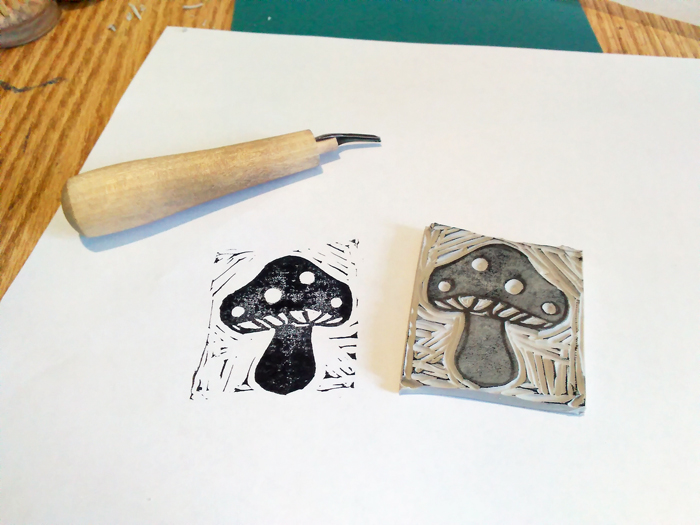
What do you think? Sometimes the lines that are left around the design are what you want. They can show movement and action. Sometimes you don’t want them. If you do, you might be done.
If you don’t want those lines, then now it’s time to use the big and little U blades to carve out the area around the outside of the stamp. You also use a straight blade or exacto knife to cut almost right up to the shape. Wipe off the stamp or stamp off all the ink before carving, or you’ll get ink all over your hands.
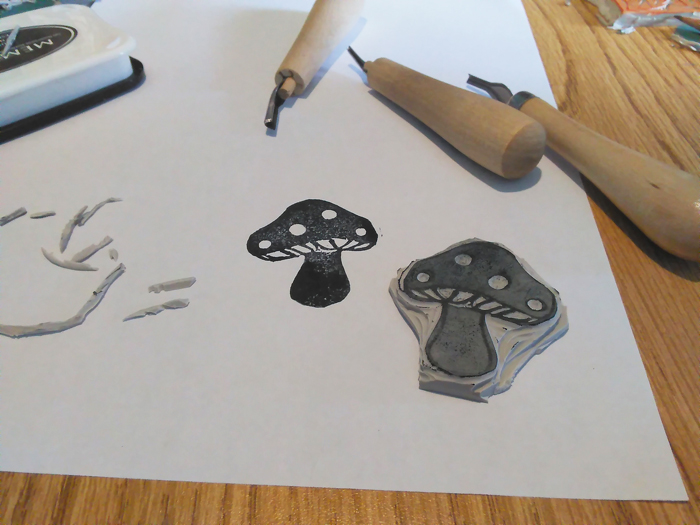
Keep carving until you’re happy with the design! Carve a little, stamp a little.
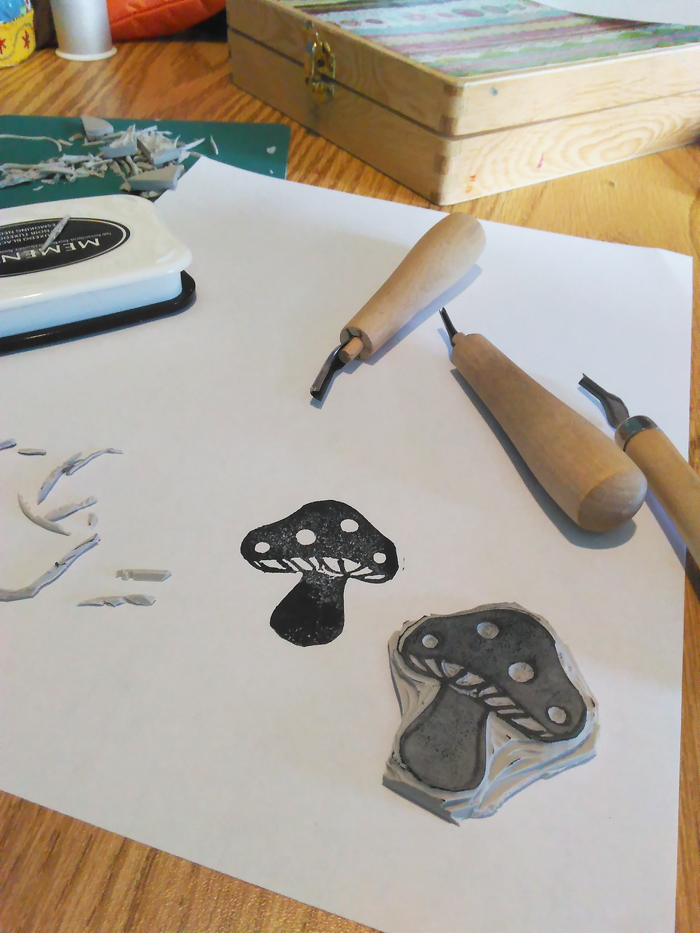
And that’s pretty much it. When you’re happy with the design, you’re done.
In a while, I will show you some things that you can do with your stamps!
So, what shapes are you going to be carving? And what are you hope to use a stamp for? Maybe I can help you out by writing a tutorial!!
Enjoy!!
This post was published on Muse of the Morning.com