I always seem to have small embroideries hanging around. I guess because I like to work on small things, and I don’t always have a plan so I can always be stitching on something… I guess that results in having piles of embroideries.
Today I want to show you a fun way to display those little embroideries. Or maybe you want to make some embroideries specifically for appliqueing, now that you’ll know how to do it! In any case, here’s a tutorial that you can use for pretty much any cloth surface.
I want to answer a few questions about this technique before we get started.
Why applique the embroidery rather than just embroidering right on the item itself?
Well, you could do that, it’s true. But then, if it’s a t-shirt for example, the t-shirt will wear out, probably before the embroidery does and then all your hard work is gone. Embroidery can last for generations- you’ve seen all that gorgeous vintage needlework, right? With an applique, you can take it off and put it onto something else when that item wears out.
So what size of applique can you do this with?
I would say that you can go up to about 6 inches. Bigger than that and you’re going to want it to be tacked down in the center to keep it secure.
Can I use this technique on any cloth surface?
Yes, with a couple caveats. If it’s a thin cotton (like quilting cotton) or a knit (stretchy fabric) you should use some interfacing behind the fabric. Cut a square that is larger than the applique and pin it behind your surface fabric. Sew on the applique through all layers. Cut away the extra interfacing when you’re finished.
You can totally use this technique as is on felt, felted fabrics like upcycled sweaters, mid- and heavy weight fabrics. Canvas bags, aprons, wool sweaters, already quilted quilts…. just stitch away!
Ok, shall we get started? Here we go!!
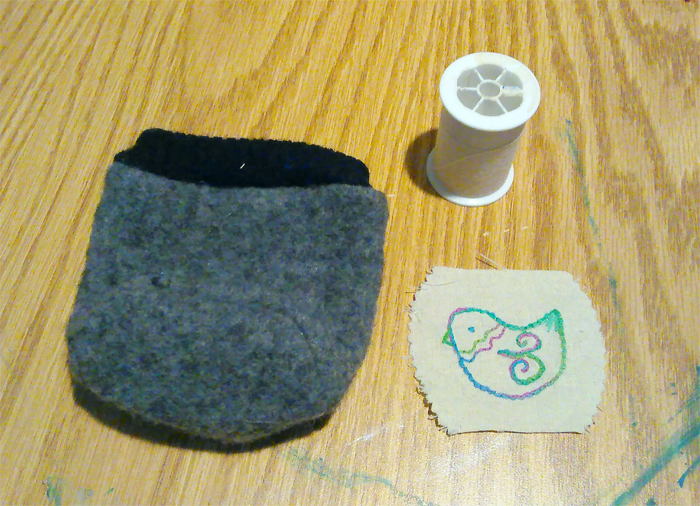
You will need:
– your embroidery project on a piece of fabric with 1-2 inches all around the embroidery. 2 inches is good here because you can cut off the excess later
– thread that matches the background of your embroidery
– something to sew the applique on to
First, this is the same concept that you would use no matter what size of applique you’re working with, and no matter what type of cloth surface you’d like to apply it to.
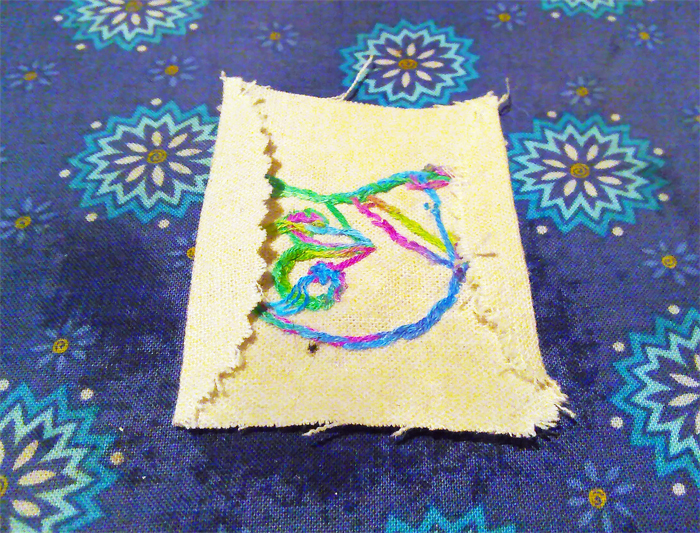
Ok, you’ve got your embroidery. Put it face down on the ironing board and fold up the sides. You may want to look at the front and pin them in place to make sure that the white space around the design is aesthetically pleasing.
(You can see water sprinkles around the edge because I sprayed it before ironing.)
Next, iron the top and bottom so all the raw edges are folded back.
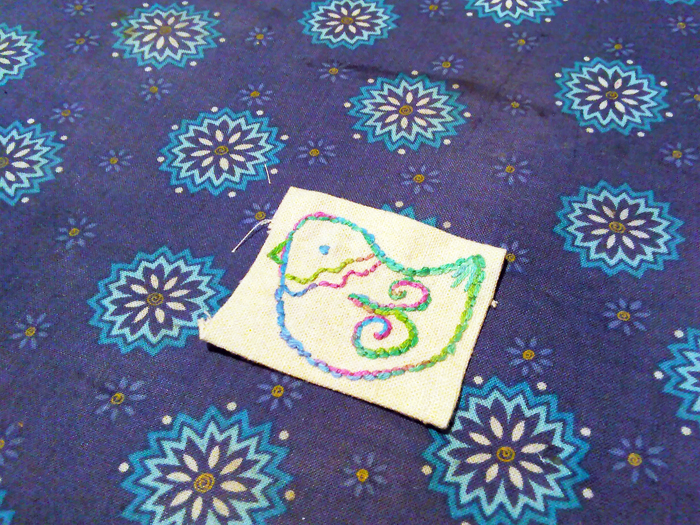
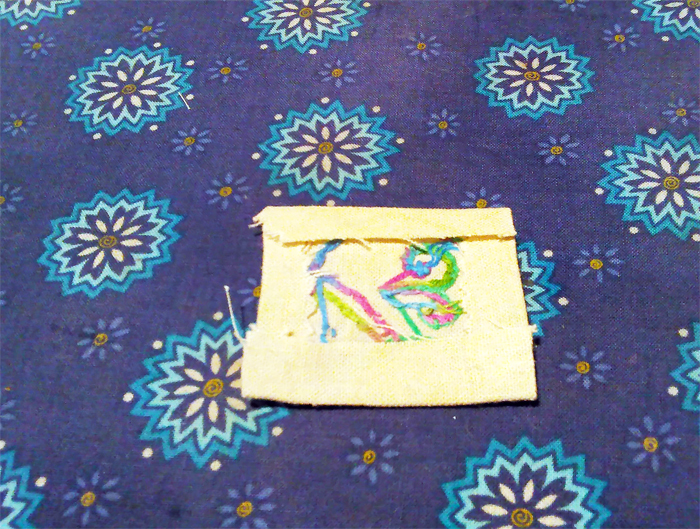
This is the applique. You can see that some of the raw edges are sticking out from the back. You can cut them a little bit or you can tuck them behind as you’re sewing the applique on. I usually tuck them back because it retains that fabric for the next time I want to sew this applique onto something.
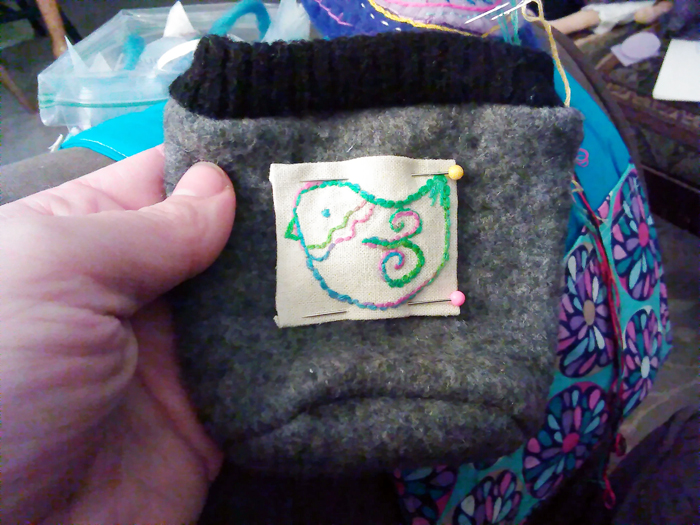
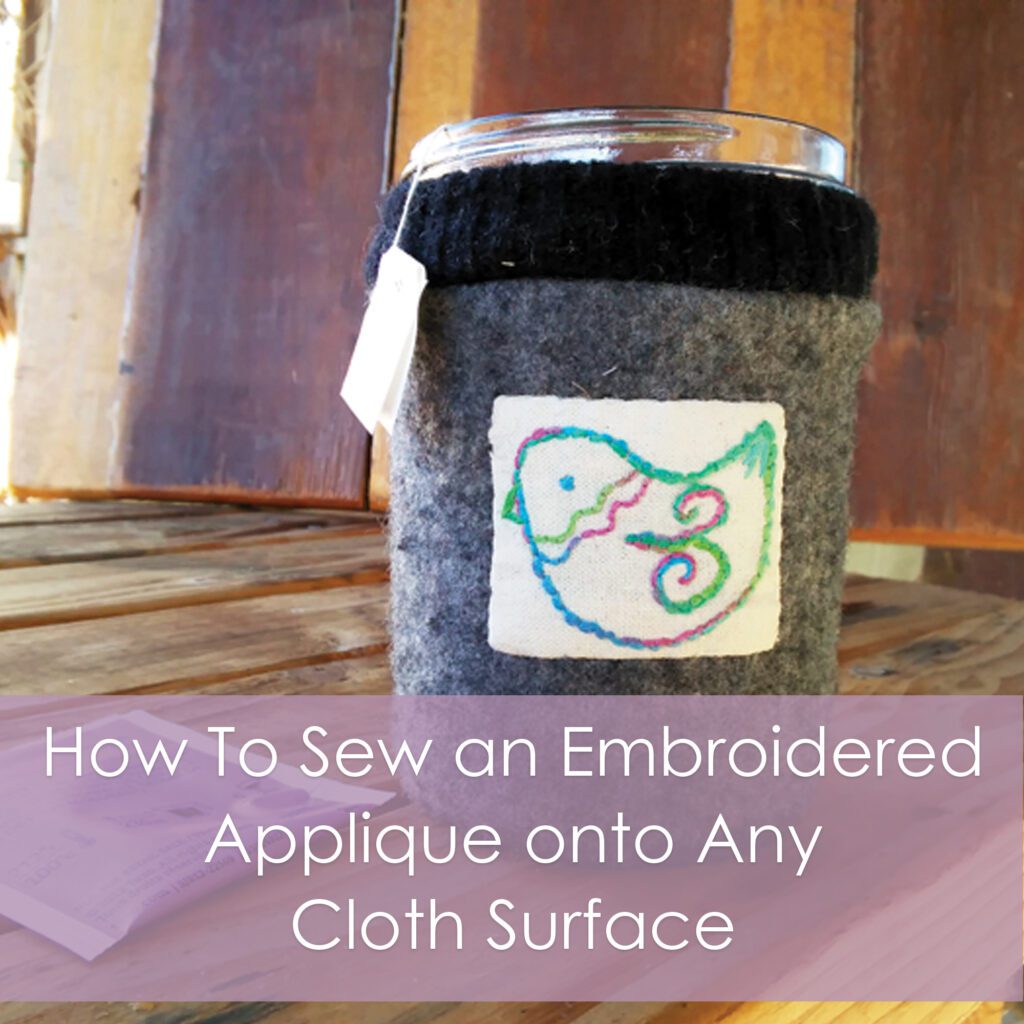
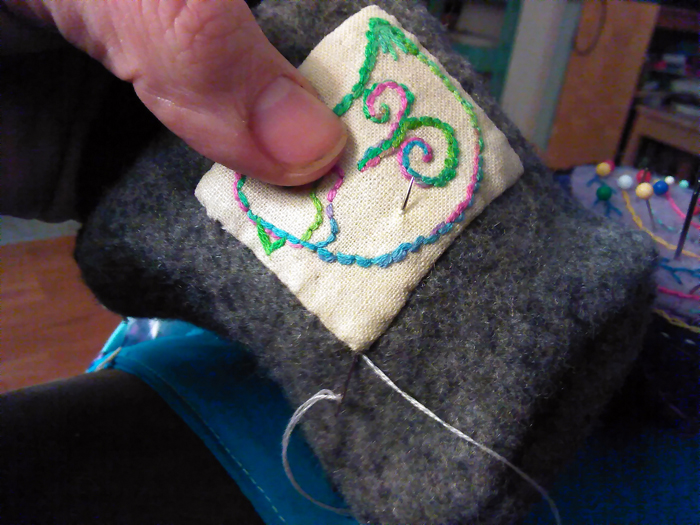
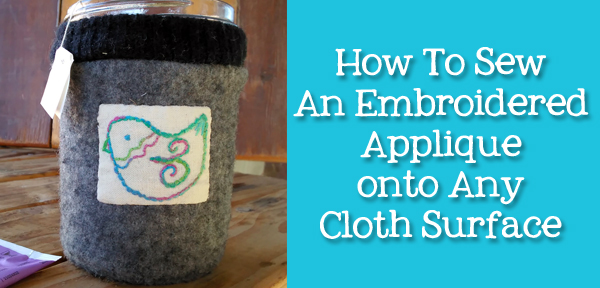
Now you get to align the applique onto your surface. I’m sewing mine onto a mason jar cozy that I made. If you’re interested, let me know and I’ll write a tutorial for how to make that too! Anyway- my cozy is made of an upcycled wool sweater that I felted a lot.
Pin the applique in place. You don’t want the applique to shift while you’re sewing it on.

Thread your needle with a length of the matching thread and tie a knot in the end. Put the needle through from the back of the applique, through the edge of the seam.
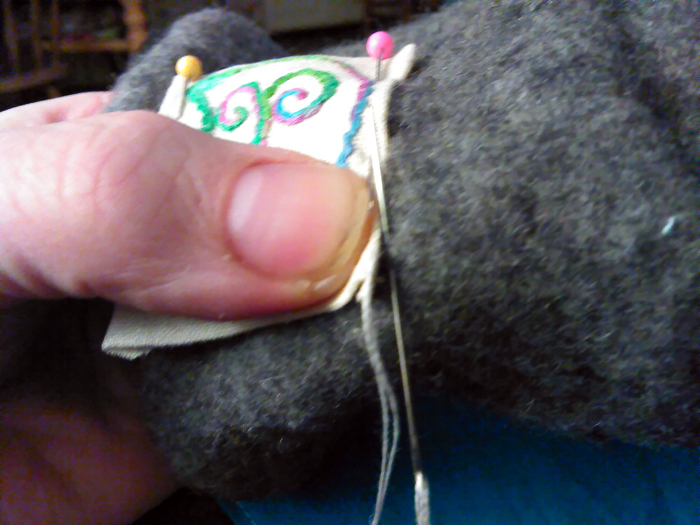
Stitch through the surface fabric right next to the applique. Almost underneath the applique even. (Sorry for the blurry picture)
Now stitch through the very edge of the applique.
And then through the surface fabric, then through the edge of the applique.
Repeat all the way around the applique until you’re all the way back where you started.
Now tie a knot. I didn’t get a picture of this, sadly, so hopefully my instructions will make sense.
Put the needle through really close to where the thread is coming out. As you pull the needle through the fabric, also put it through the loop in the thread. When you tighten the thread, it should create a knot.
This creates kind of a bumpy knot on top of the fabric. Here’s how to hide it.
Send the needle through from a spot very very close to the knot into a blank space in the center of the applique.
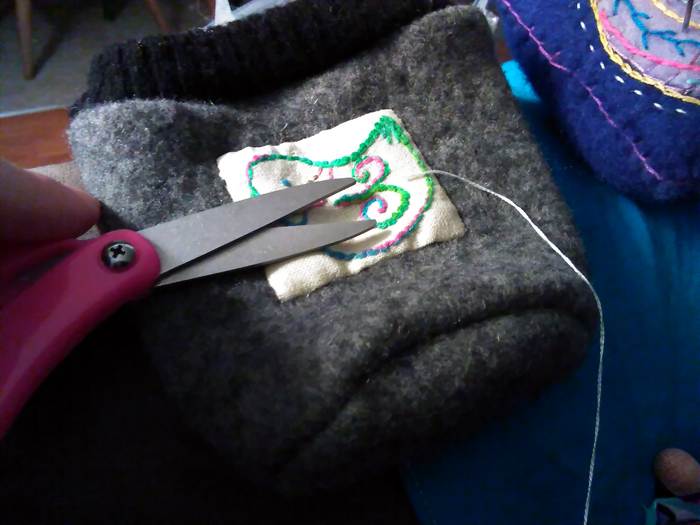
Pull on it gently and clip the thread very close to the fabric. When you release, the thread will go back under the applique with no trace and your knot will be hidden. Voila.
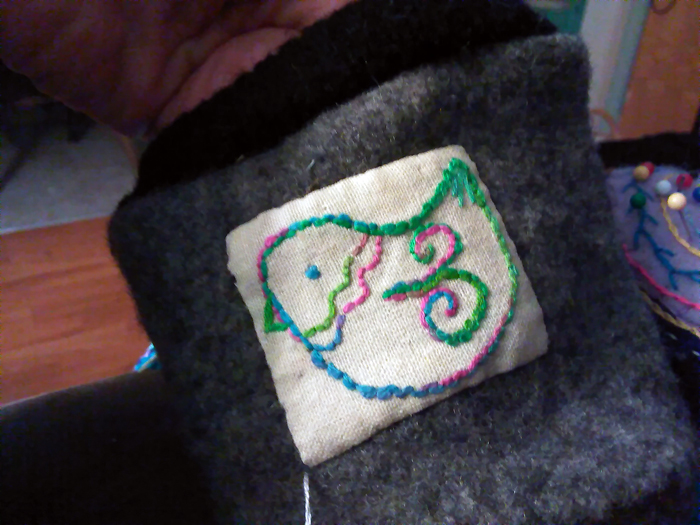
And there you go.
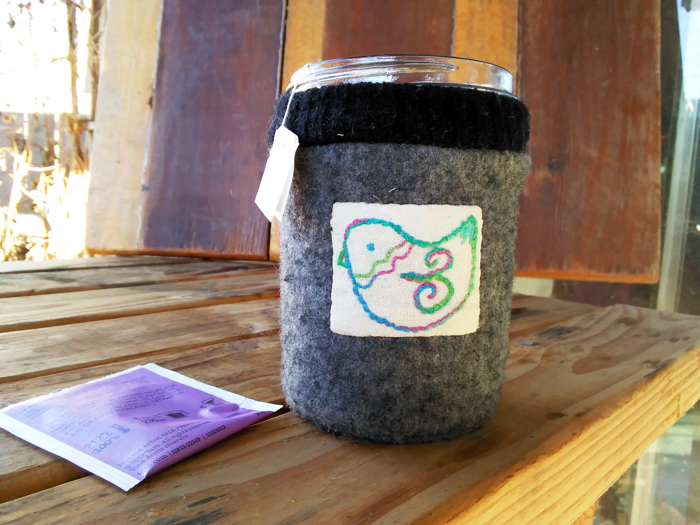
And that is how you sew on an applique!! It’s pretty quick and easy.
What are some things that you want to sew embroidered appliques onto?

This post was published on Muse of the Morning.com