I think this method is probably my favorite method for transferring and using embroidery designs. There’s also the window and hoop method, which would be a good runner up for me, but the Sulky is my absolute favorite.
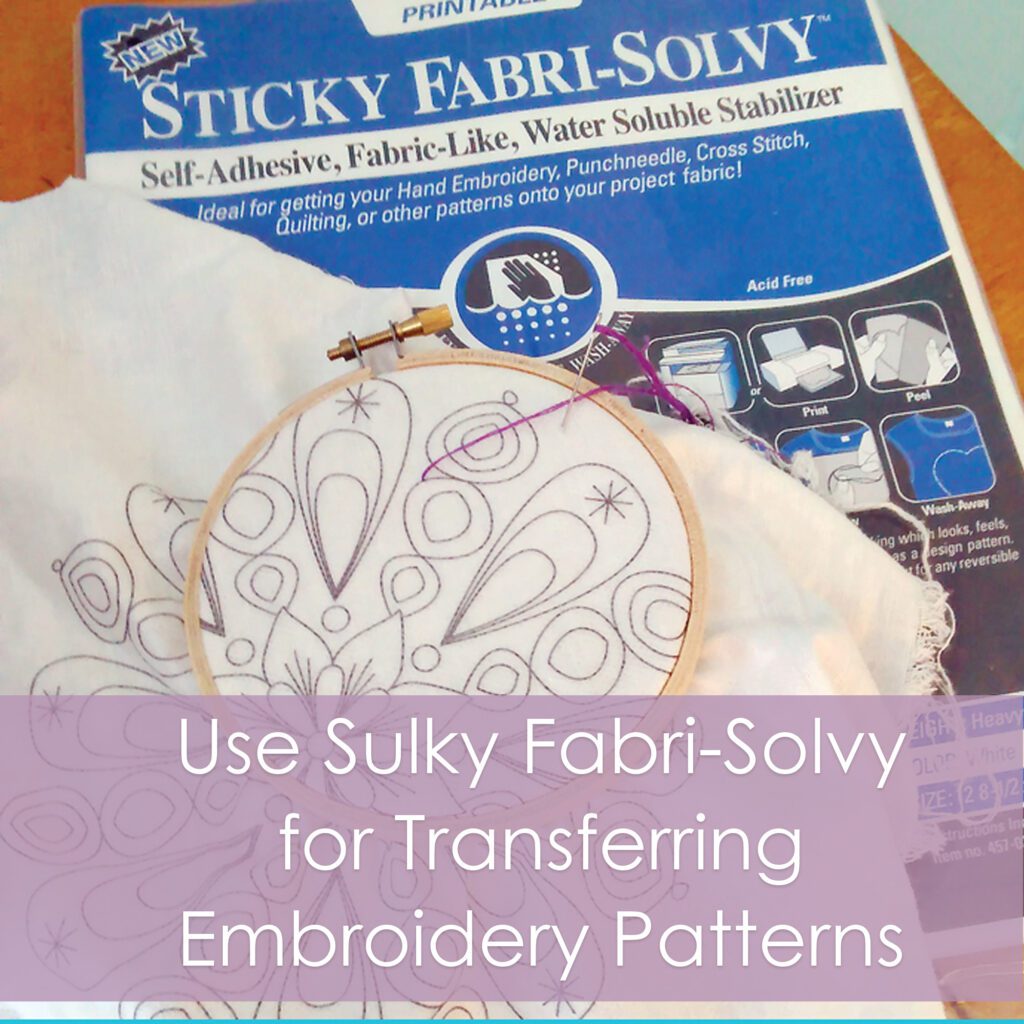
Sulky is my favorite because it’s super easy to print out whatever I want anytime and stick it to fabric and it’s ready to go. No tracing, no messy pens or chalk, no designs rubbing off or disappearing mid-project. It’s easy and fast to stick onto my fabric and get right to stitching. It’s also great for felt, which is nearly impossible to trace onto! And with knit fabrics, it can act as your interfacing while you’re stitching so the fabric won’t stretch! If you aren’t able to print on it for whatever reason, you can still trace directly onto the Sulky with a thin sharpie or pen, and it won’t mess up your fabric.
The downsides- it does make your fabric thicker for stitching through. You get used to it though, in my experience. This may make you not want to use a hoop- but there are lots of people who don’t use hoops and it works just fine! Also in the heat, it can kind of gum up your needle as your stitching. This is not a deal killer for me though, and it’s still totally worth it to use Sulky for me! When this happens, I just insert the needle in a bit of scrap fabric and then get back to stitching.
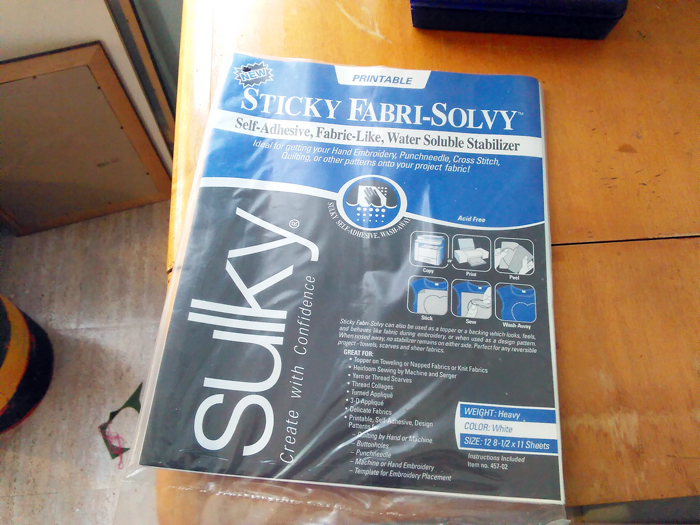
You can find Sulky on Amazon in a 12 pack. This is really good because once you give it a try, you will want to use it for all your projects!
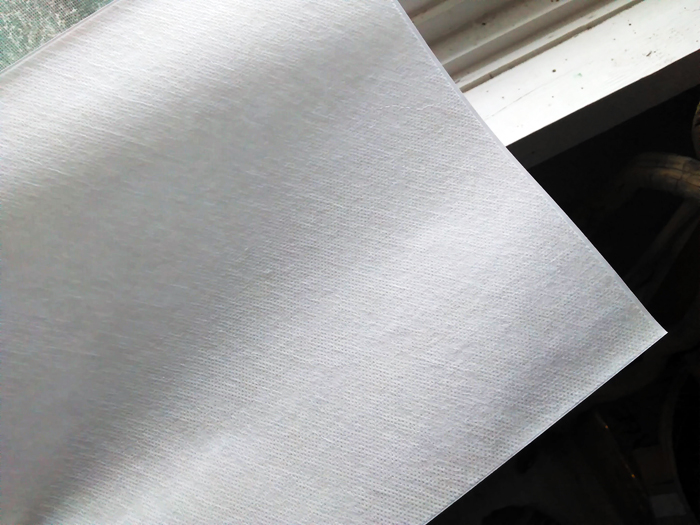
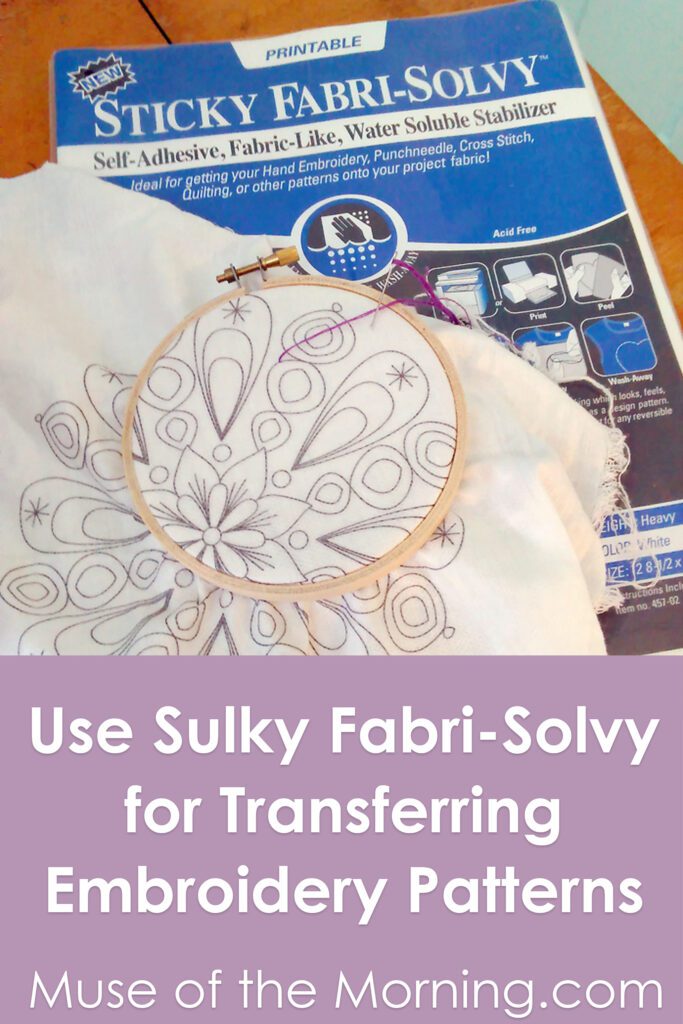
This is what it looks like. I was trying to get a close up of the texture. Its a little bit bumpy and feels a little like fabric. One side has a shiny backing that you peel off when you use it.
Here’s how to use it:
Find an embroidery design that you want to print out. If you can, lighten the color. You might want to print on “draft setting” as that should print lighter.
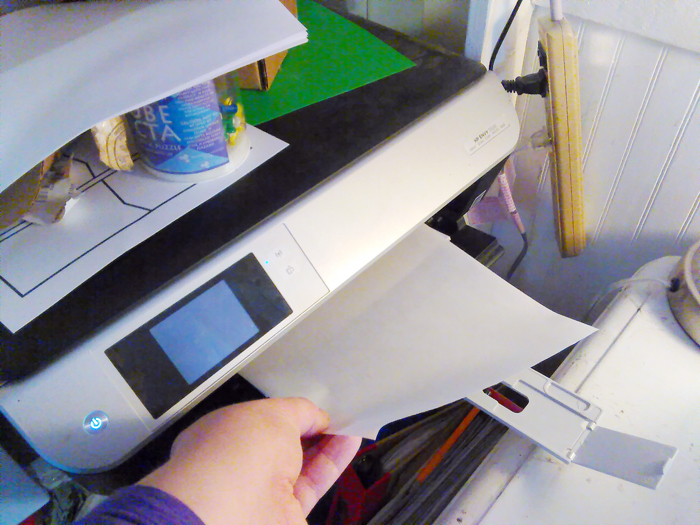
Insert the Sulky into your printer. Make sure that it will print onto the fabric-y side, not the shiny side. Click print!
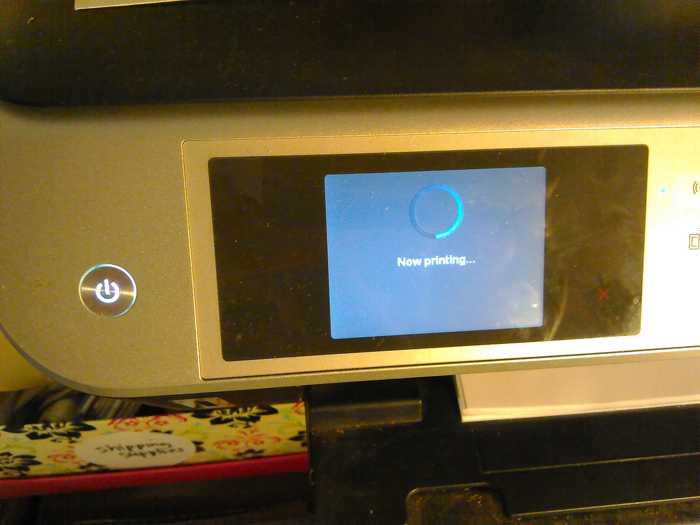
Wait patiently for your design to print out.
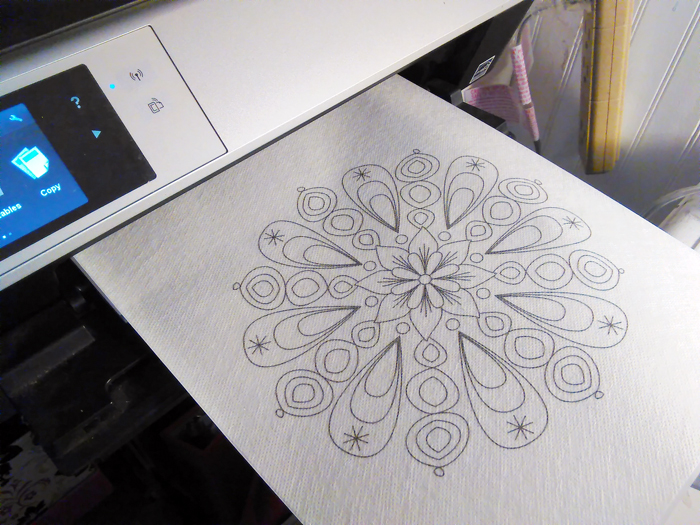
And there it is all printed out!
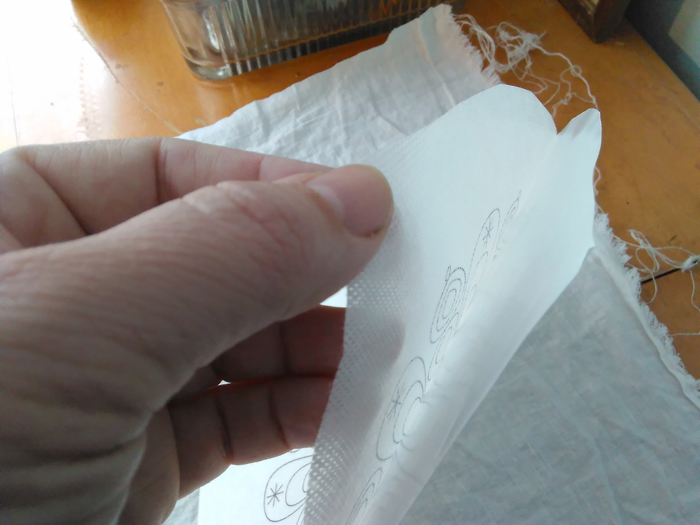
Have your fabric ready. You’ll probably want it to be ironed so it’s nice and smooth. Peel the backing off of the sheet of Sulky.
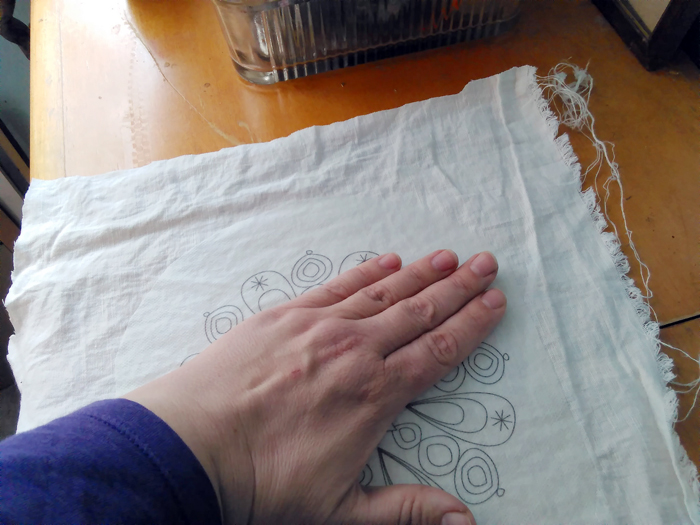
Press the Sulky onto your fabric.
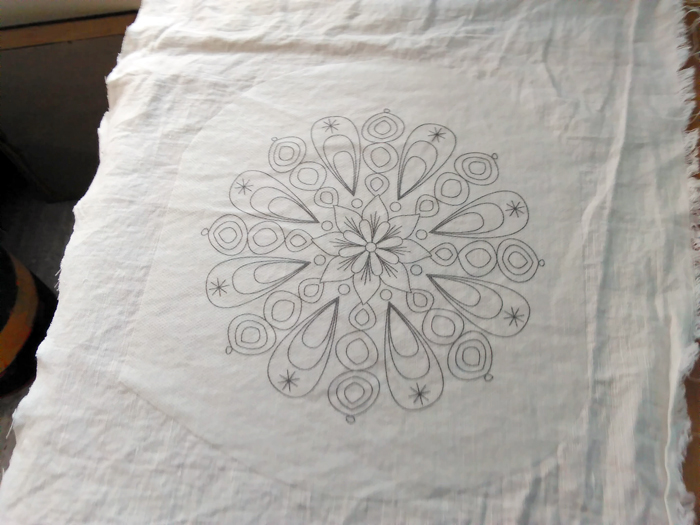
Look at that! It’s all ready!
Now, if your design is really large, or you think it will take a long time to stitch, you might want to give it a nice basting stitch around the edge. This will just keep it secure.
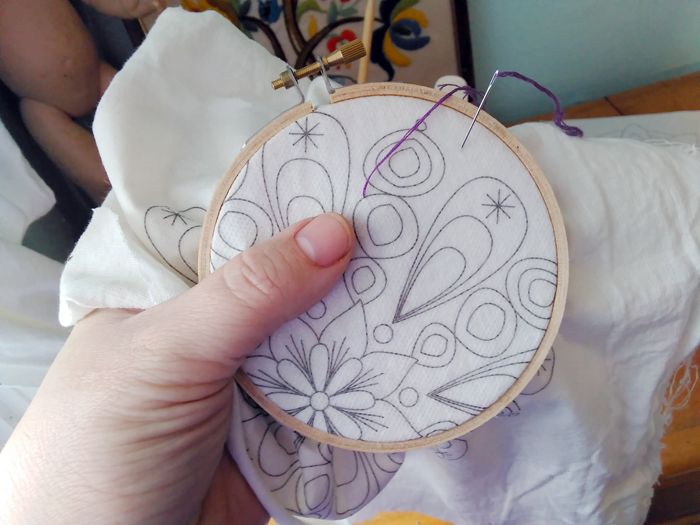
Now embroider. This is the fun part. Now- the Sulky is thicker- its kind of like stitching two pieces of fabric. But it’s really worth it because your design is not going to erase or bleed or anything like that. I’ve heard of some people who prefer not to use a hoop because the fabric is thicker. You should try different ways to figure out what works for you.
Ok, I’m all done embroidering! Remove it from the hoop if you used one. (Yes, I did change the project for the rest of this post. Did you see how big that other one was? It’s taking me a long time!!)
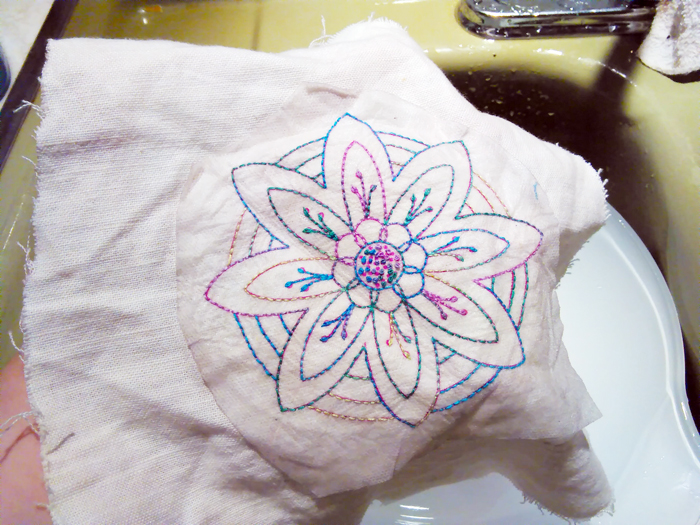
Ok, now it’s time to soak your design. I put mine in a bowl of water. Make sure it’s totally covered and let it sit.
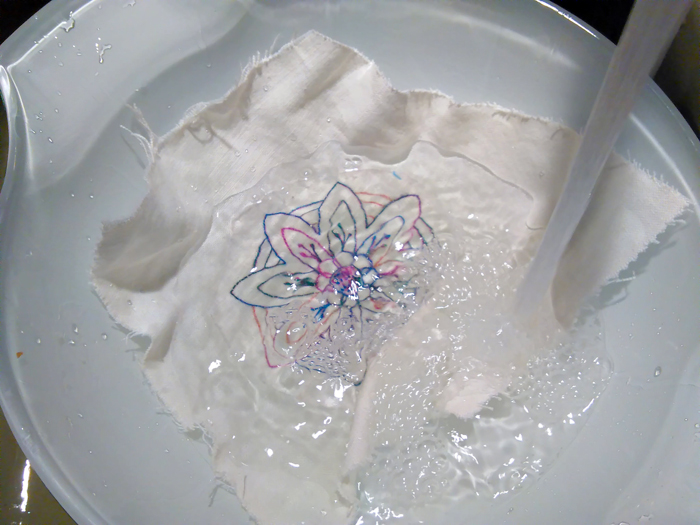
See how the pieces of Sulky are coming off and floating on the top of the water?
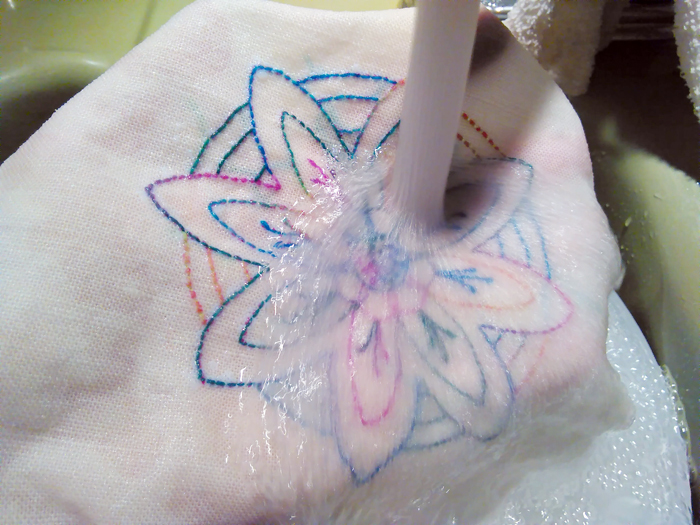
I let it sit for 30-45 minutes. If it doesn’t all come off, just let it soak a little longer. Then rinse. I’ve sometimes run mine through the washing machine after soaking it for a little bit. It just makes the rinsing easier.
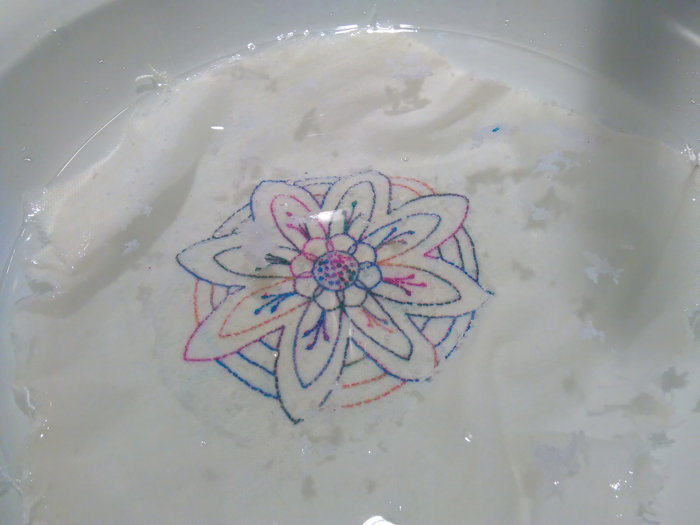
Occasionally, if the ink was really dark, you might find little spots of the ink hanging onto the threads. If this happens, just soak longer, maybe over night. And add a splash of vinegar to help the Sulky dissolve.
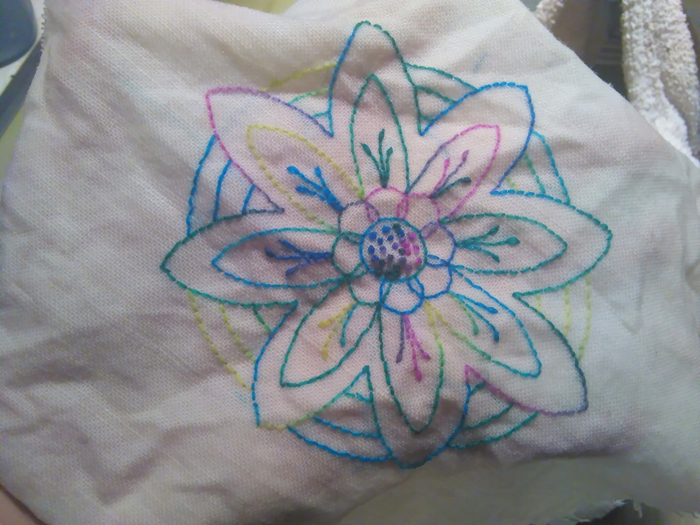
The colors are all super vibrant because they’re wet. Hang your embroidery to dry.
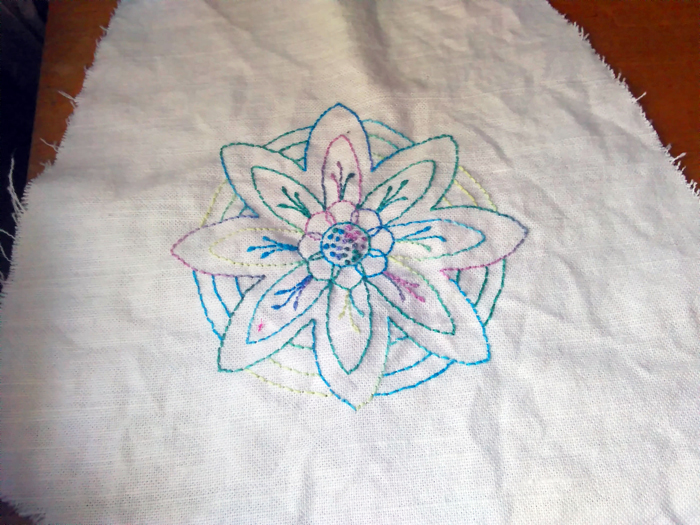
And that’s it. Now it’s ready for the next step- ironing and getting ready to display!!
What have you been embroidering lately? Do you love Sulky as much as I do?
This post was published on Muse of the Morning.com