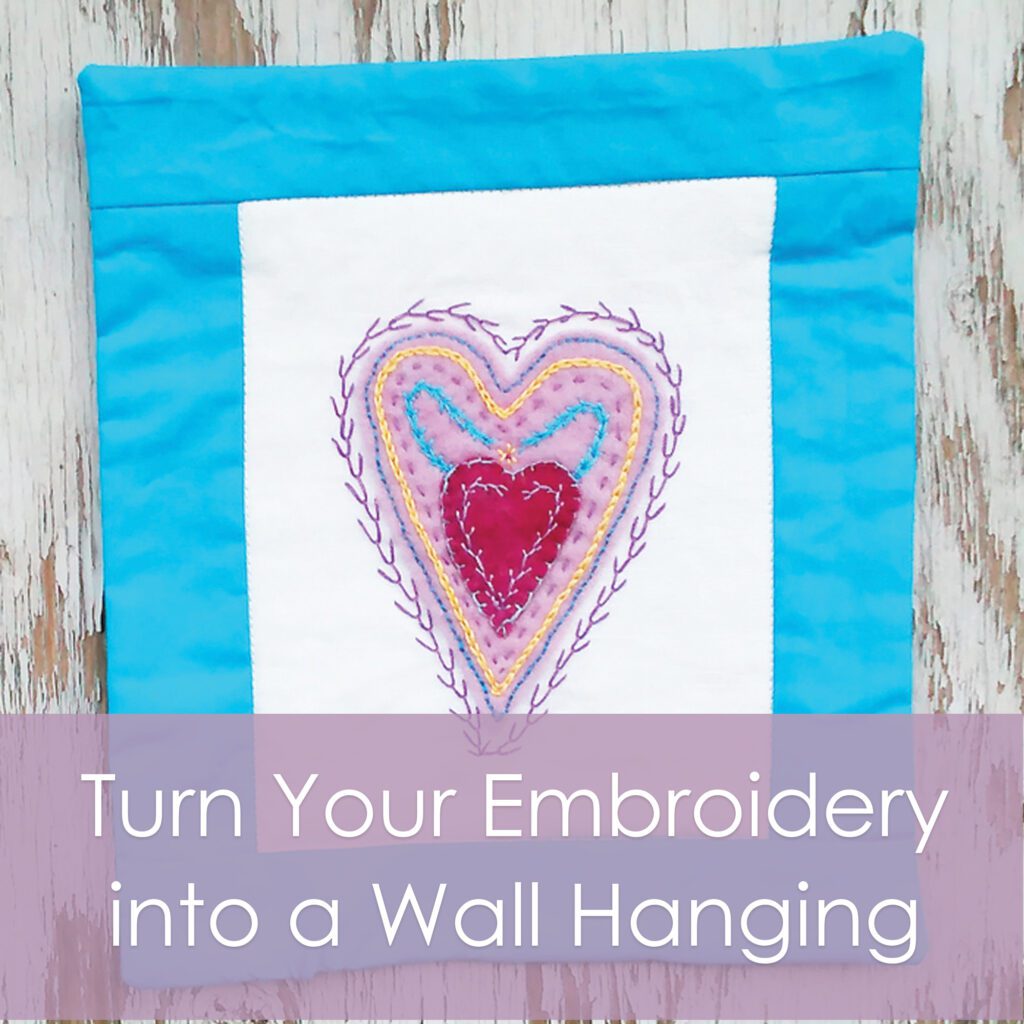
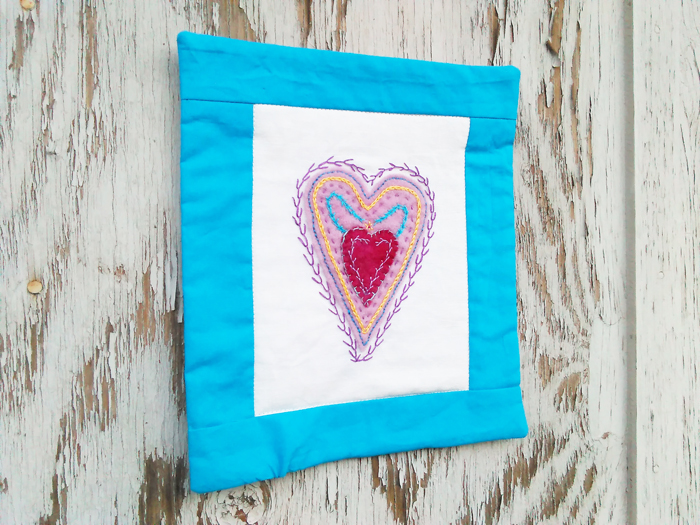
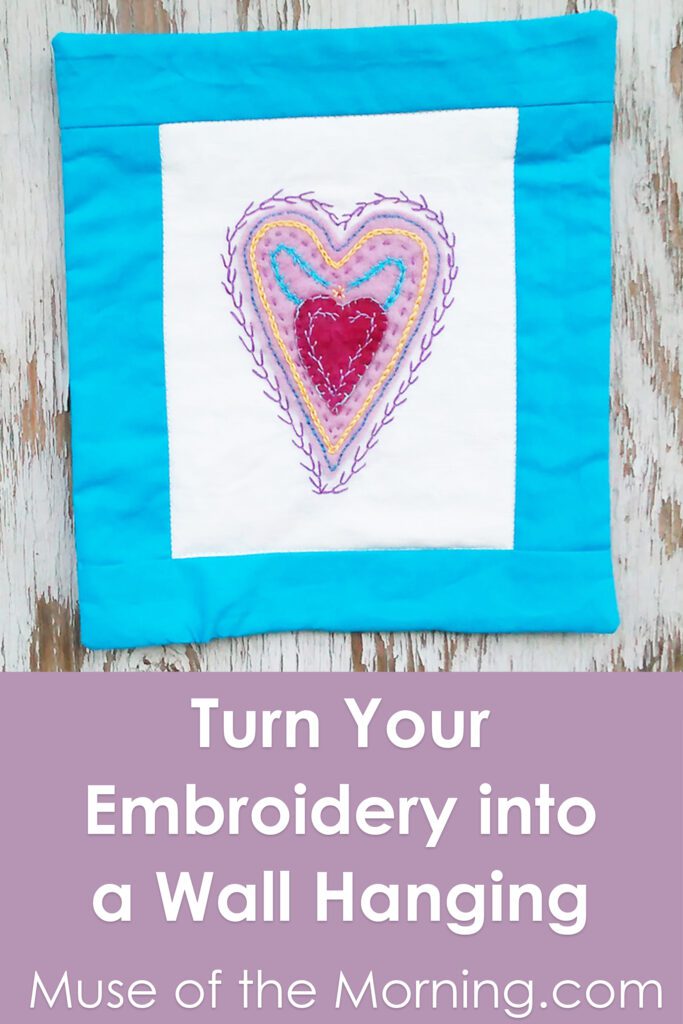
Once you work so hard on your embroidered designs, you’ll probably want to display it in a lovely manner. This is a great way to display your work- especially if it’s quite large. It really does work for any size though.
Here’s what you’ll need:
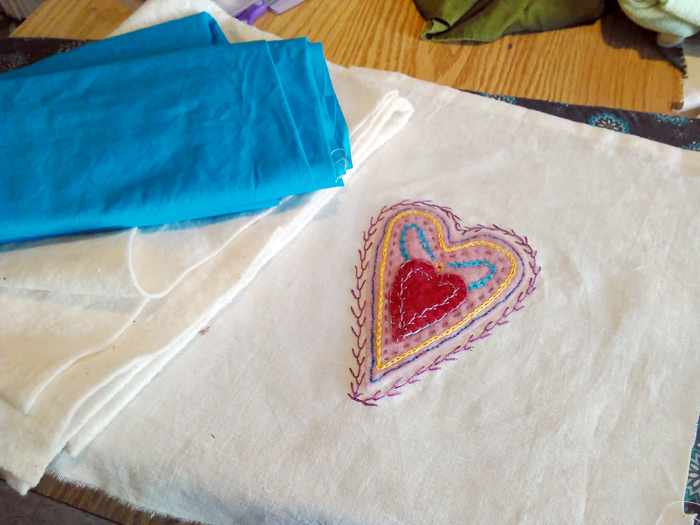
– your design, with plenty of space left around it
– fabric for the sides and back
– a low loft batting for the inside
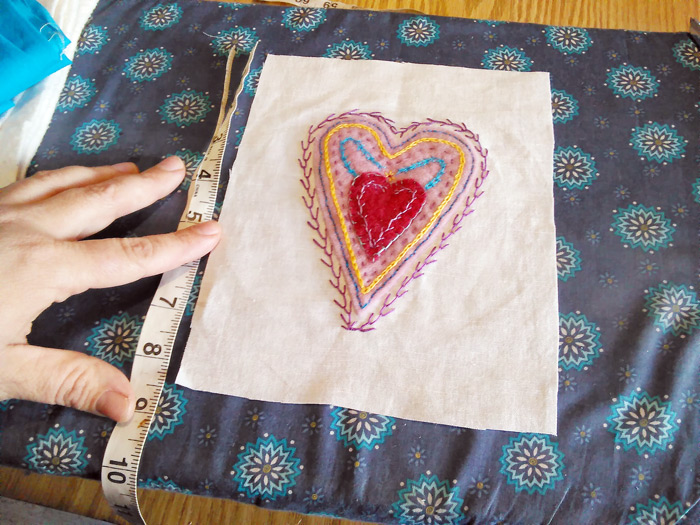
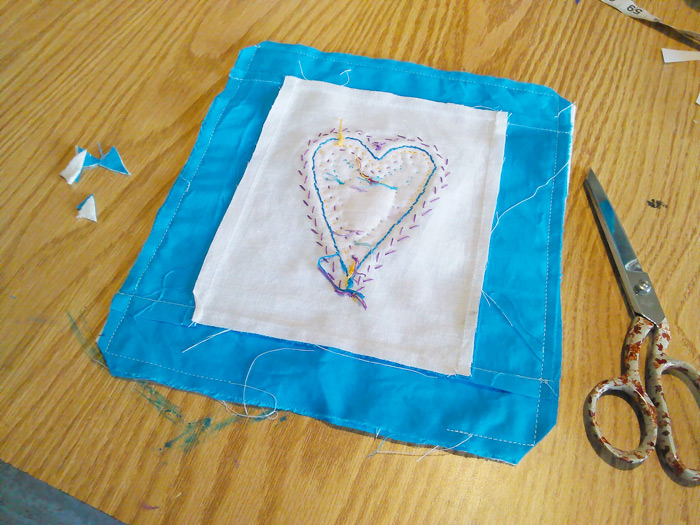
Alrighty, let’s get started. First you’ll need cut around your artwork, leaving adequate space. Measure how big you want it to be, but then add an extra half inch on each side for the seam allowance. Iron the fabric from the back so you don’t squish the embroidery.
Now that’s it all cut out, measure the length of the side.

Cut out some strips of the backing fabric that are 2.5inches wide.
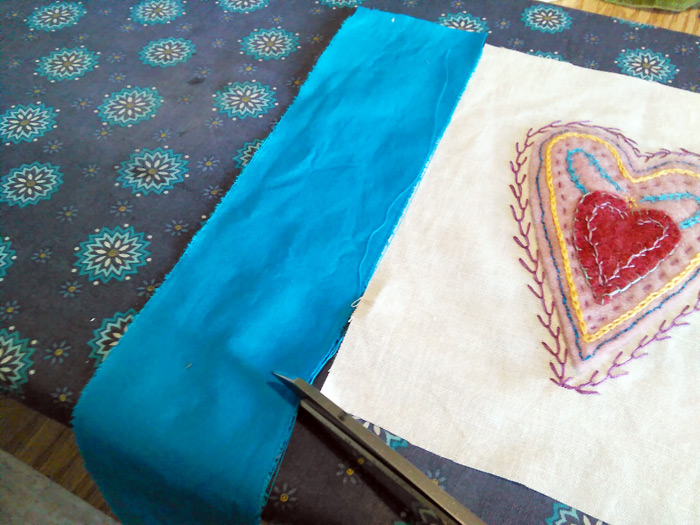
Cut two of the strips to the length of the side.
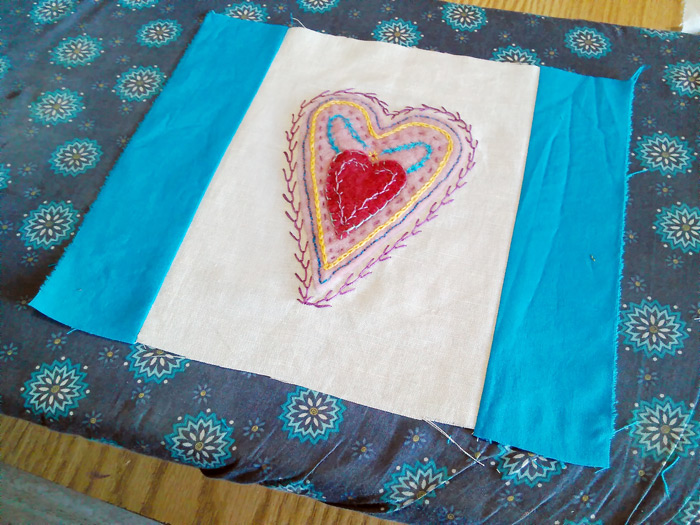
Stitch those strips onto the sides with right sides together. Use a half inch seam allowance.
Press, making the seam allowance go toward the sash fabric.

With two of the other strips, measure and cut the length of the top of the artwork, including the strips you already sewed on.
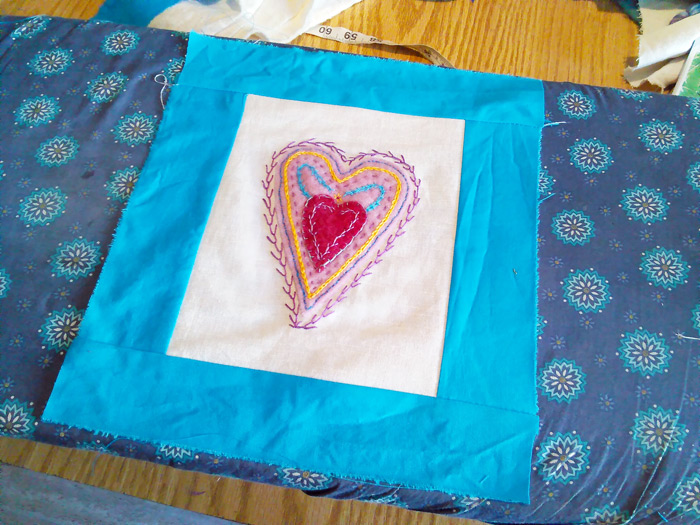
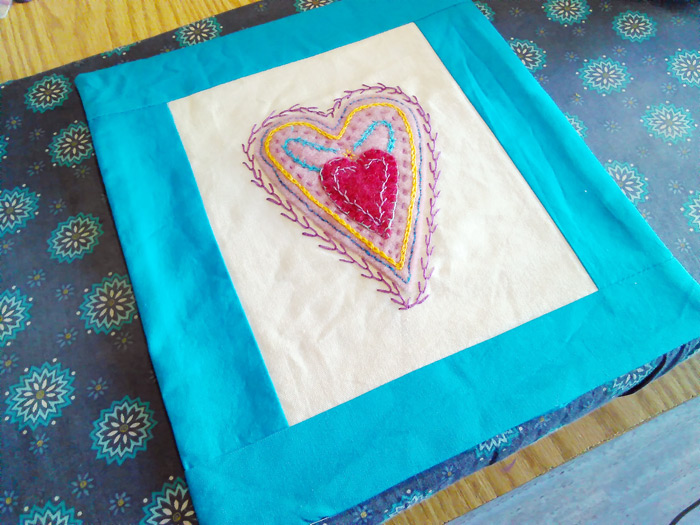
Sew those puppies on also. Press again, Look, you’ve got your embroidered work all framed!
Now we have to put it together with the backing and the batting.
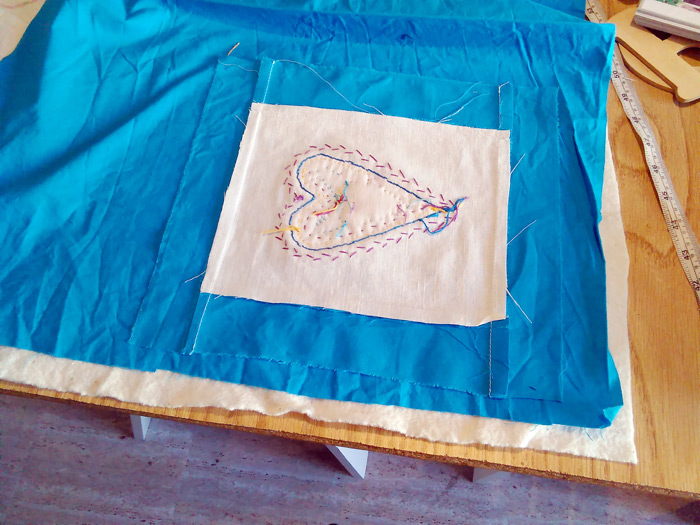
On your table, place the batting. Now put the backing fabric on top of the batting, with the right side up. Lastly, place the embroidery, with right side down.
Cut through the batting and the backing around the front.
Now you have an embroidery sandwich. Batting on the bottom, backing in the middle and the embroidery on the top.
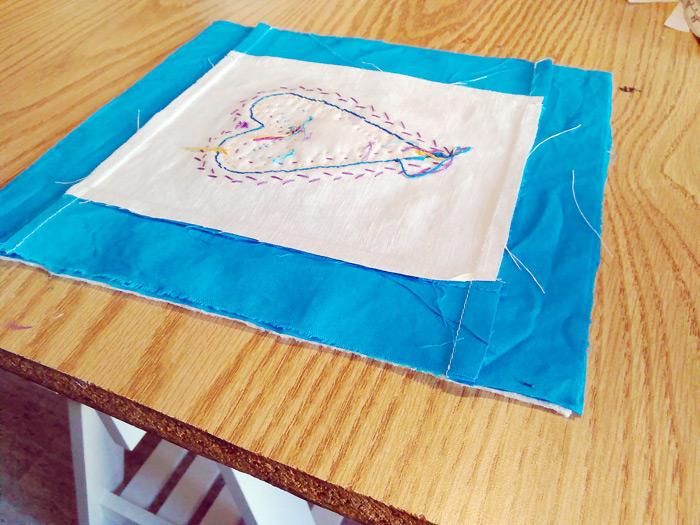
Sew all the way around, leaving 2-3 inches open along the bottom. Clip the corners.
Turn the artwork right side out and press it, avoiding squishing the threads. Stitch in the ditch (in the seam) between the artwork and the border.
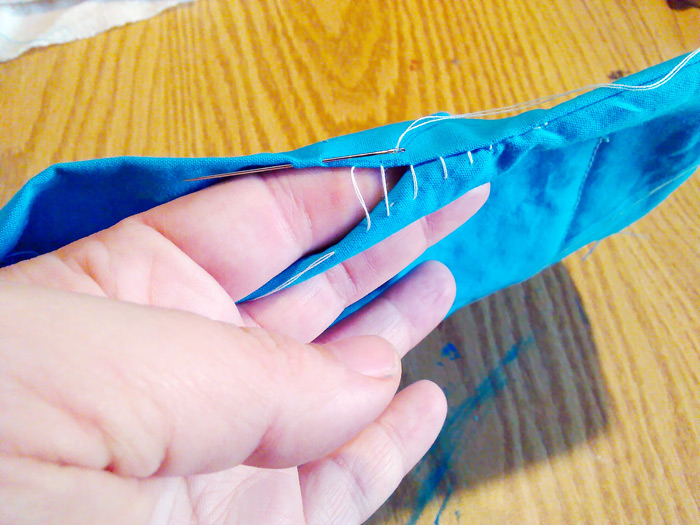
Close up the bottom opening with a closing, or invisible stitch.
And that’s pretty much it for the wall hanging itself.
Now, let’s create a casing to stitch onto the back to hang the artwork from.
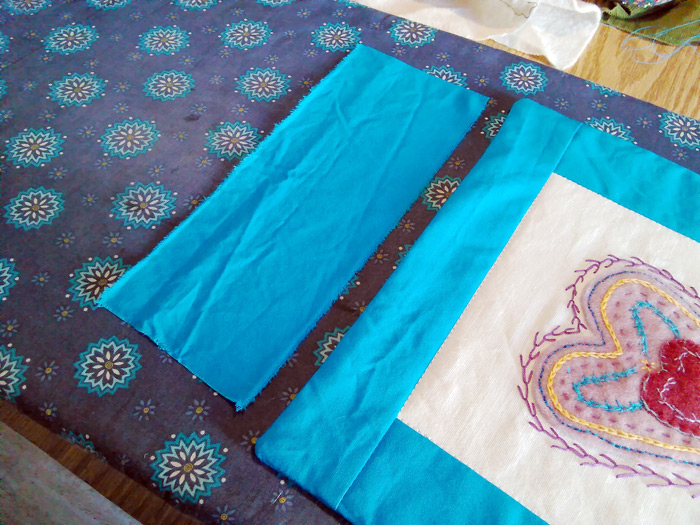
Cut a piece of the backing fabric that is 3 inches wide X a little shorter than the width of your wall hanging.
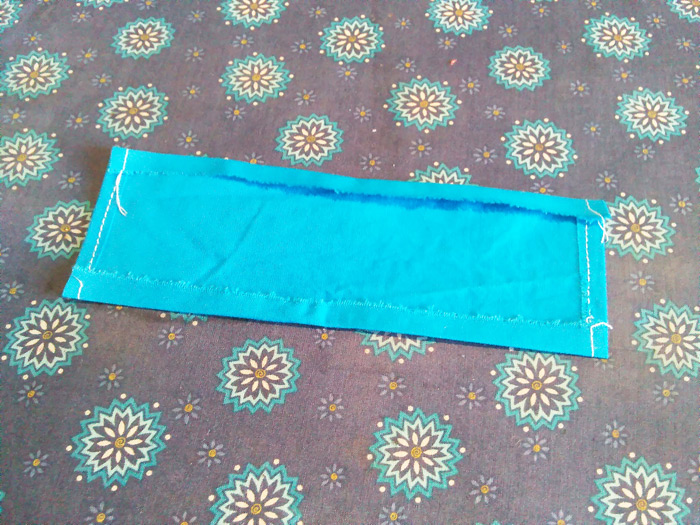
Fold the short ends over about 1/4 inch and sew them down. Fold the long ends about 1/4 inch and iron in place. Now fold it in half the long way and iron that as well.
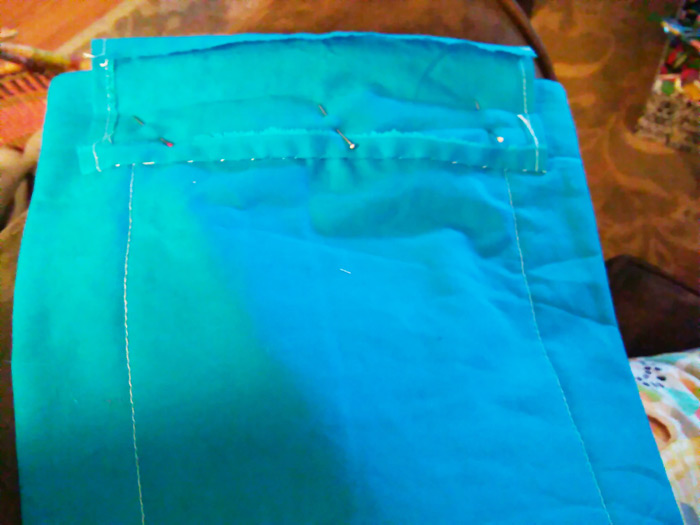
Open up the casing and pin it to the back of the wallhanging in a nice straight line about 2 inches from the top. With the invisible stitch, sew one long side of the casing to the back of the wallhanging. Make sure you’re not stitching all the way through to the front! Just stitching through the backing will be fine.
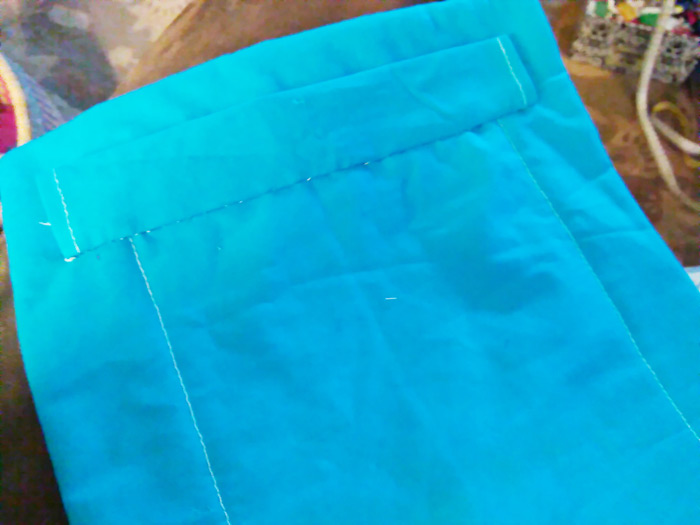
Fold the other side down and stitch it in place as well.
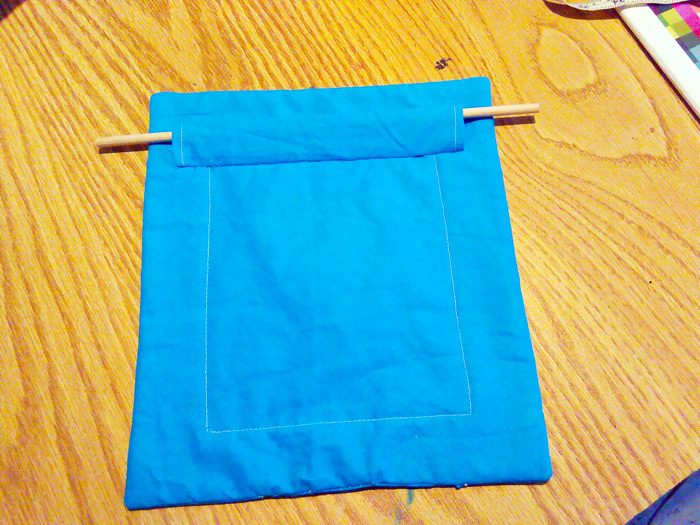
Now you can put a dowel through the casing and hang your artwork from the dowel. Cut the dowel, so it doesn’t stick out too far from the wallhanging and look kind of funny.
You can tie a ribbon to both ends of the dowel and hang from the ribbon. Or you can evenly space a couple thumbtacks and hang the artwork on those.
And that’s basically it. Hang that loveliness up and show off your hard work!
What do you think? Do you have a favorite piece of embroidered work that you’re going to hang up?

This post was published on Muse of the Morning.com
I would like to make a wall hanging from a cross-stitch design I’ve completed. The design is round. I am not very experienced with sewing, but I have a machine and plenty of scrap fabric. Do you have a pattern and instructions for making a round frame for a wall hanging?