
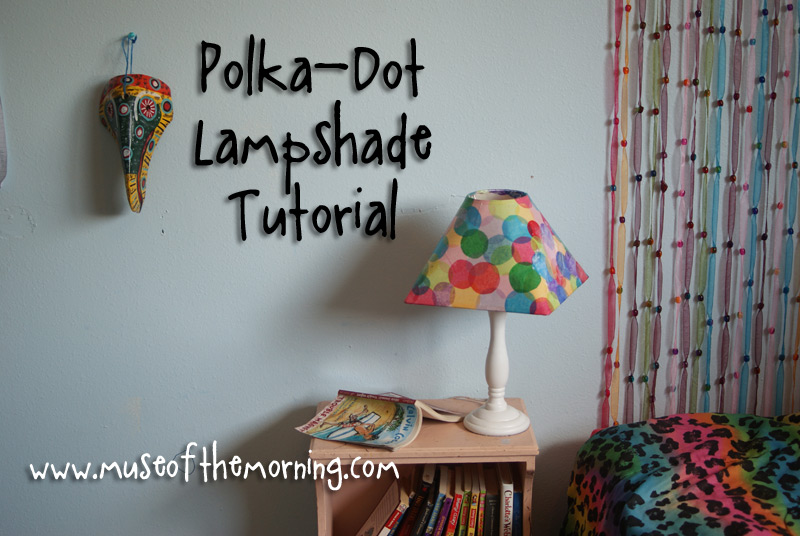
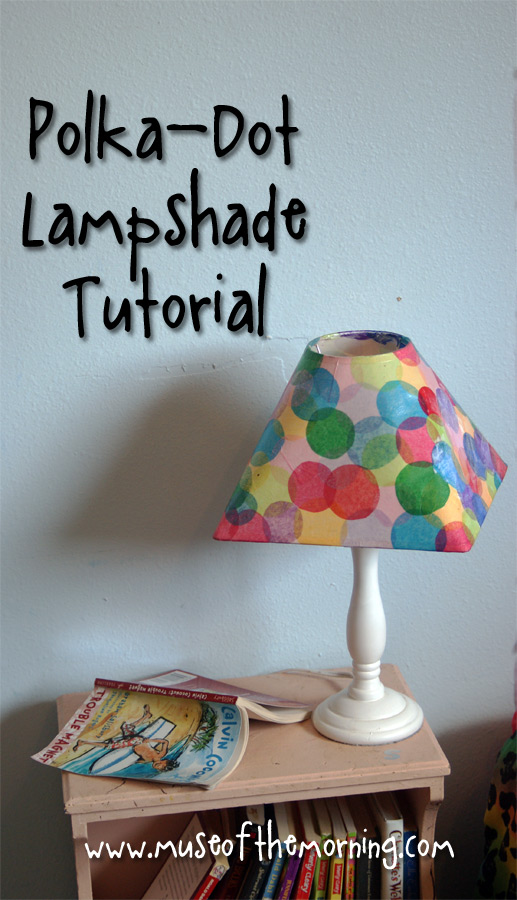
There are a lot of really fun ideas out there for altering lampshades. And there are a lot of oh so blah lampshades out there that need some altering done to them. I love colors and this idea is super easy to do.
Here’s what you need:

– a bunch of colorful tissue paper – the more variety in colors, the better in my opinion. But you could even do just 2 or 3 colors depending on what look you’re going for!
– scissors to cut the tissue paper – I tried using a paper punch and it was not happy with the thin sheets, so just skip my mess and use scissors.
– mod podge matte – I suppose technically you could use the glossy finish, but I really prefer the matte.
– a wide flat paintbrush for spreading the mod podge
– a lampshade – Look for a good one at Goodwill. If you don’t have the lamp itself, I say look at the shape rather than color because you can always spray paint. This one was just a simple lamp and I did spray paint it white. This lampshade feels like it’s plastic coated cardboard on the inside and a thin fabric over cardboard on the outside. It’s perfect for pasting onto.
Ready to get started? You might want to put some wax paper down on your work surface, but I didn’t. I just waited until the edge was dry before finishing the other edge.
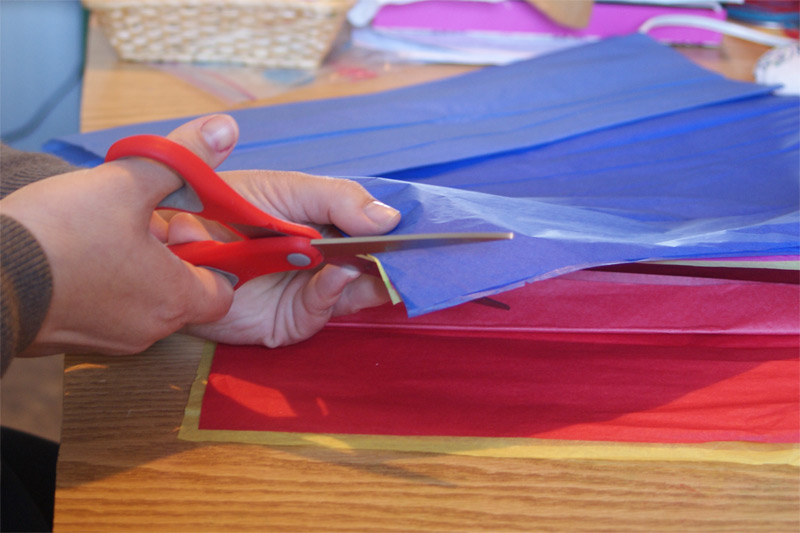
Cut out a bunch of circles from the tissue paper. I stacked up 4 or 5 sheets and cut out that many circles at one time.
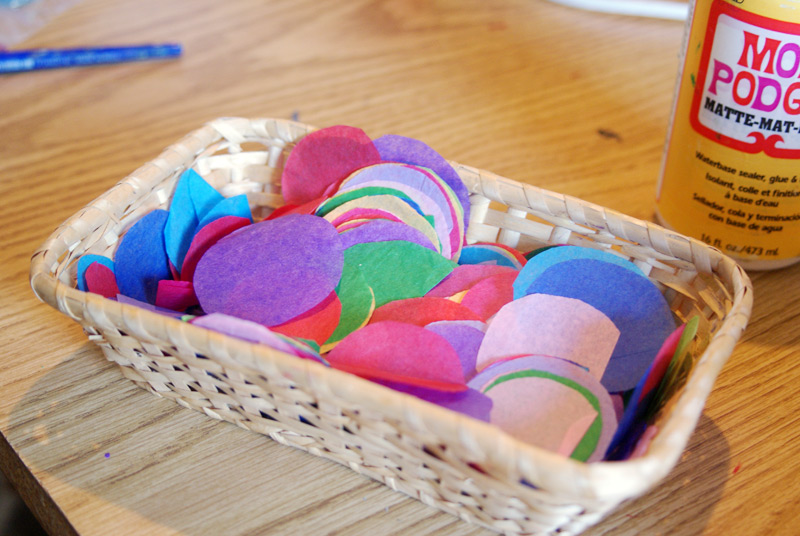
After a while, you’ll have a whole bunch of tissue paper circles.
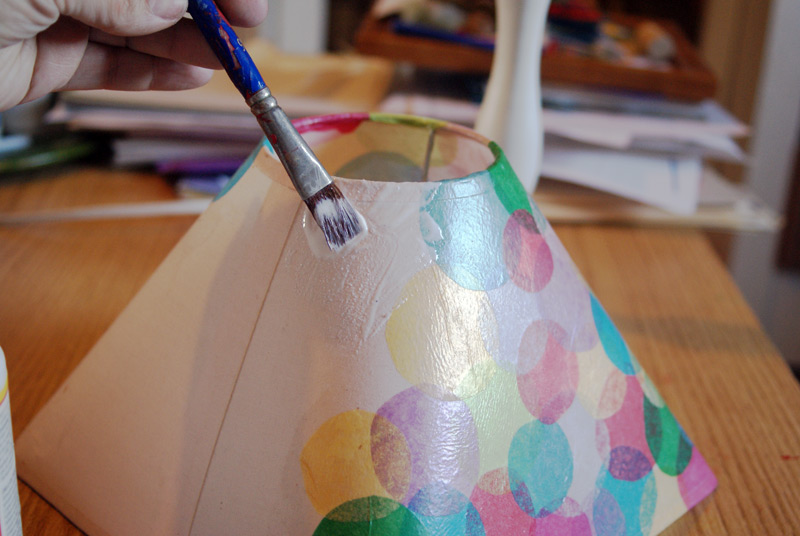
Start by brushing a little mod podge where you want to place your circle. Just a little bit, you don’t need a lot!
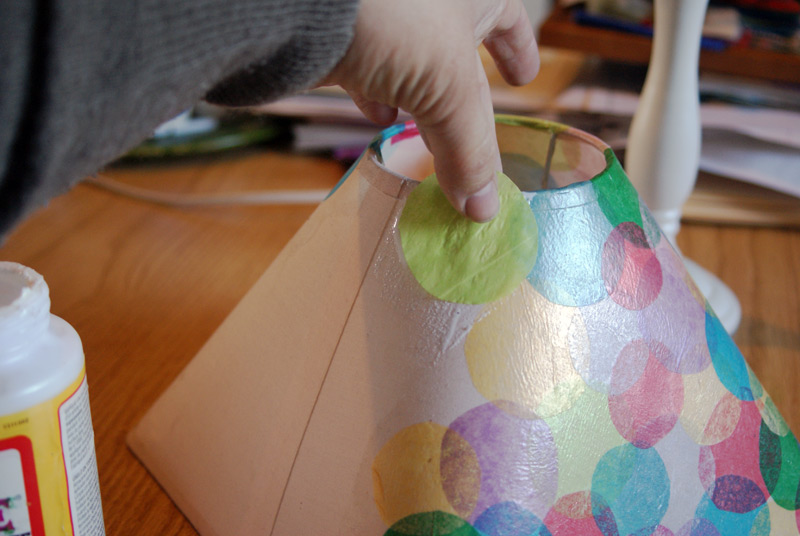
Place the circle on top of the mod podged area. Just press it on lightly.
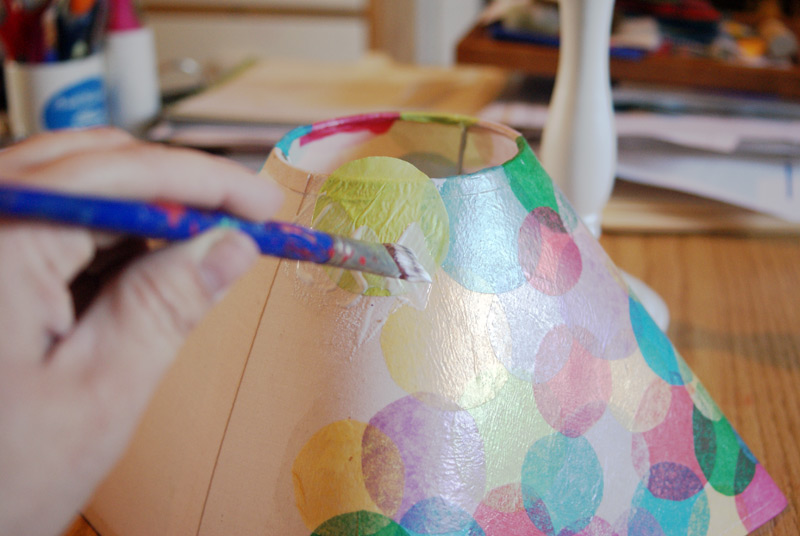
Now, brush the mod podge over the top of the tissue paper circle. If the circle is on the edge of the lampshade, brush a little mod podge on the opposite side and then use the brush to press the tissue paper over the other side. Make sure it’s securely glued to the inside, you don’t want it stocking out where it can touch the light bulb and catch fire!
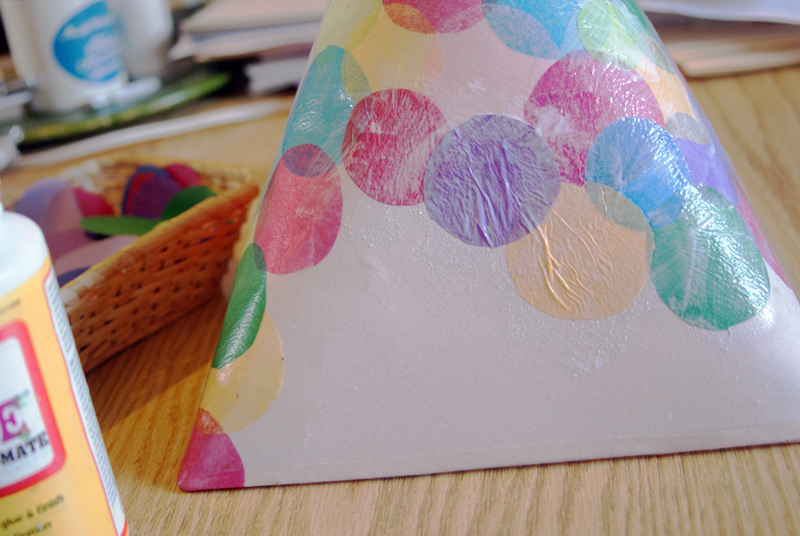
Don’t worry too much about wrinkles. I mean, brush the wrinkles out, but if there are a few still there it’s ok, they will magically settle out as it dries.
And that’s pretty much it. Just keep filling in, overlapping the circles as much or as little as you like.
Let the lampshade dry- I recommend putting it on the lamp so it’s not touching anything with the edges. If, for some reason, the shade will be used outside, I recommend spraying it with a clear top coat. Mod podge is only mostly water resistant in my experience, not really waterproof.
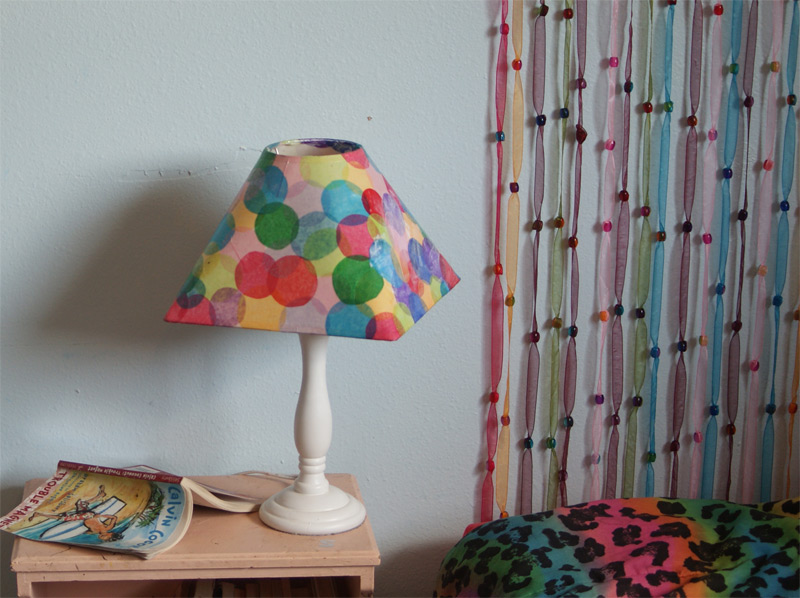
So. My lamp is specially made for my bedroom (although this is Lil’Miss’s bedroom in the photos). Where will you put your lamp?
This post was published on Muse of the Morning.com
Super cute. Forget a kids room. I’ll put this on my craft table. I’m loving this. You cut out all the circles too. I thought maybe you were using a shape puncher. Great job!
Thanks for sharing Chrissy
Hi Genie! Thank you for stopping by! I’m glad you like the project, I’d love to see your finished pictures!
Enjoy!
Chrissy