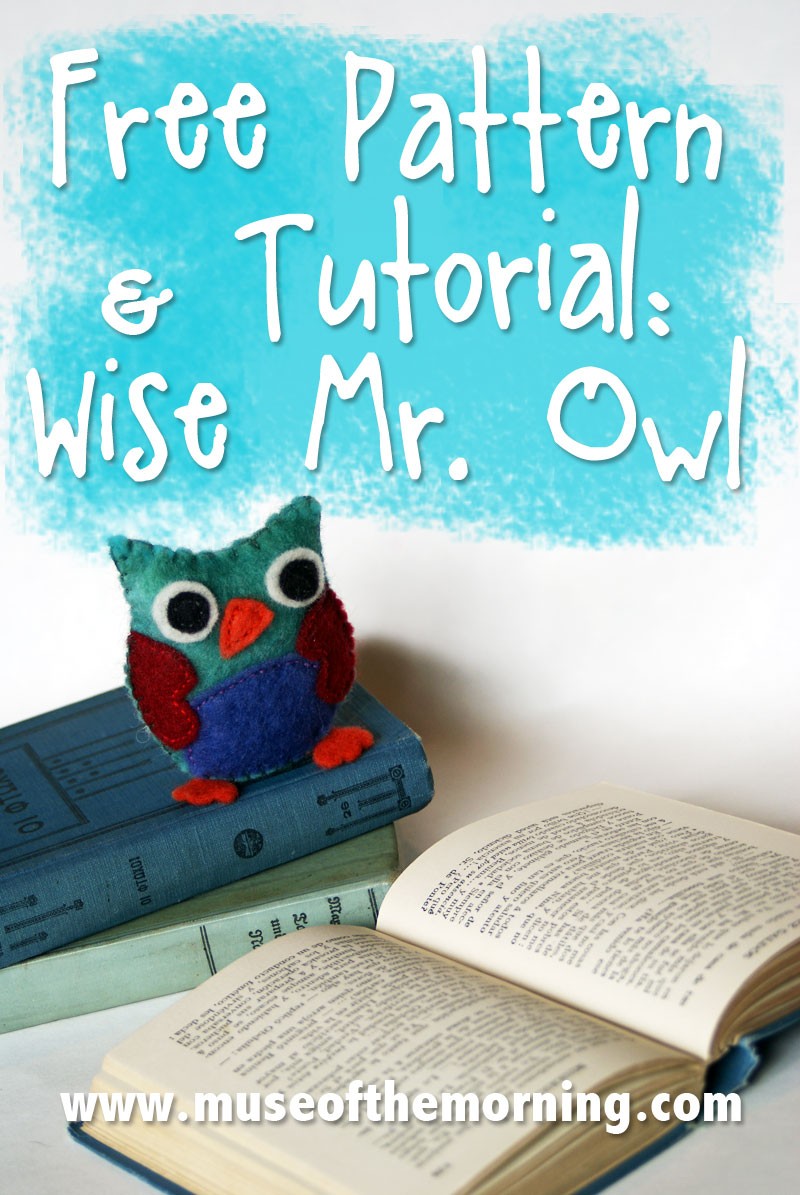
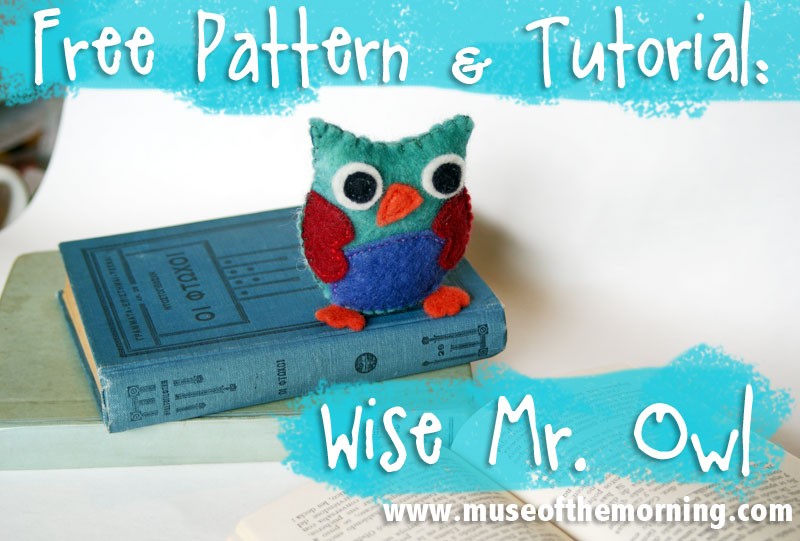
I’ve been working on a bunch of sweet felt patterns lately to go along with the hand-dyed wool felt that I’ve been creating. This is the first one. He’s a sweet little guy who loves to read and to be played with! You can attach a little ribbon to the top of him to make an ornament, but he’d make a perfect little toy for any little guy or gal.
You can use any type of felt of course, but I have to highly recommend wool. It’s so incredibly soft and strong for sewing with. A lot of cheap felts will pill and get frizzy with just a little playing. Wool doesn’t do that.
Download the pattern here.
Print this pattern onto a sheet of freezer paper for best results.
I recently made a tutorial for using freezer paper to make cutting easier. If you print the the pattern onto freezer paper, then iron onto the felt and cut out!
You don’t have to print onto freezer paper though. You can pin the pattern pieces onto the felt and cut out like that also.
For this pattern, you’ll also need:
– turquoise wool felt- about 8 inches x 5 inches
– small amounts of red felt, purple felt, orange felt, white felt, black felt – You can also use whatever colors you like!
– embroidery floss in turquoise, red, purple, orange and black
– the free Wise Mr. Owl pattern
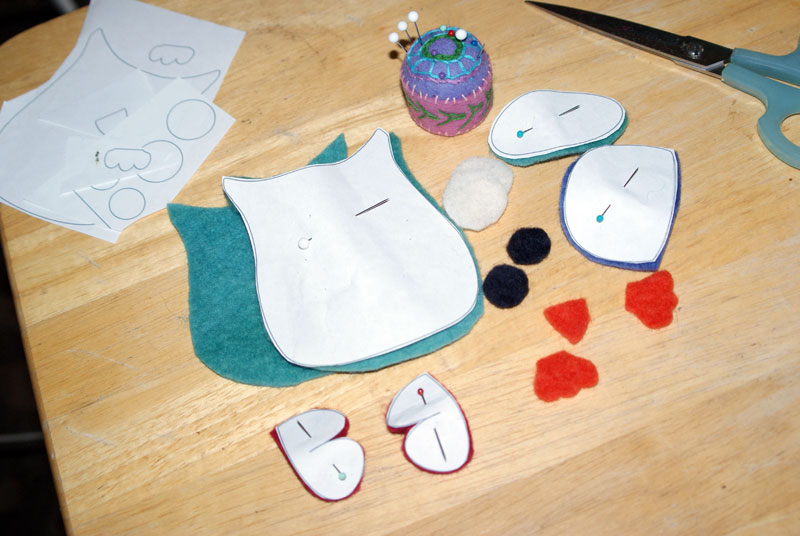
Cut out all the pieces. The pattern tells you which pieces should be cut from which color.
Just in case though- the body and bottom should be cut from turquoise. The wings should be from red. The tummy should be from purple. The wings and feet should be from orange. The eye whites from… um… white and the pupils from black.
Of course, you don’t have to use these colors! You can use any colors you like.
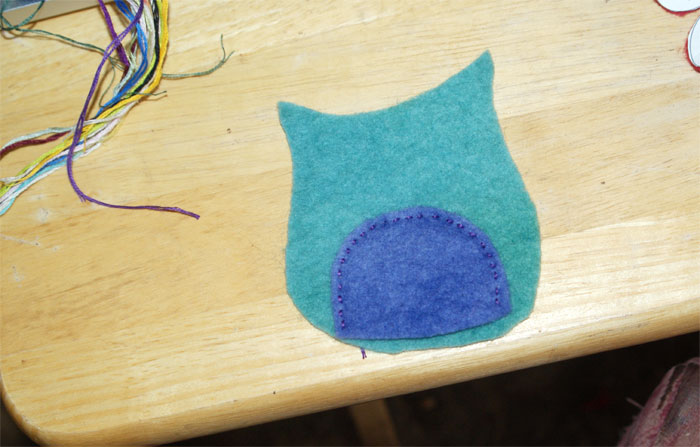
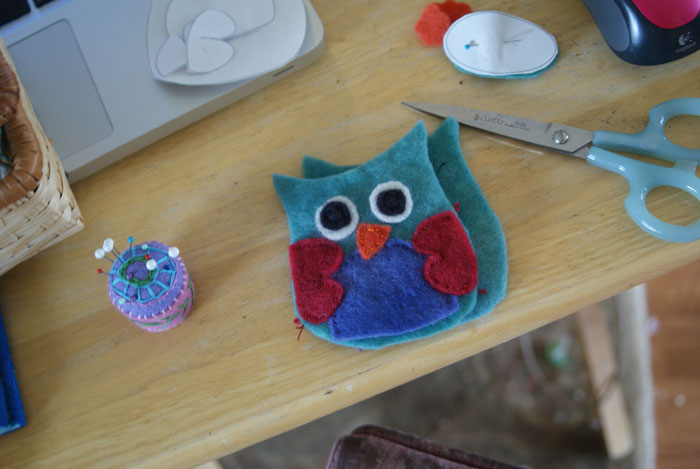
Place the tummy piece on the body piece as shown and sew in place with a back stitch with purple floss. If you’re not familiar with a back stitch, you can download My Little Book of Embroidery Stitches, which has instructions for a bunch of stitches.
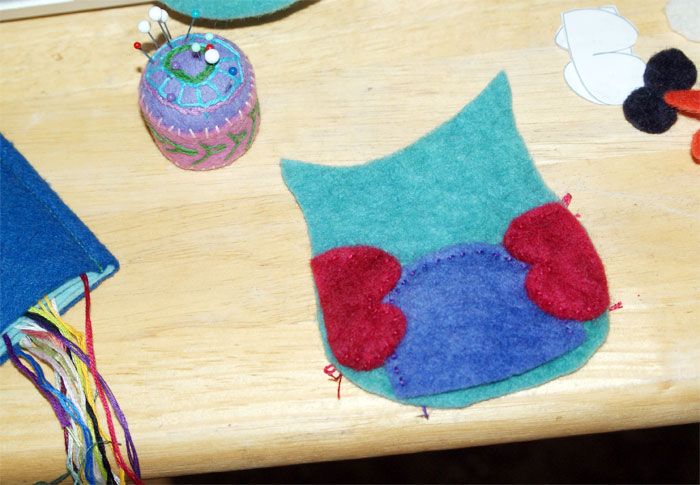
Place the wings as shown in the photos and also stitch with a back stitch, with red floss.
If you want to stitch any designs on the tummy, now would be the time to do so. A little daisy would be pretty cute.
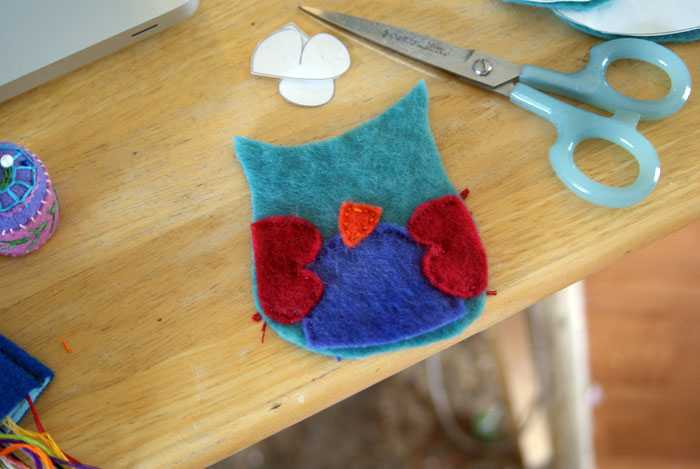
Next comes the beak. If you’re having a hard time figuring out where the beak goes, temporarily place the whites of the eyes to see what looks good. Stitch the beak in place.
You can actually use a blanket stitch for all of these stitches if you prefer, but I was really loving the back stitch.
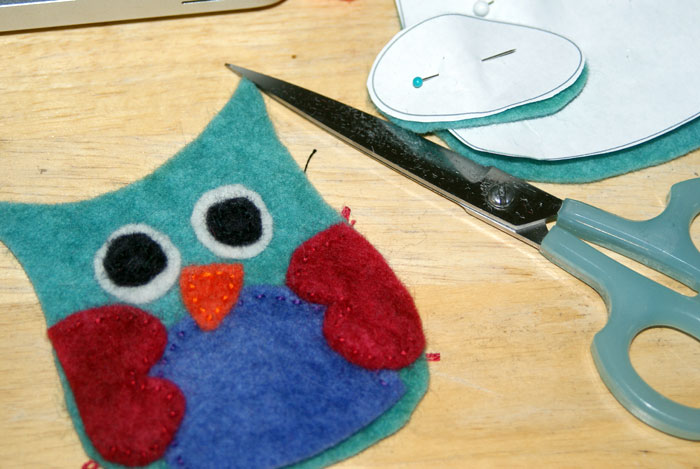
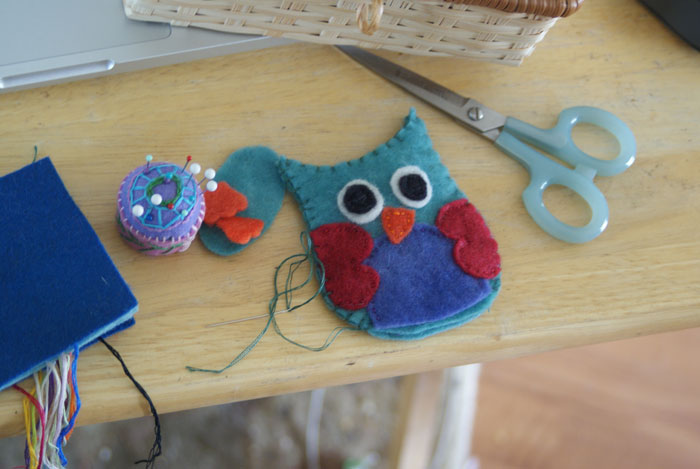
Now there’s a tiny trick to the eyes. Instead of stitching on each piece individually, we’re going to stitch through the whites and the pupils all at one time. Stack the eyes in place on the body and use a back stitch through all the layers, stitching around the edge of the pupil with a back stitch.
Now it’s time to sew the back and front together! Match the back piece up to the wrong side of the front piece. Use a blanket stitch and start at the * symbol marked on the pattern.
Stitch up the side, around the top and down the other side. Stop at the + symbol marked on the pattern, but leave the floss connected.
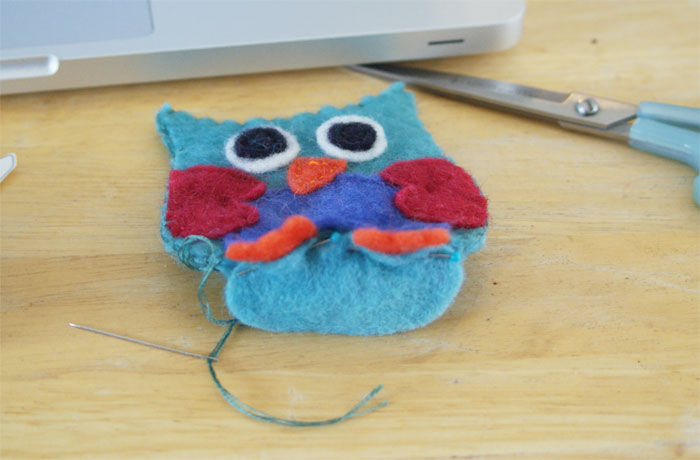
Stick the legs inside the body with the feet sticking out. Pin the bottom in place with one of the long sides along the front of the body. Carefully stitch the pieces together across the front with a blanket stitch.
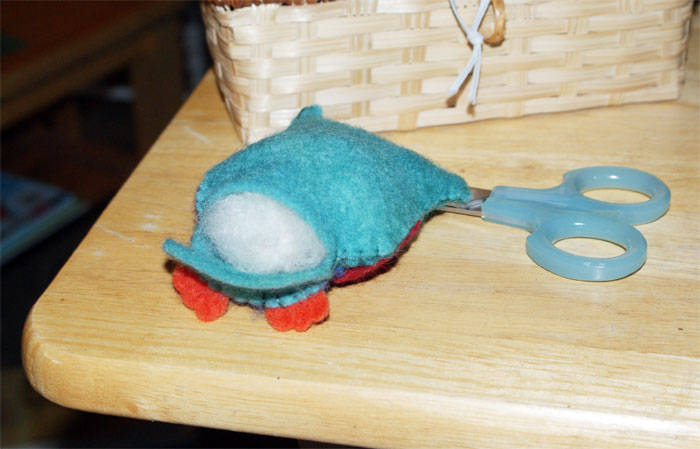
Stuff the owl with a little wool stuffing. Use a chopstick or unsharpened pencil to stuff the stuffing into the points at the top of his head.
Now finish stitching up the bottom!
Voila! You’re finished! What a sweet little owl guy!
What colors are you going to make your owl from?
This post was published on Muse of the Morning.com

Cute! I like how you gave him a flat bottom so he can stand up.
Thank you Emily! I love that too, so the littles can play with him!
Thanks for visiting!
Chrissy
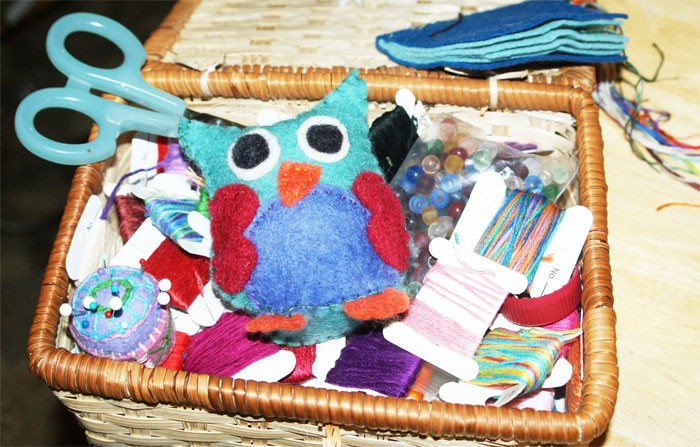
He’s lovely. What are you going to use him for. I feel bad about sticking oin sin him, but he could be a good pincushion.
He would be a great pin cushion, wouldn’t he!?!?
Most of the final projects that I make end up on a shelf in case I need to take more photos. The ones that don’t turn out perfectly, but are still completely functional though, they end up as gifts!
Thanks for visiting Deby!!
Pingback: Tutorial – How to Make a Felt Owl
The link for the download the template is broken.. I tried both and neither show the template download. Is there and way you can email it to me? I have looked all. Over for the pattern.
Sincerely,
Debbie Vazquez
vazmami@hotmail.com
Hi Debbie!
The links are both working. If you’re on a mobile device (like a phone or tablet) you might need to download it to a computer. Also, check your downloads folder. Let me know when you find it! Thank you so much for visiting the site!
Chrissy
Pingback: Tutorial – How to Make a Felt Owl | How to Make Crafts
I love this little owl. I have two gr. daughters who are just beginning to sew and two more who have been sewing just a bit. I think they will really love this little guy. I did think that I would make a pouch sand bottom for him so he would sit up better. A little weight does help sometimes. To make these and add a little note of inspiration would be an excellent gift. thanks
That sounds great! I also like to put some dried beans in the bottom of stuffies like this too.
Thank you for visiting!
I haven’t made him . He is so cute. Will make him soon as I collect Owls. Thank you for the pattern.
The owl is so cute – thanks for sharing your how-to!
Thank you for looking Kate!
Pingback: CraftingCon: Muse of the Morning - Mae & K
Pingback: Tutorial: Linen Heart Embroidery Sampler Ornament | Muse of the Morning ~ PDF Sewing Patterns for Free-Spirited Children &Adults
Pingback: 7 Adorable DIY Gifts for Kids