I’ve been wanting to start a series on sewing basics and since a tutorial I’ve got coming up requires a few basic sewing skills, I thought I’d start right now!
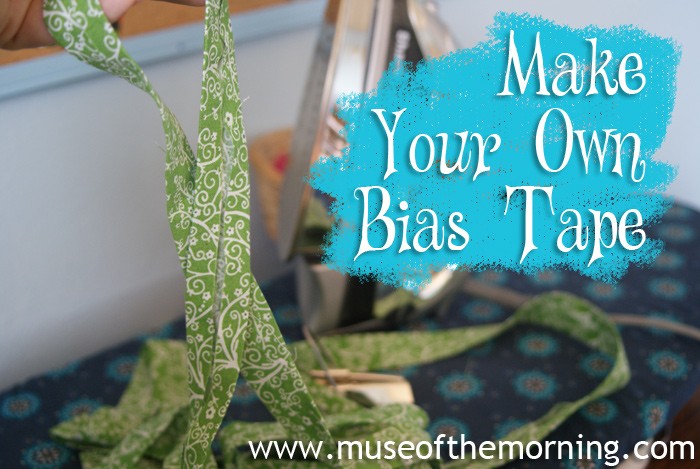
This is a tutorial on how to make your own extra wide bias tape.
Why would you want to make your own bias tape, when it’s sold in the store?
Well, for one thing, making your own is less expensive. Bias tape in the store is often part polyester and cheap, thin fabric. Making your own allows you to control the quality, and you can make it from whatever you want. In fact, you can make it from fabric that contrasts or coordinates with your project.
Bias tape is just for binding quilts, right?
Nope. Bias tape is some awesome stuff and can be used for a lot of things. You can use it on sleeveless outfits, as binding along the raw edges. You can use some coordinating fabric to make some to bind the edge of a skirt, or pants….
And bias tape can be used as drawstrings or straps. There’s a lot of usage for bias tape.
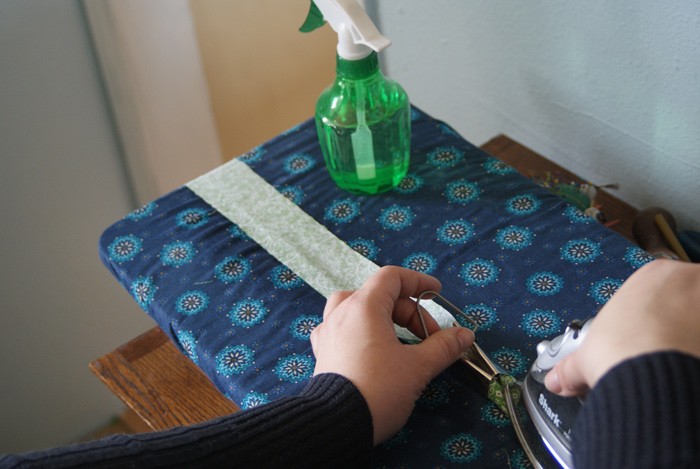
To make bias tape, you’re going to need a Bias Tape Maker, although I’ve seen tutorials for making it with a pin on your ironing board. You’re also going to need an iron with steam, or a spray bottle.
Tip! Bias tape doesn’t always have to be cut on the bias. If it’s going to be used around a curve, it should, but if it’s going to be used on straight edges, you’re just fine cutting it on the grain!
The first step for extra wide bias tape, is to cut 2 inch wide strips of your fabric. I recommend cutting with a rotary cutter and ruler. If you’re cutting on the grain, you can rip the fabric and it will make just fine strips.
Next, you need to join your strips together. Match the ends up perpendicular to each other.
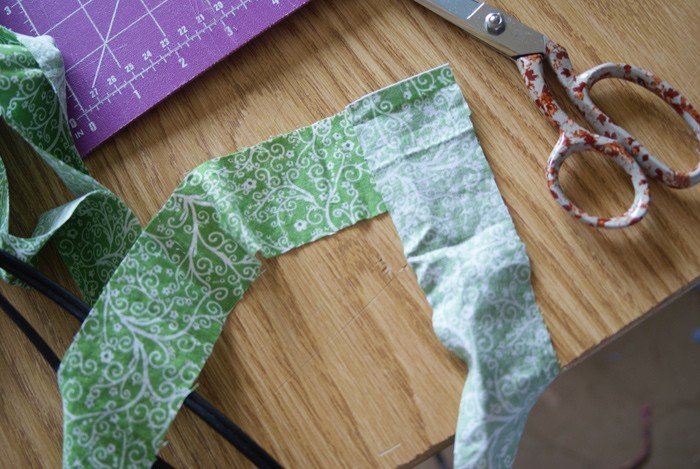
Sew the strips together from point to point as shown in the picture below. Do this for every strip you need to join together.
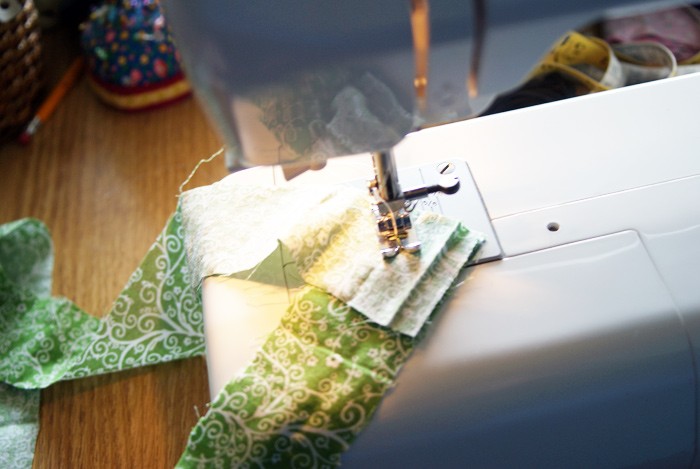
Cut the tip of the triangle off, leaving 1/4 inch seam allowance.
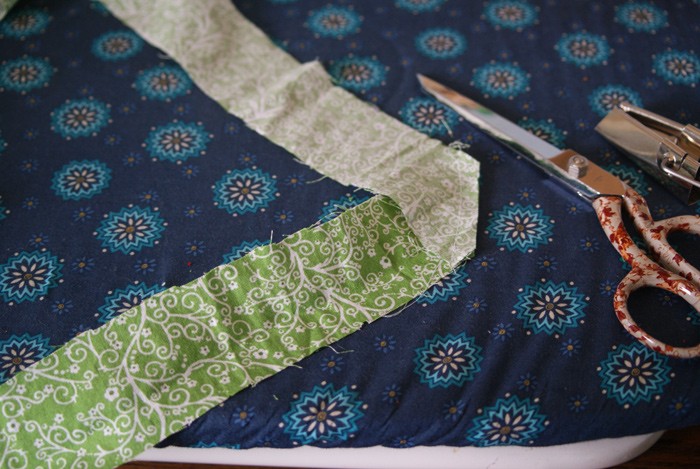
Spread the bias tape out and iron the seams open.
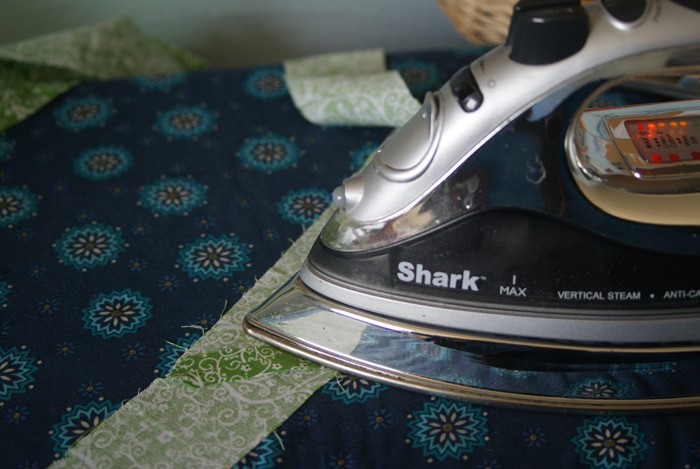
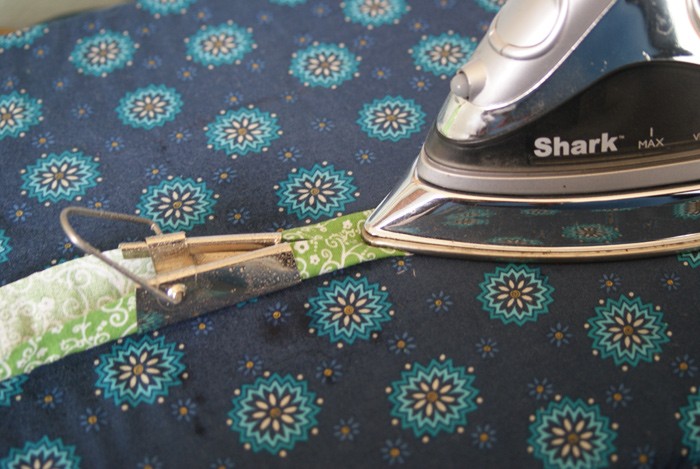
Thread the fabric strip through the wide end to the narrow end of the bias tape maker. As it comes out the narrow end, iron the folds over. Use steam or the spray bottle liberally if needed.
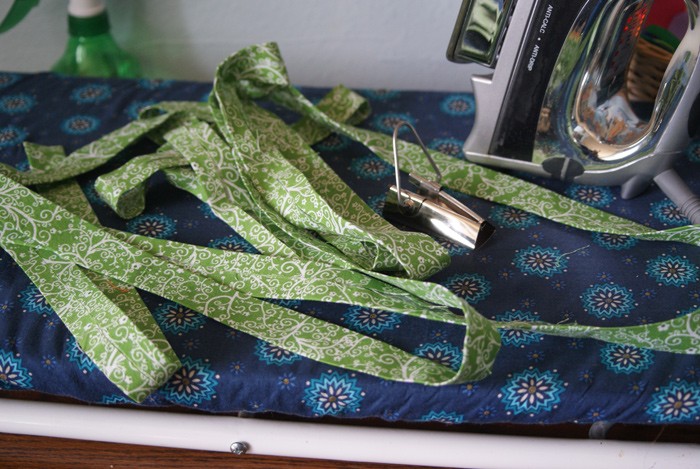
This is the time consuming part…. but it’s kind of relaxing, doesn’t take a lot of brain matter to do….
I like to do a length as long as my ironing board at a time. Once I move the bias tape maker and iron to the end, I move up another length onto the board.
And then you’ve got lengths and lengths of bias tape! You could also iron the bias tape in half at this point, but I don’t usually find it necessary because you’ll be sewing it to whatever you’re making, or folding it when you sew it in half if you make drawstrings.
Chrissy Leiberan-Titus writes for Muse of the Morning.com


Pingback: Decorate Cloth Napkins for Mother’s Day – A Tutorial | Muse of the Morning PDF Sewing Patterns
When you cut your fabric on the bias it is truly bias binding. If you try to rip on the bias you will become very frustrated. When you make bias binding on the bias it is easier to make curves on appliqued pieces or corners on a quilt. Cutting on the straight of the fabric would work well with straight edged projects.