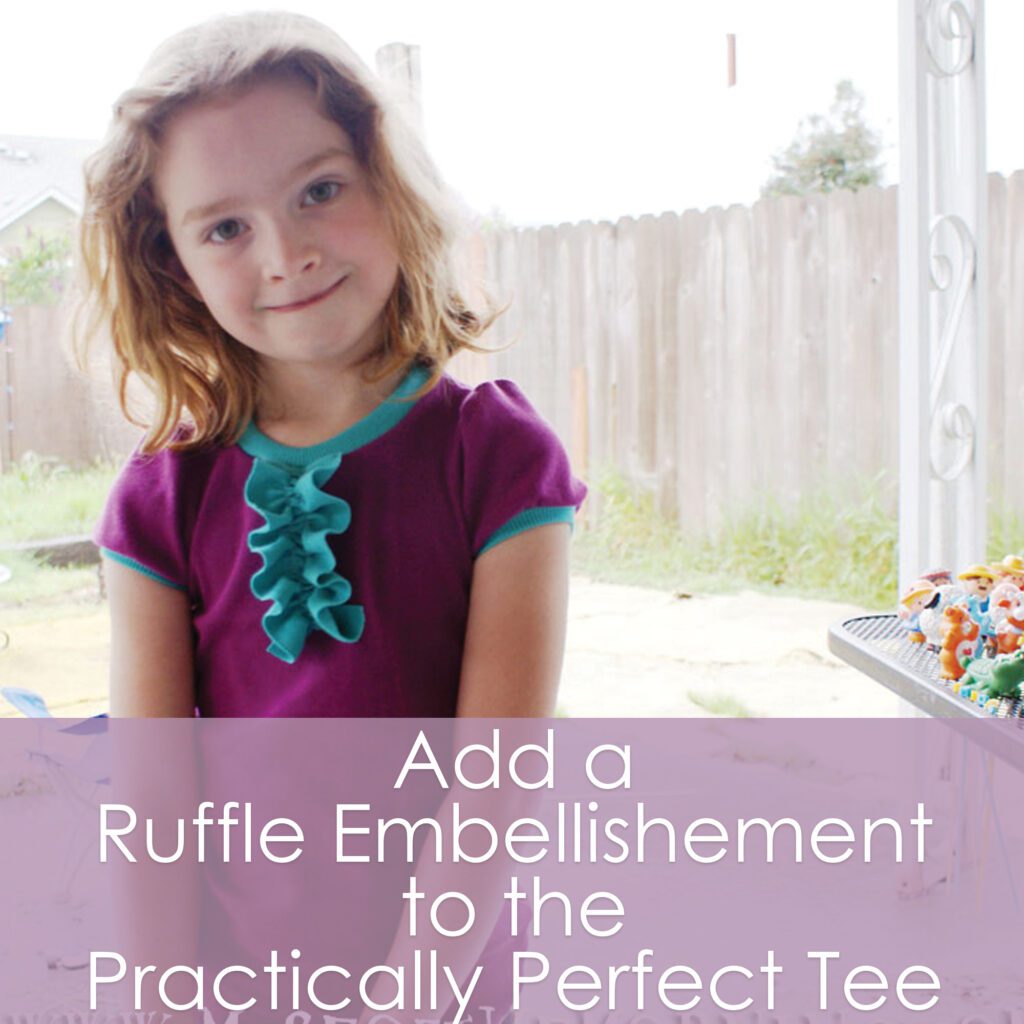
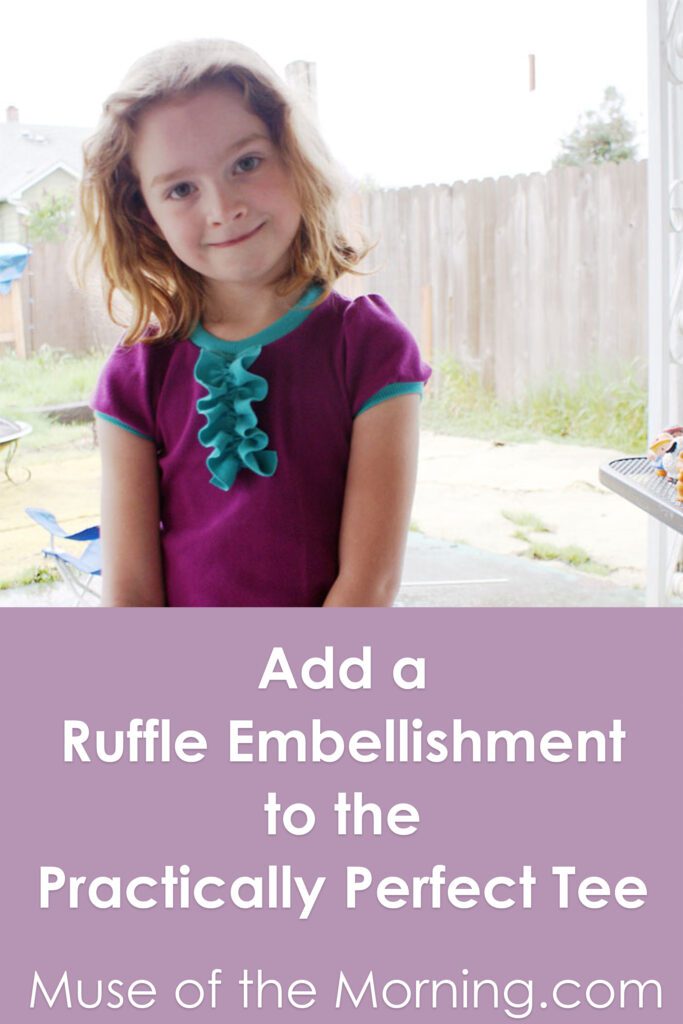
There are loads and loads of tutorials out there on how to embellish a t-shirt, but it’s so much easier and there’s a lot more room to change up the whole t-shirt concept when you make the shirt from scratch. This tutorial doesn’t go too crazy, but it is an easy way to spice up a t-shirt pattern.
I highly recommend the Practically Perfect T-shirt pattern to use for this tutorial of course, but any t-shirt pattern with a neck binding will work.
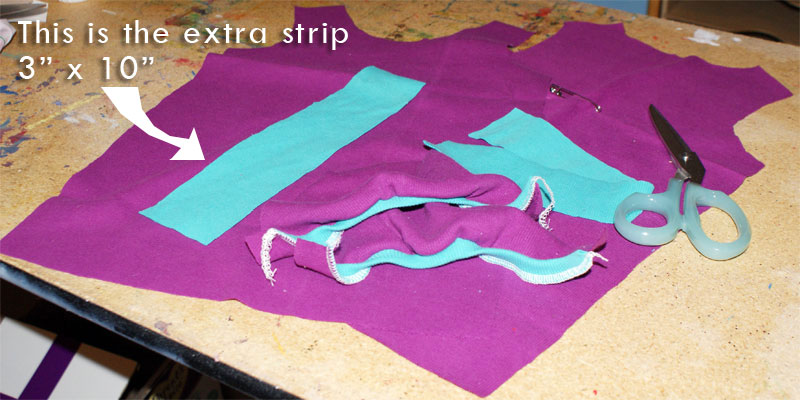
Cut out your pattern as directed in your pattern descriptions. In addition, cut out a piece of the binding fabric that is 3 inches wide by 10 inches long.
For this tutorial, I’m making a solid colored t-shirt with contrasting colored binding. I am making the shirt and the binding out of a rib knit from JoAnn’s. I almost always use this same rib knit for the binding – it has a really nice recovery – but this isn’t usually enough to save a rib knit shirt from stretching out of shape. To fix this little problem, when I use rib knit for the body of a t-shirt, I cut it 1-2 sizes smaller.
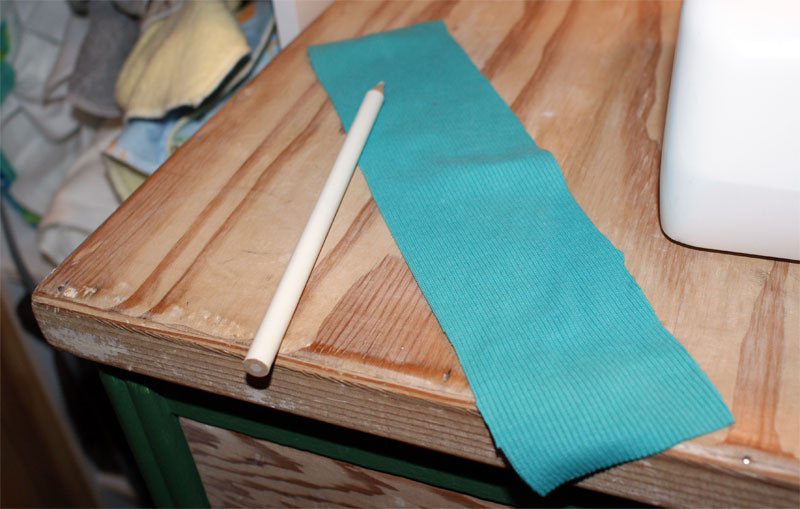
Mark the center of the strip, lengthwise (my line isn’t showing up too well in the picture).
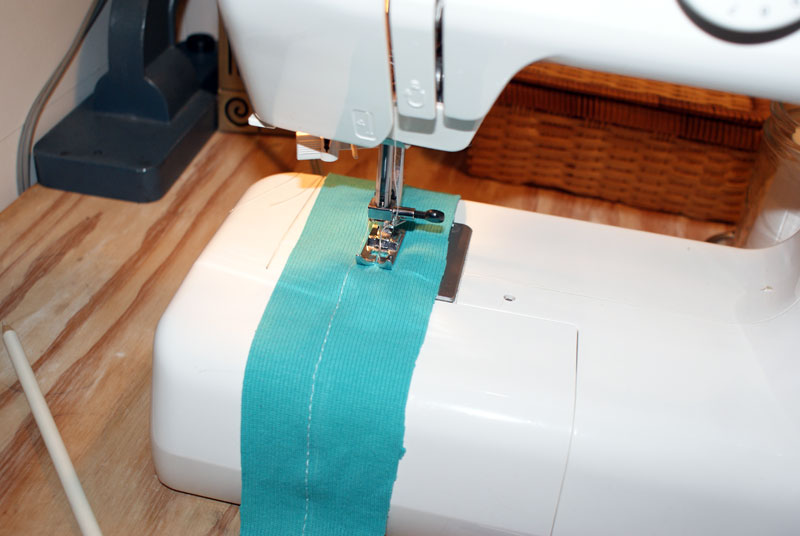
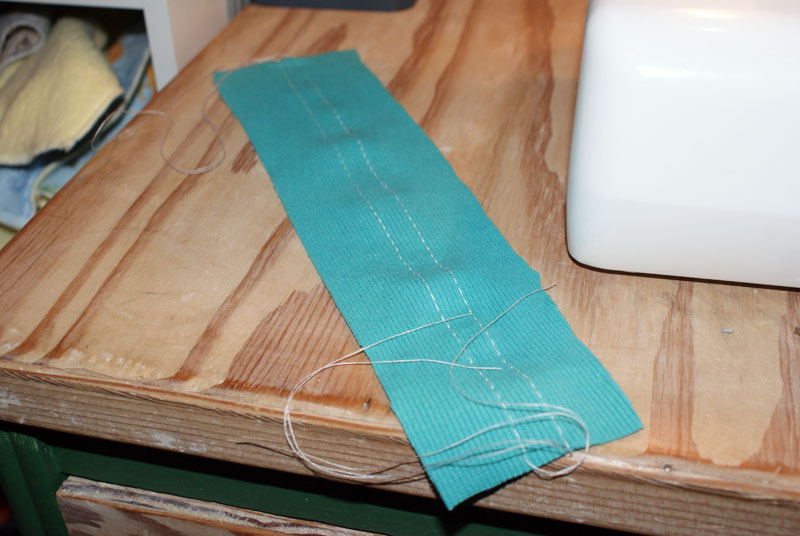
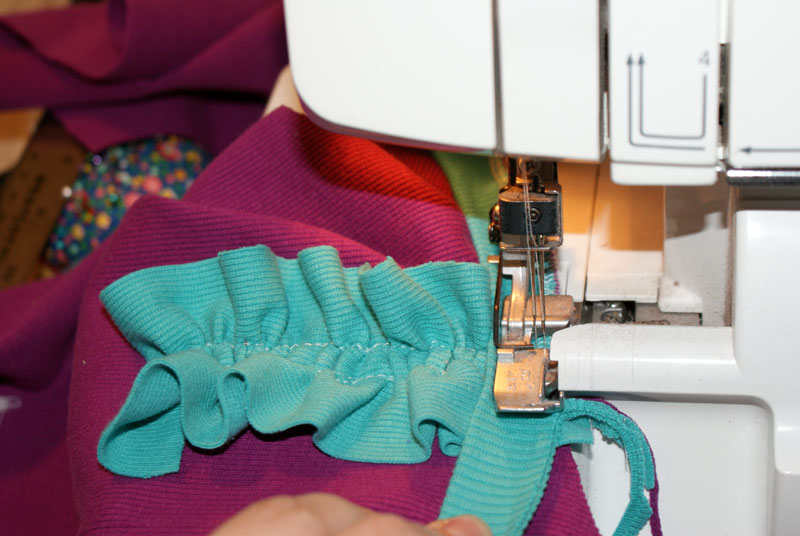
Set your sewing machine to it’s longest stitch length and sew down the strip, 1/4 inch away from the center. Repeat, 1/4 inch away from the center on the other side of the center line. Leave long tails each time at the start and the finish of your sewing.
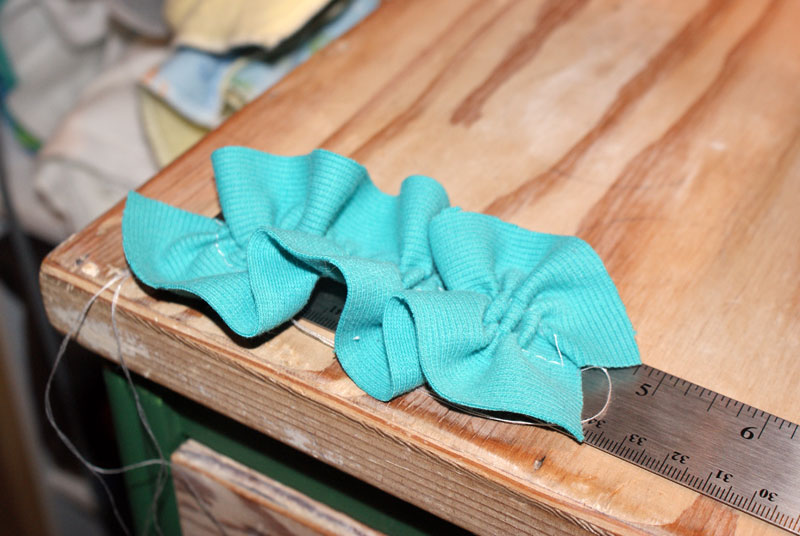
Pull on the bobbin threads to ruffle up the strip until you like how it’s ruffled. I pulled it to 5 inches.
Place the strip in the center of the t-shirt front. Line the top up with the neckline.
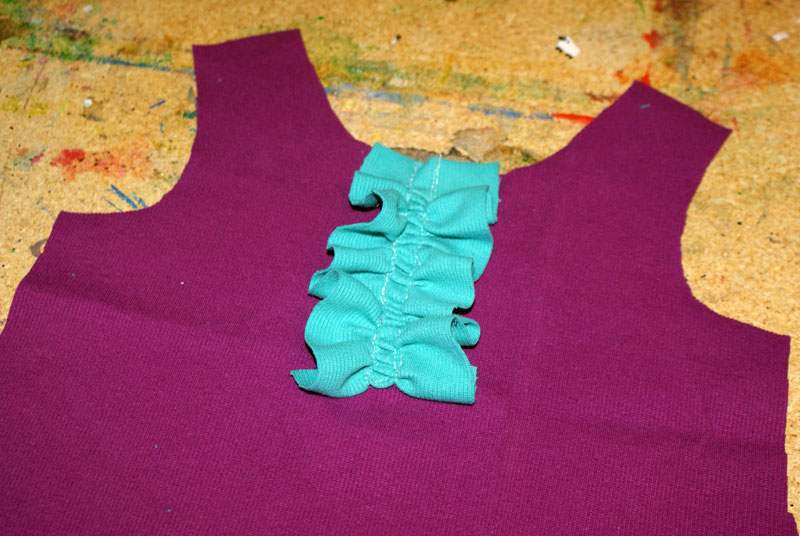
Adjust your stitch length so it’s back to normal. Sew the gathered ruffle from the top of the neckline, to the bottom and then back up again, following your gathering stitches. Sew just to the side of your gathering stitches. Once the strip is sewn to the front of the shirt, you can gently pull out the gathering threads.

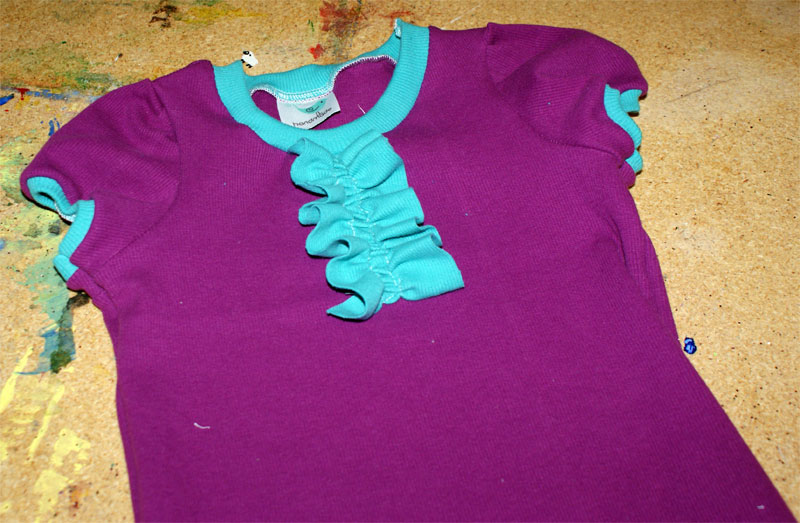
Sew your t-shirt together as directed in the pattern directions. When you get to the neckline, sew the ruffle into the neckline.

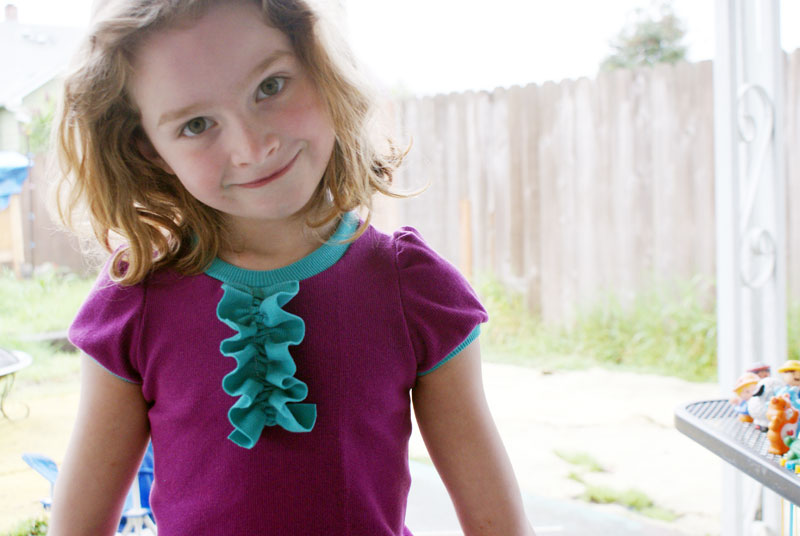
Viola! This is one fancy t-shirt!
Don’t forget to check out the Practically Perfect Girls’ Tee Shirt in the shop!
This tutorial was published on Muse of the Morning.com