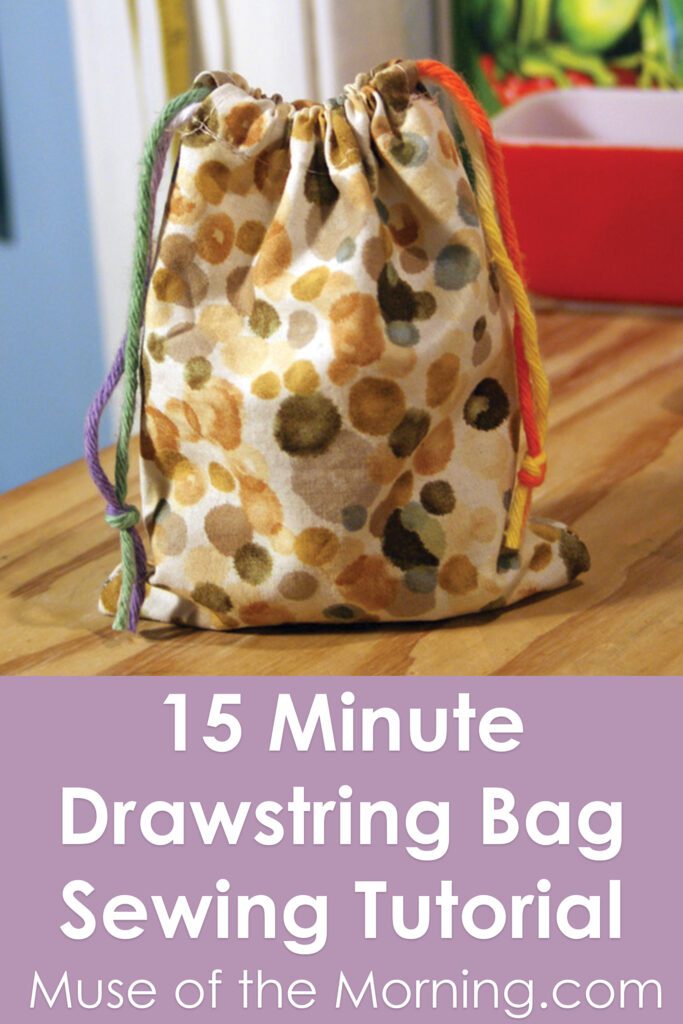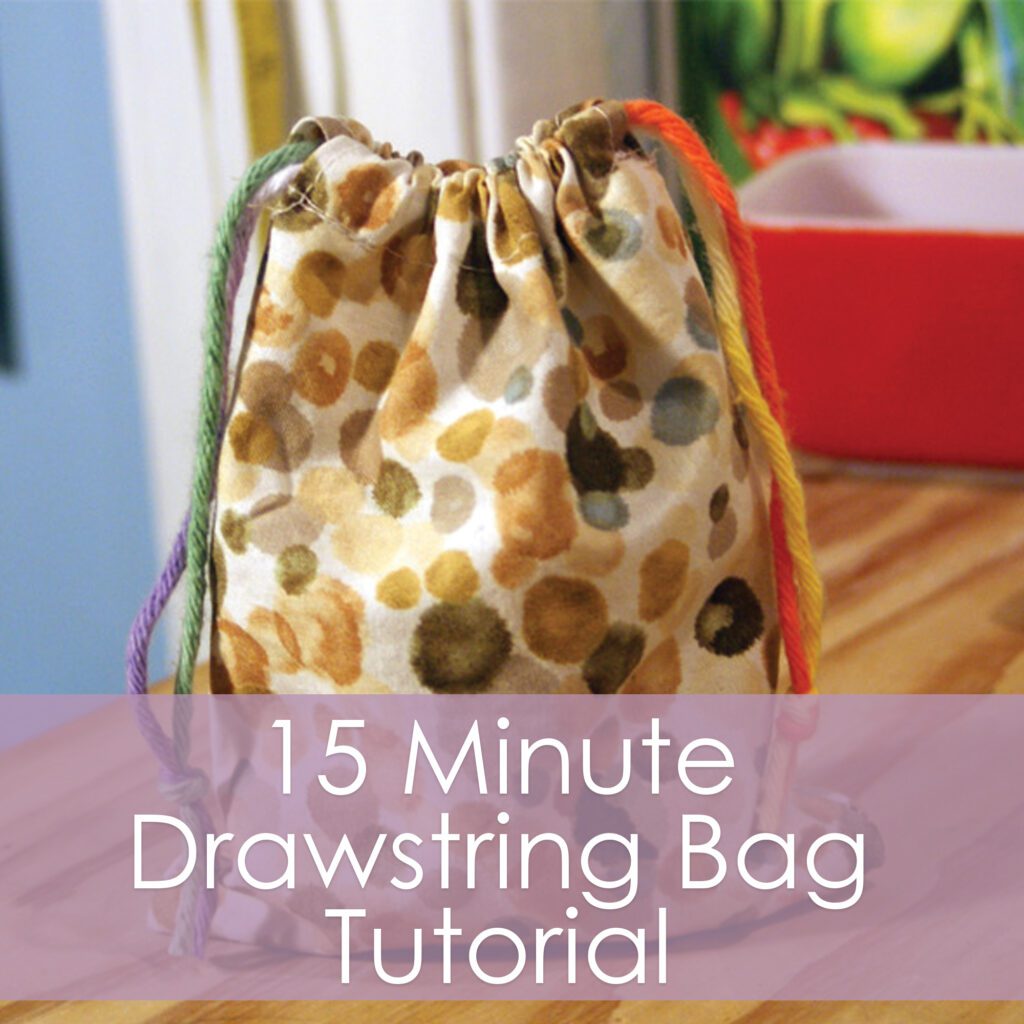
Are you skipping the wrapping paper this holiday season and trying to use alternatives? Fabric bags are pretty awesome, and this drawstring bag is super quick to make up. I just did a bunch of them all assembly line style and I made 15 in 2 hours… that’s 8 minutes each!
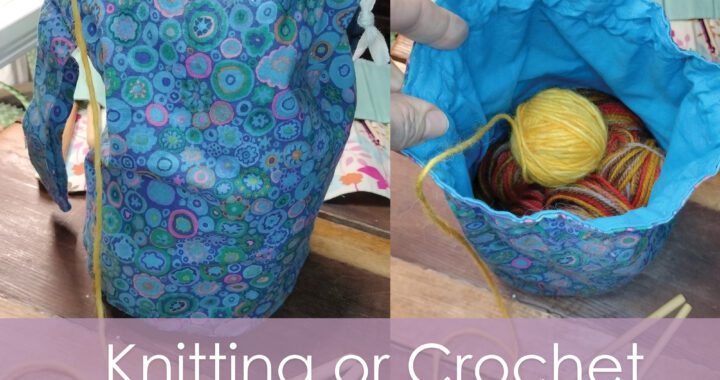
I actually love to use these bags as project bags. I can keep everything I need for a project in one bag and just grab the bag when I’m on the go. I’ve got one for pincushions I’m working on, one for embroidery projects…. They are also great for little guys who LOVE to cart things around in a bag. All the time. And you find your long lost something and an old apple core in one of the bags, shoved behind the toy shelf 3 weeks after you’d been desperately searching for the something. I’m not speaking from personal experience or anything here.
I actually am. I know you got that. Let’s move on.
I did use my serger for my bags, but you could just use a sewing machine with 1/4 inch seam allowance. If you don’t want raw edges and don’t have a serger, try encasing the raw edges in bias tape as you sew.
This is a super easy bag to stitch up really quickly.
Supplies:
fat quarter of cotton woven fabric
drawstring- twine, ribbon, etc…
Alright! Let’s go!
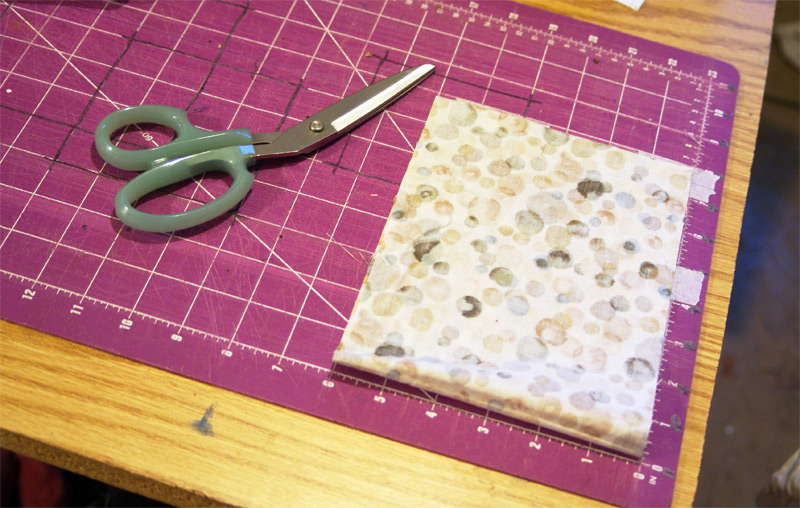
First cut out your fabric. You’ll want to cut it the size you want, plus 1/2 inch on the width and 2 inches on the top. My bags are going to be about 6x6inches, so I am cutting the fabric 6.5inches x 8.5 inches. Cut two pieces.
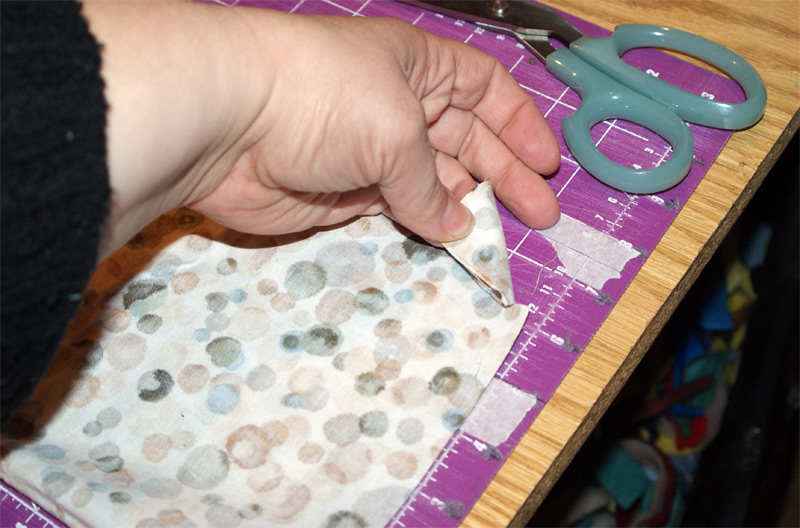
2 inches down from the top, cut a slit in the side 1/4inch into the fabric. Do this on both sides. The 2 inches above the slit will be the casing for the drawstring.
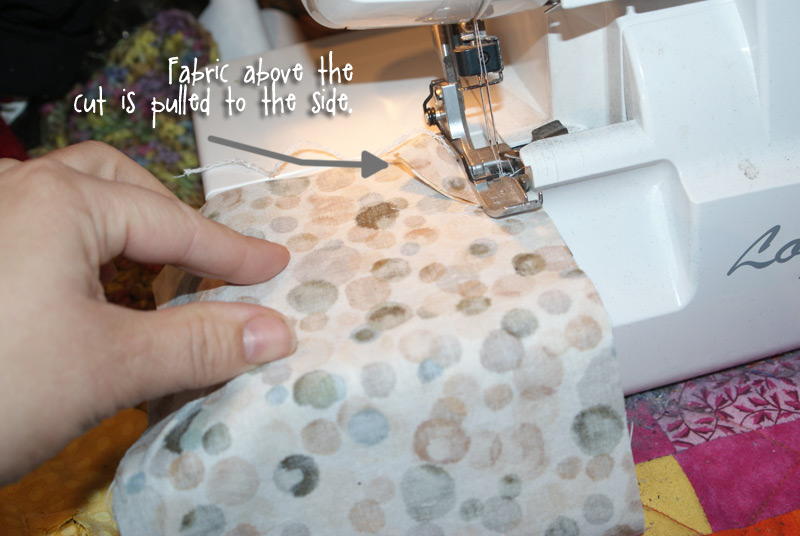
Serge or sew the side, starting just below the slit that was cut in the previous step. Sew down the side, all across the bottom and back up the other side. When I start serging, I pull the fabric above the slit to the side to make sure I don’t catch it in the serging.
When you get to the other side, stop sewing at the slit that was cut.
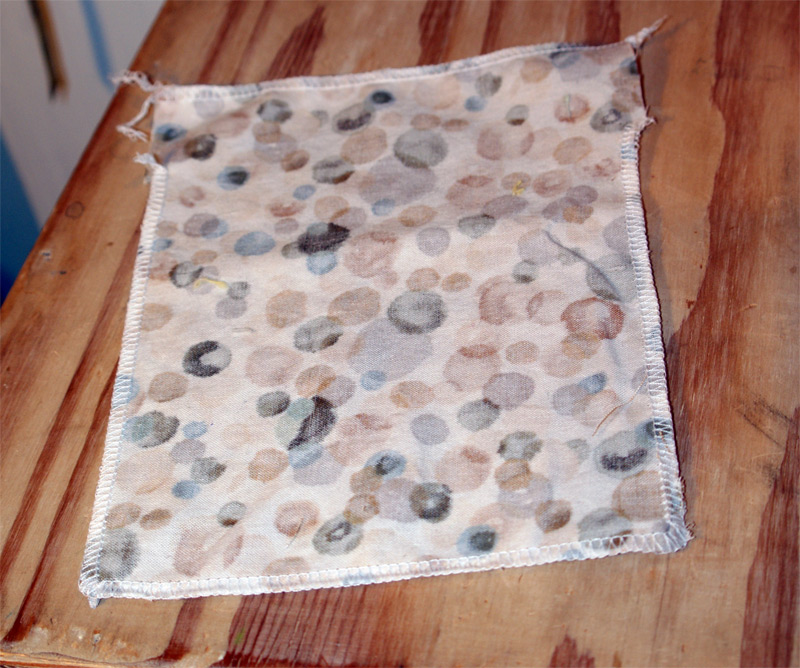
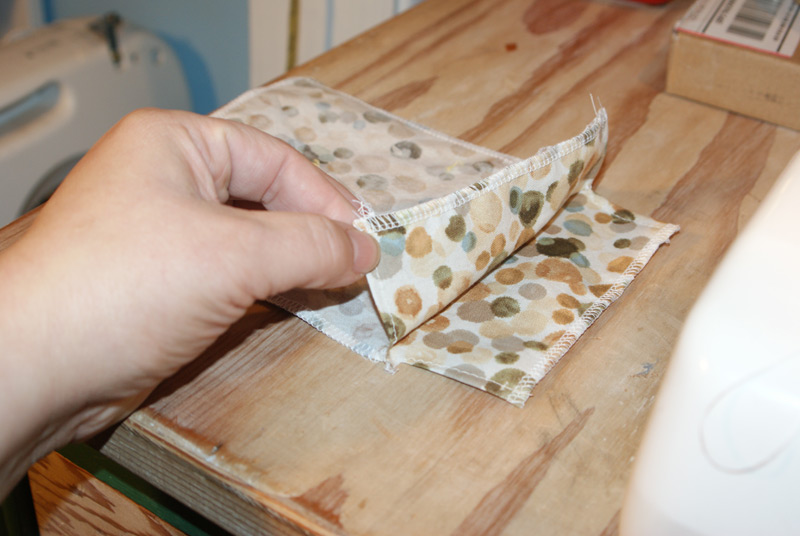
Here’s what you should have-
I also serged along the top on each side. That’s an optional step.
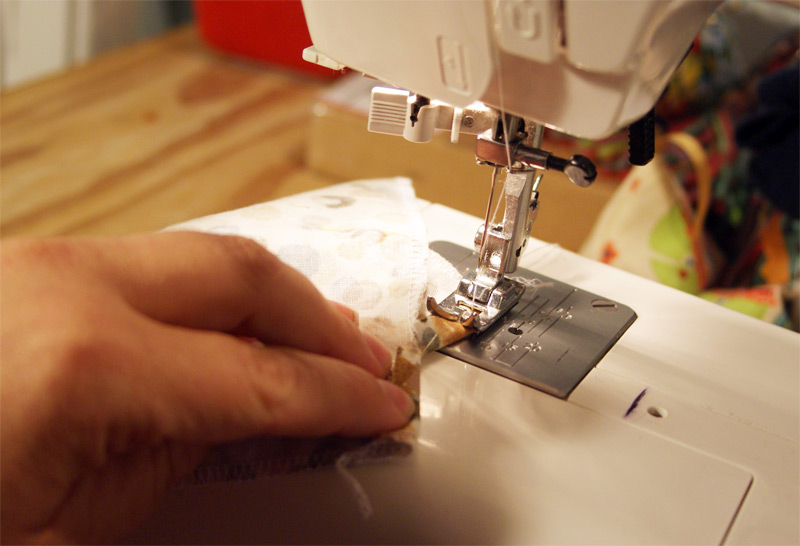
Now move over to the sewing machine. Fold the raw edges of the casing in 1/4 inch. Sew it down on both sides of the casing. I stitch straight through from one casing to the other on the same side. It helps to catch the serging I’ve done and make it more secure.
Here’s your bag now:

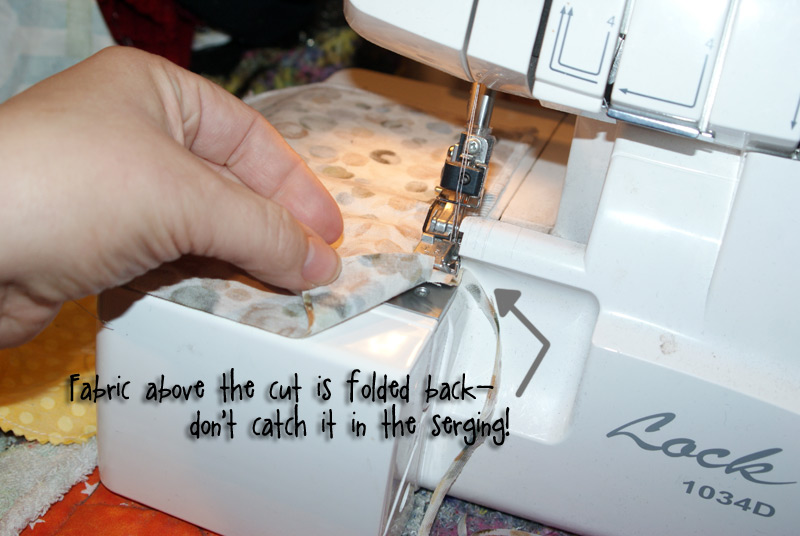
Fold the casing down on one side, right to where the slits were cut. Stitch it down, but make sure you don’t catch the rest of the bag in your sewing! Repeat with the other side.
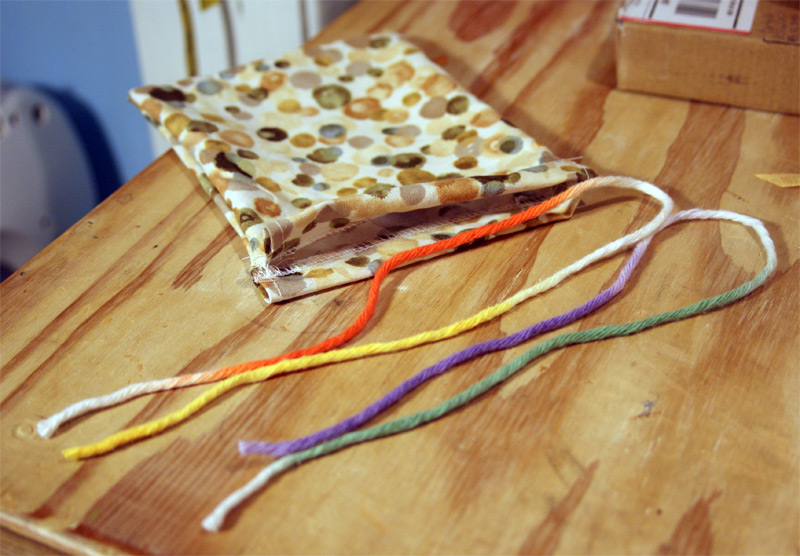
Now the bag itself is finished! You just have to put the drawstrings in. You’ll need 2 lengths of twine or yarn or ribbon that are double the width of the bag plus a couple inches for tying.
Use a safety pin or bodkin to thread through both casings of the bag. Tie it off on the side with the loose strings.

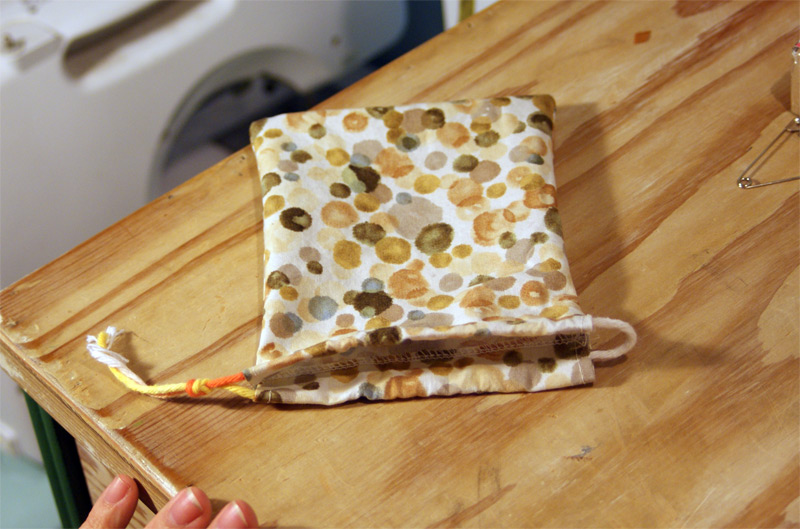
With the second string, thread through both casings again, but go the opposite direction, so the tied end is on the opposite side of the bag.
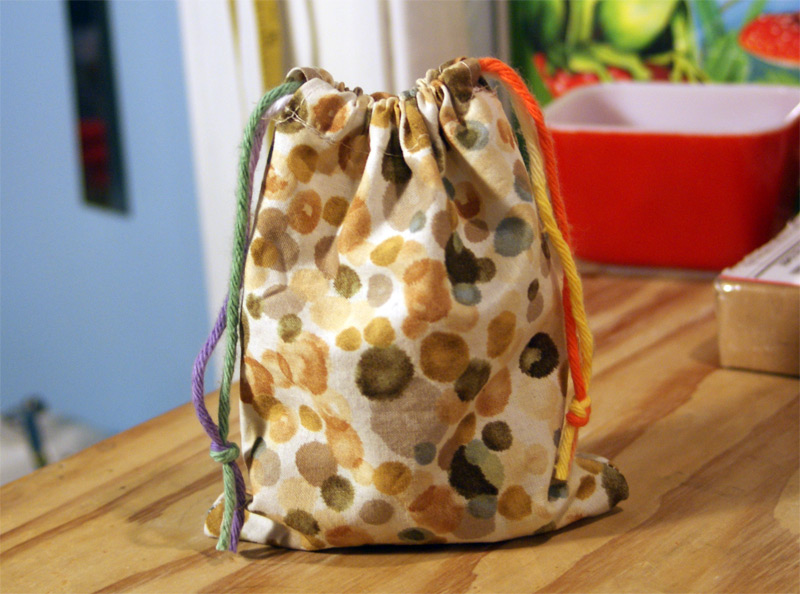
And that’s it! Pull on the tied end of the drawstrings and the bag will close!
What will you be putting in your bag? Gifts? Projects? Just some little bags for little kids to fill full of goodies?
This post was published on Muse of the Morning.com